However, like most people, I was a little disappointed and thought "You know, it's not a bad sculpt, it just needs a little bit extra." Now, I'm no modeler. My hands aren't terribly steady, I don't really have the greatest sense of touch, and my depth perception is terrible. However, I still managed to add and subtract a few things I thought really detracted from the model.
For reference, I worked off the Quantum Mechanix model and the Light Works desktops for some of the detail.
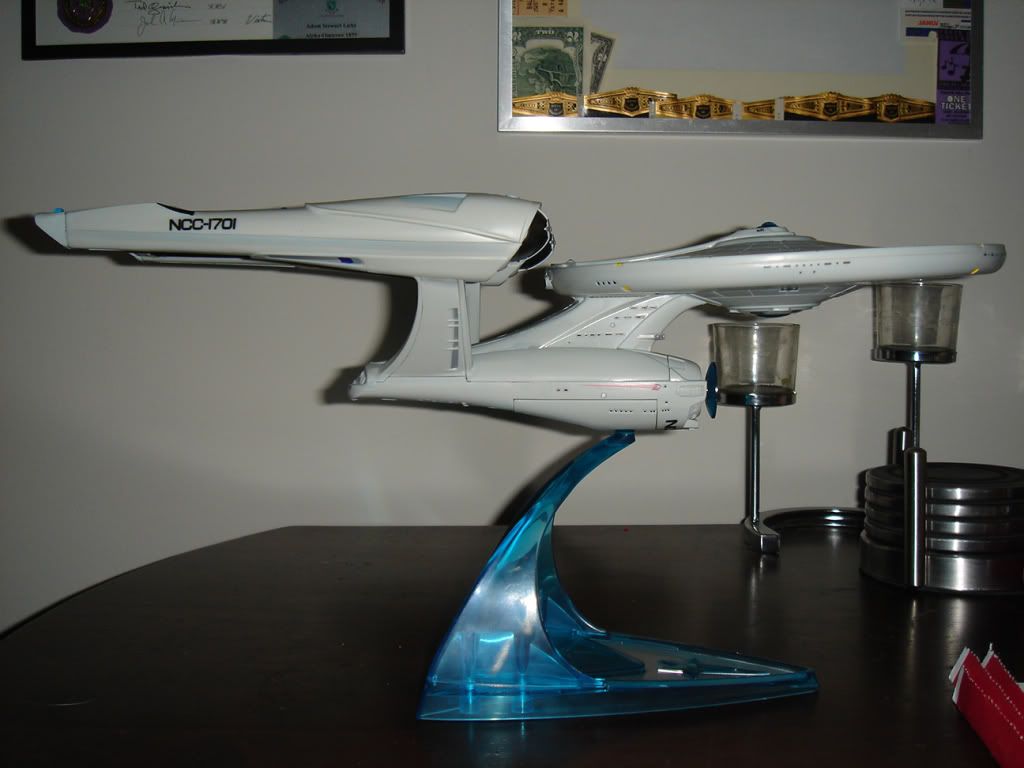
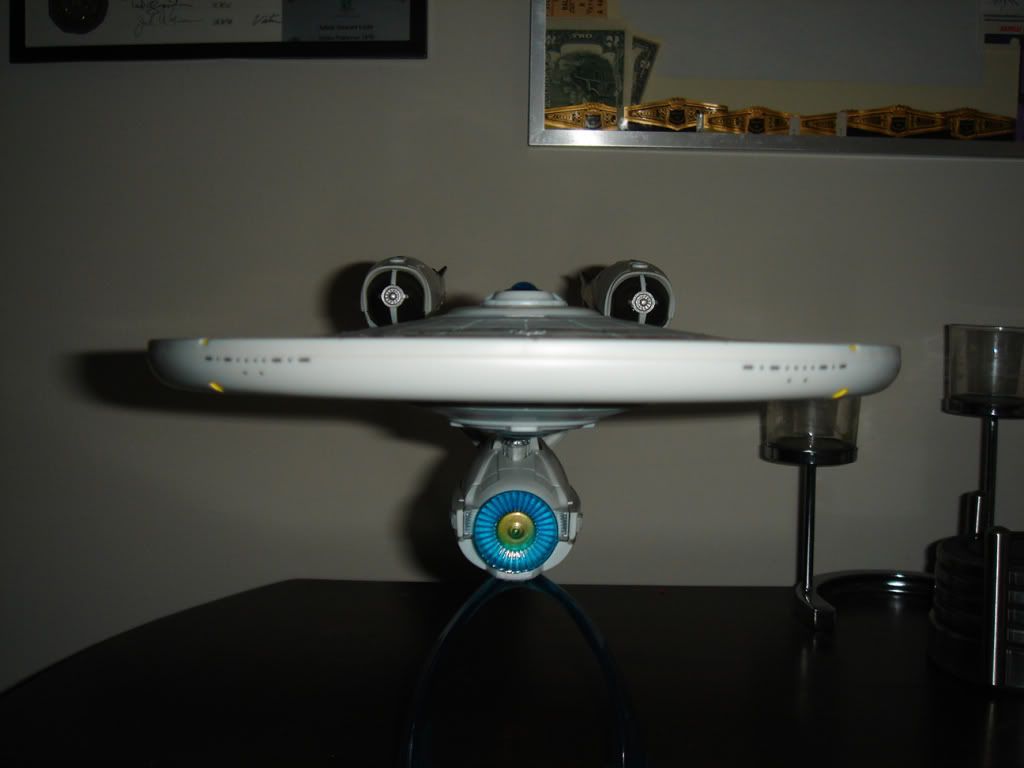
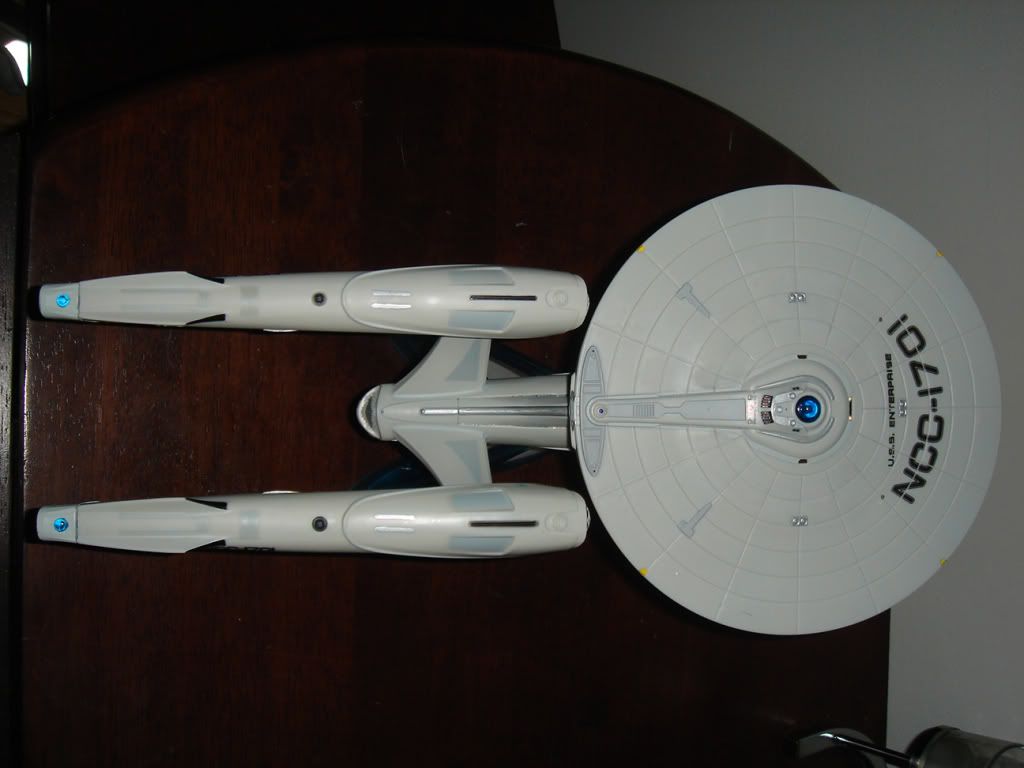
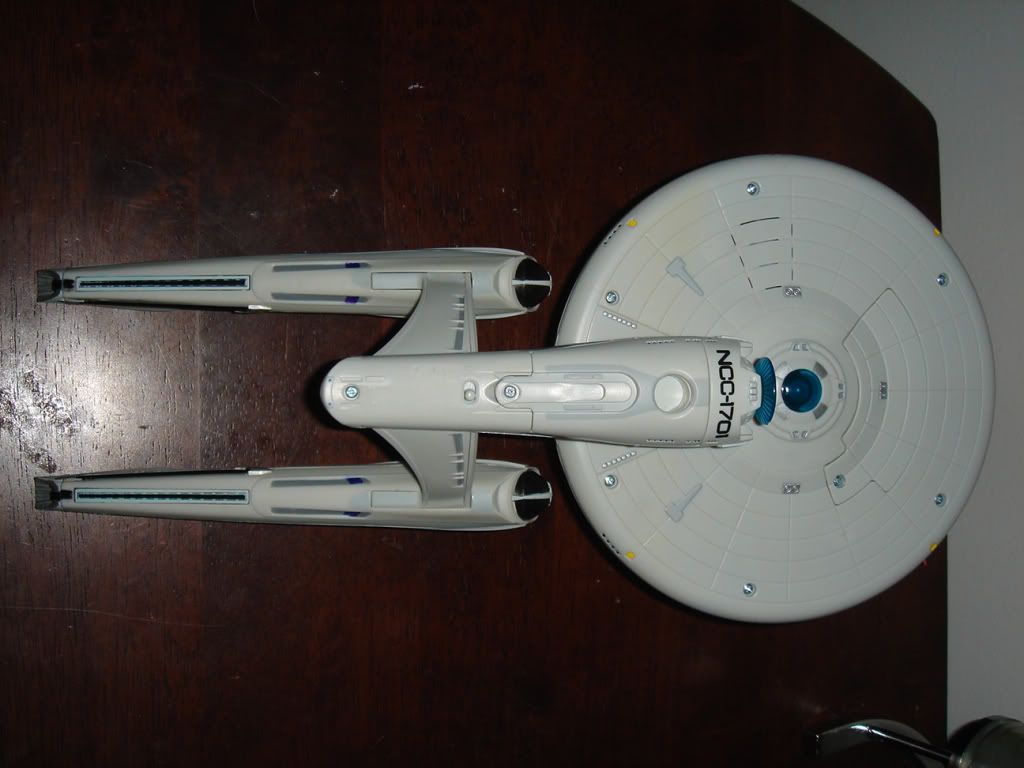
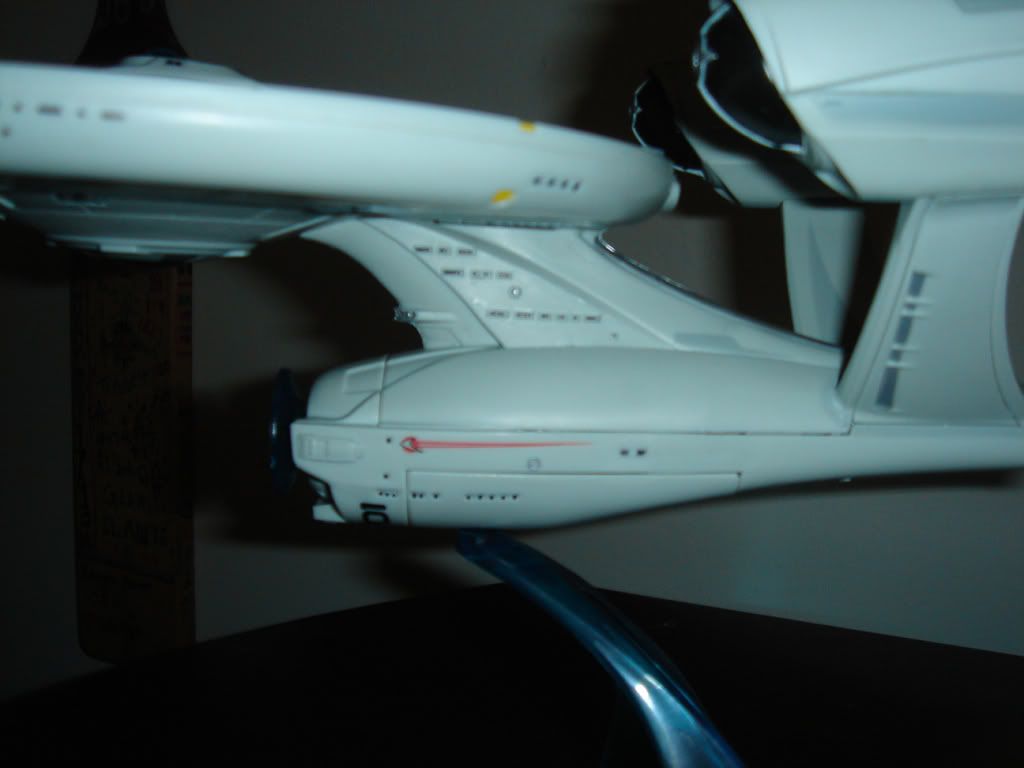
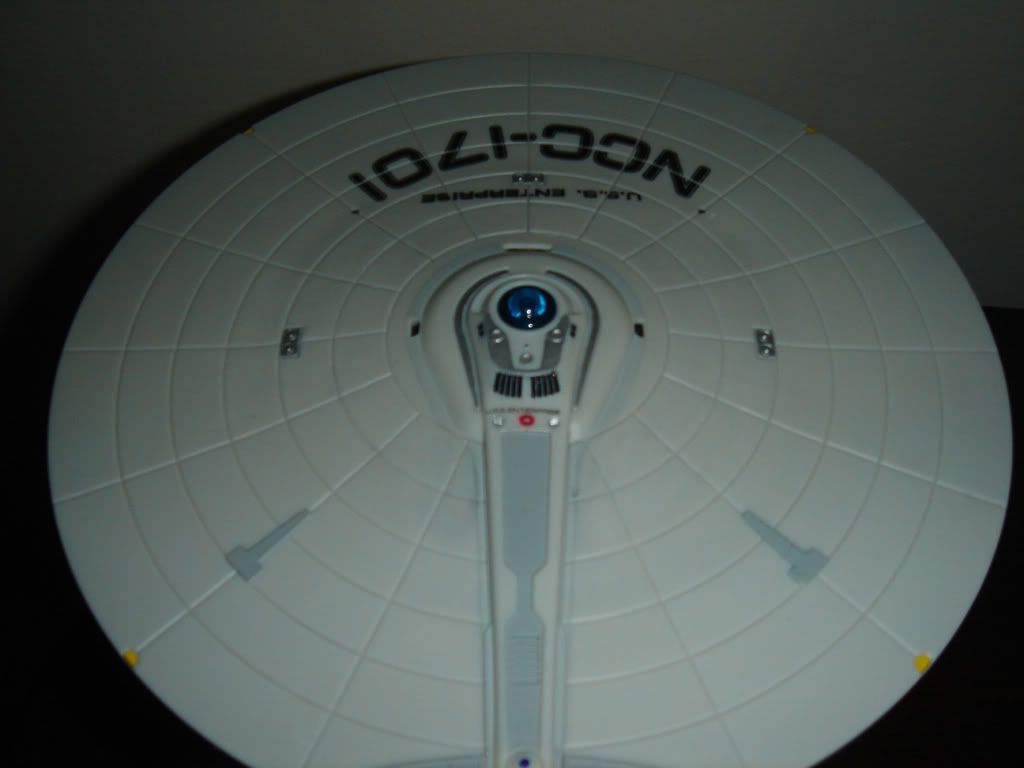
First thing's first: I took 150 grit sandpaper and sanded off the copyright stuff on the hull and saucer. I left the indented serial alone and just kinda smoothed that out. After that, I took 400 grit sandpaper and cleaned it up a little bit. It has a different texture than the rest of the ship, but not a different color, and looks a lot better.
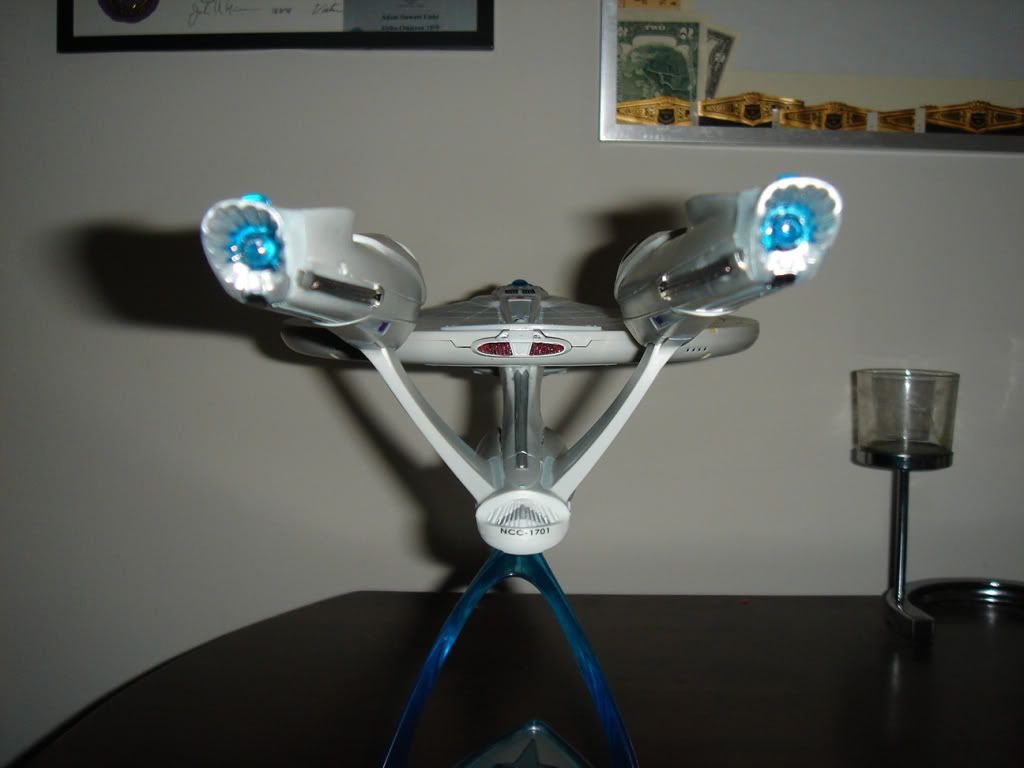
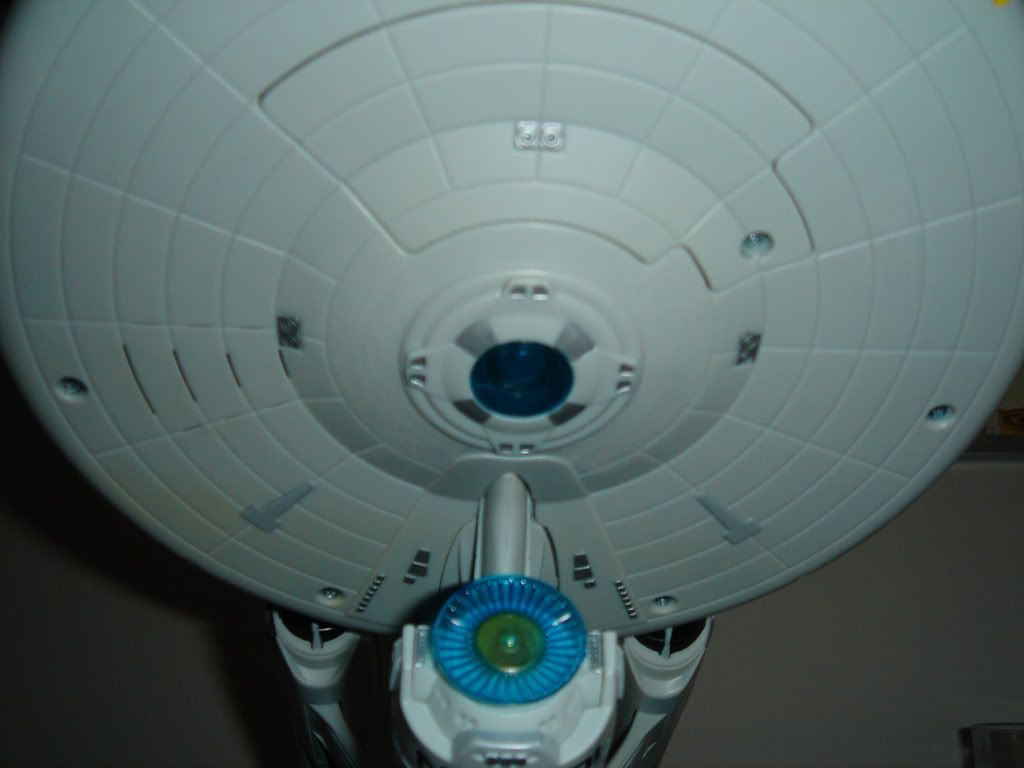
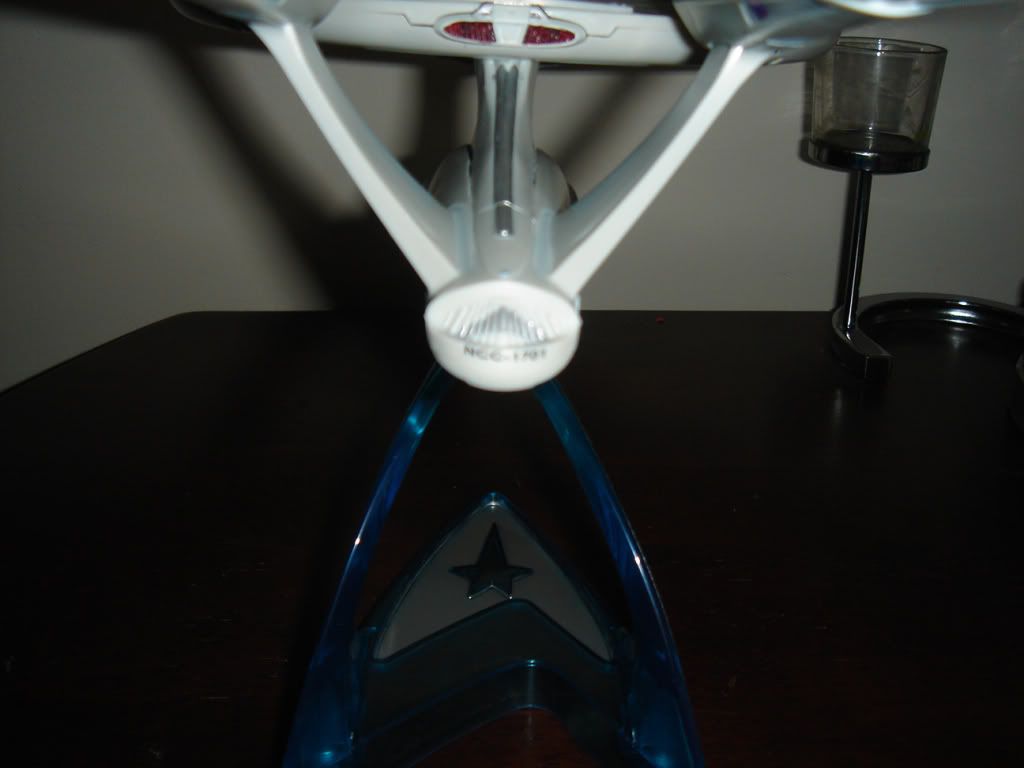
You can see some of the silver detail work I did in the pictures. For that, I used a metallic silver Sharpie. Yeah, it's not paint, but it works pretty well and has a nice color. The windows were done in a black sharpie.
Anyway, I hope you guys like it. If you have any questions or suggestions, I'm open to answer/listen!
And I had a really funny picture with the ship and my cat, but it says I'm over the image limit. So, whatever. You guys don't get to see Space Cat.