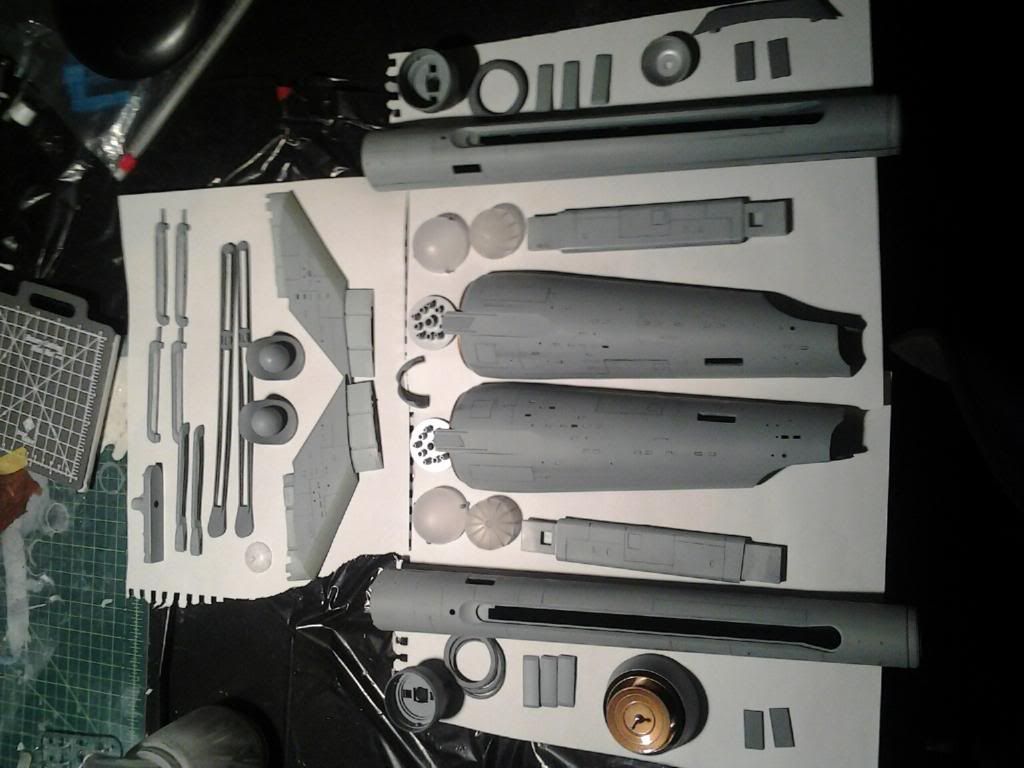
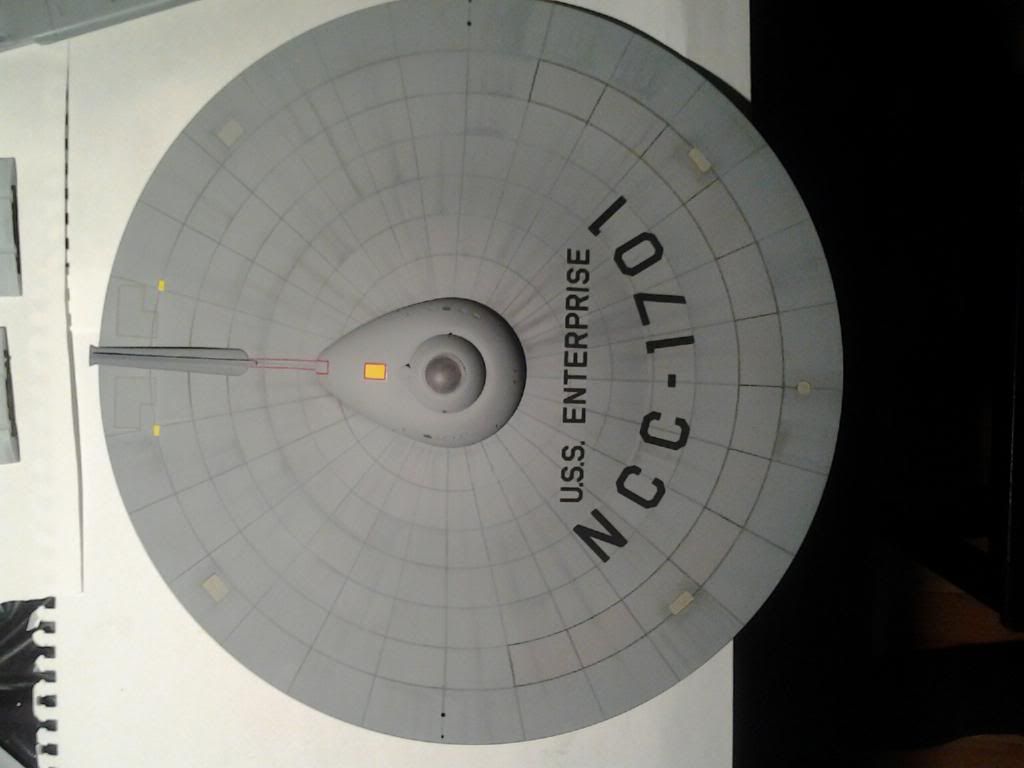
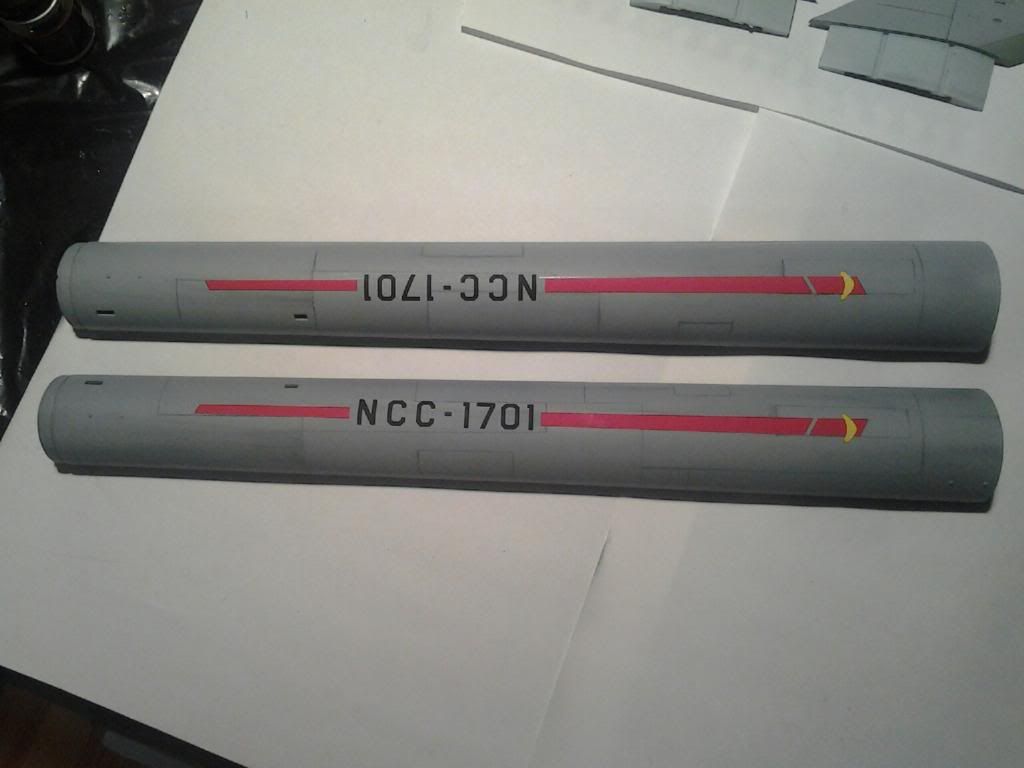
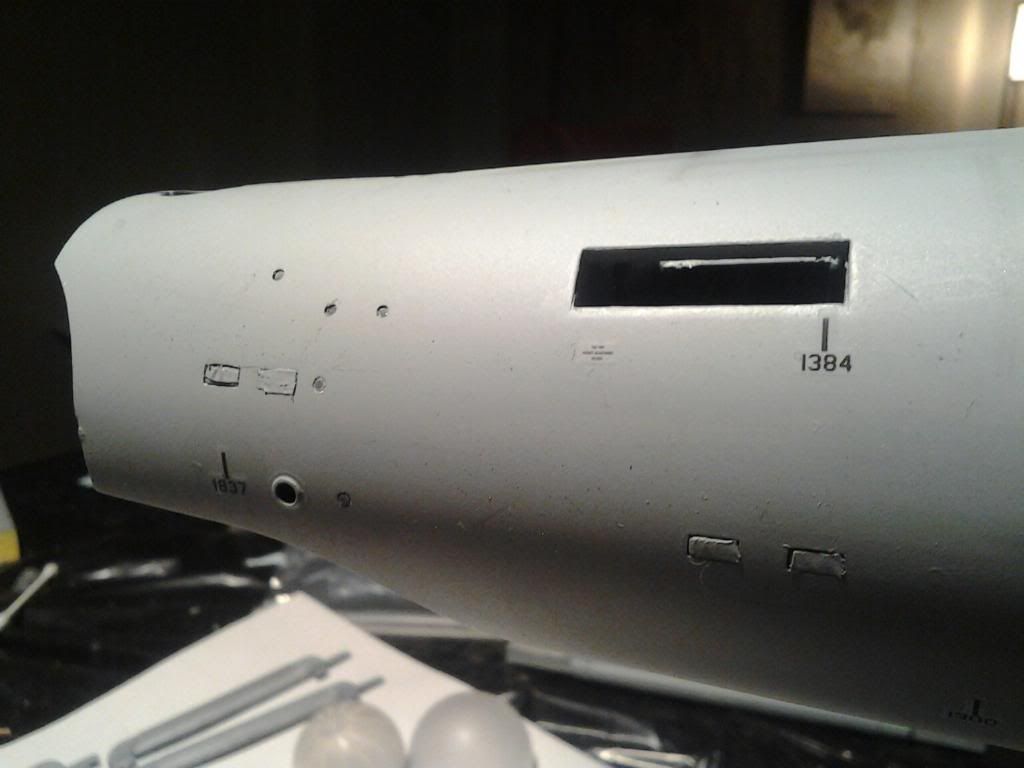
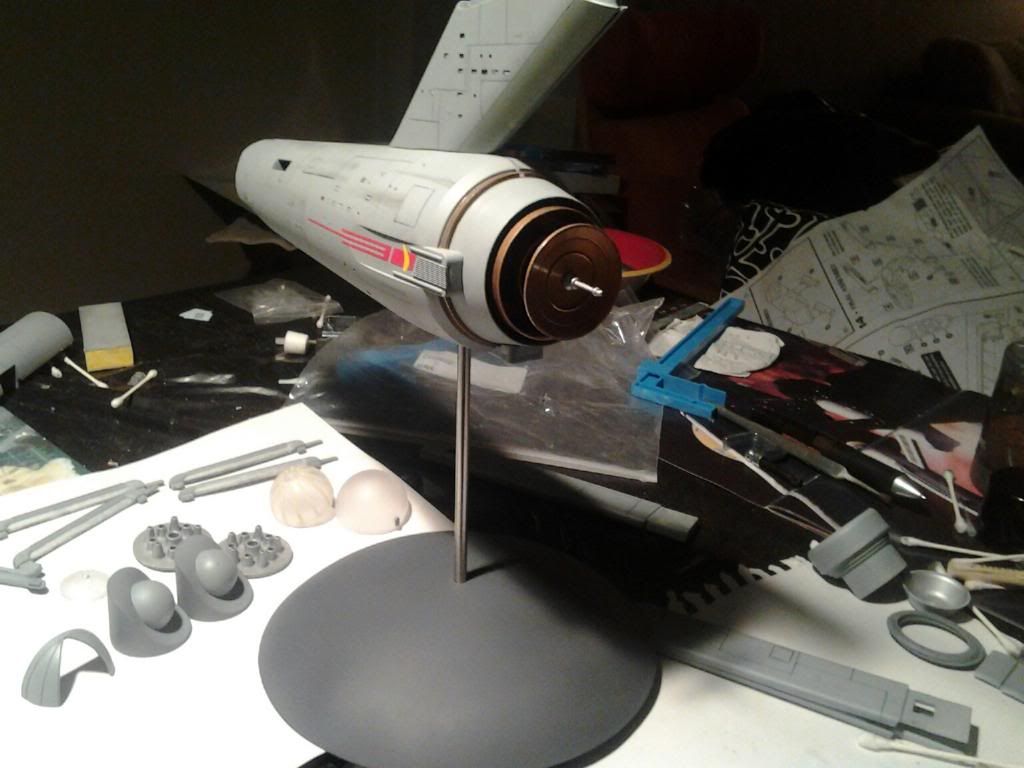
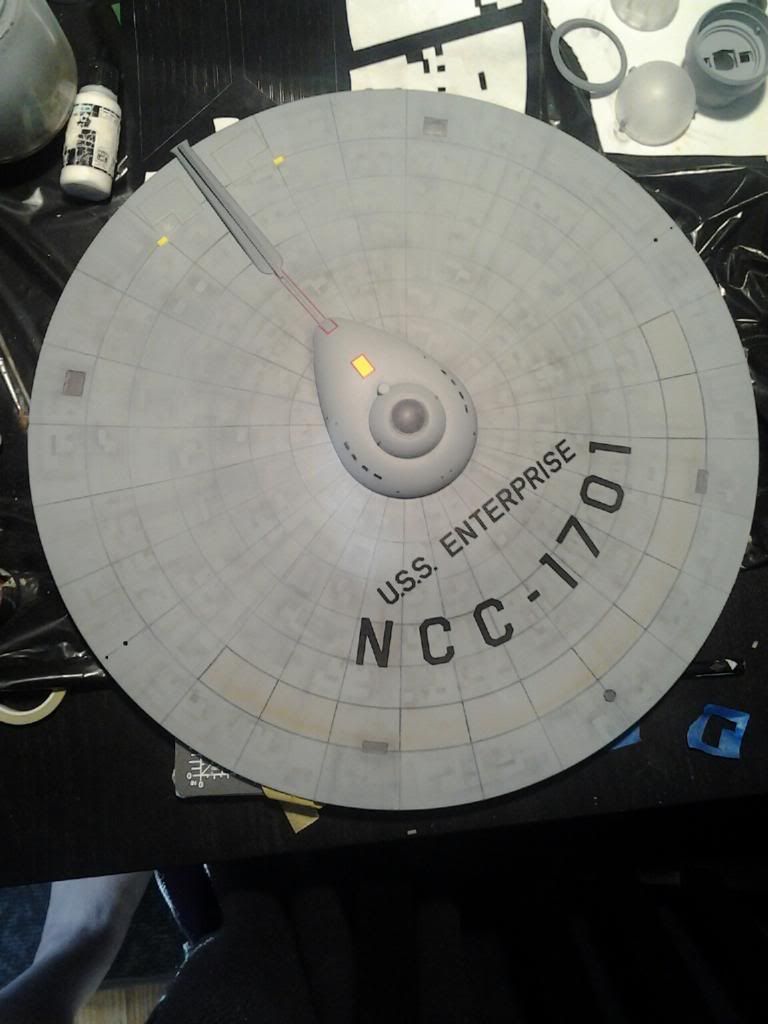
I also did some of the decaling in "safe areas".... The areas that are going to be puttied, sanded, and airbrushed obviously have no decals.....

If I don't have it, It's on preorder.
Posted 29 November 2012 - 05:34 PM
I dream about Toys

Posted 30 November 2012 - 04:42 PM
If I don't have it, It's on preorder.
Posted 30 November 2012 - 07:49 PM
If I don't have it, It's on preorder.
Posted 01 December 2012 - 05:09 PM

It's not a disease it's a hobby.

Posted 02 December 2012 - 03:43 AM
I dream about Toys
Posted 02 December 2012 - 07:00 AM
If I don't have it, It's on preorder.
Posted 02 December 2012 - 01:57 PM
I dream about Toys
Posted 02 December 2012 - 09:54 PM
If I don't have it, It's on preorder.
Posted 04 December 2012 - 03:30 PM
I dream about Toys
Posted 04 December 2012 - 05:34 PM
If I don't have it, It's on preorder.
Posted 04 December 2012 - 09:29 PM
I dream about Toys
Posted 06 December 2012 - 05:52 PM
If I don't have it, It's on preorder.
Posted 06 December 2012 - 06:38 PM
I dream about Toys
Posted 06 December 2012 - 06:44 PM
If I don't have it, It's on preorder.
Posted 06 December 2012 - 08:13 PM
I dream about Toys
Posted 09 December 2012 - 02:00 PM
If I don't have it, It's on preorder.
Posted 09 December 2012 - 07:55 PM
I dream about Toys
Posted 09 December 2012 - 08:37 PM
If I don't have it, It's on preorder.
Posted 09 December 2012 - 09:55 PM
If I don't have it, It's on preorder.
Posted 20 February 2013 - 05:55 AM


0 members, 0 guests, 0 anonymous users

Community Forum Software by IP.Board 3.4.4
Licensed to: Trektoy.com & Trekfigures.com
