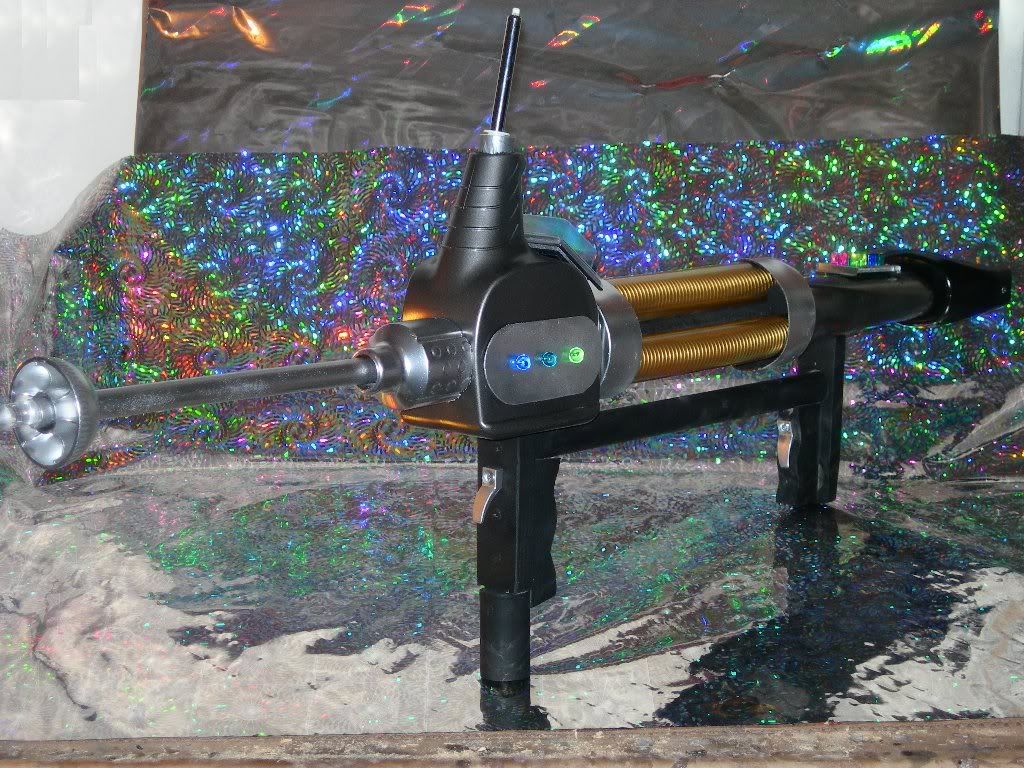
Well, this one was completely for fun - for those of you who have zero dollars and want to build your kid Trekkie a cool prop with recycled materials (or just for the kid in you). Hey man it's plastic, mostly. I know it looks rather toyish now, but wait until after it is painted up!!! I call this the Cage era Mark 1 Phaser Rifle beta field tested by the USS Enterprise during Pike's time and also why you didn't see it much - it had a tendancy to malfunction and spray Fabreeze on the enemy after zapping them.
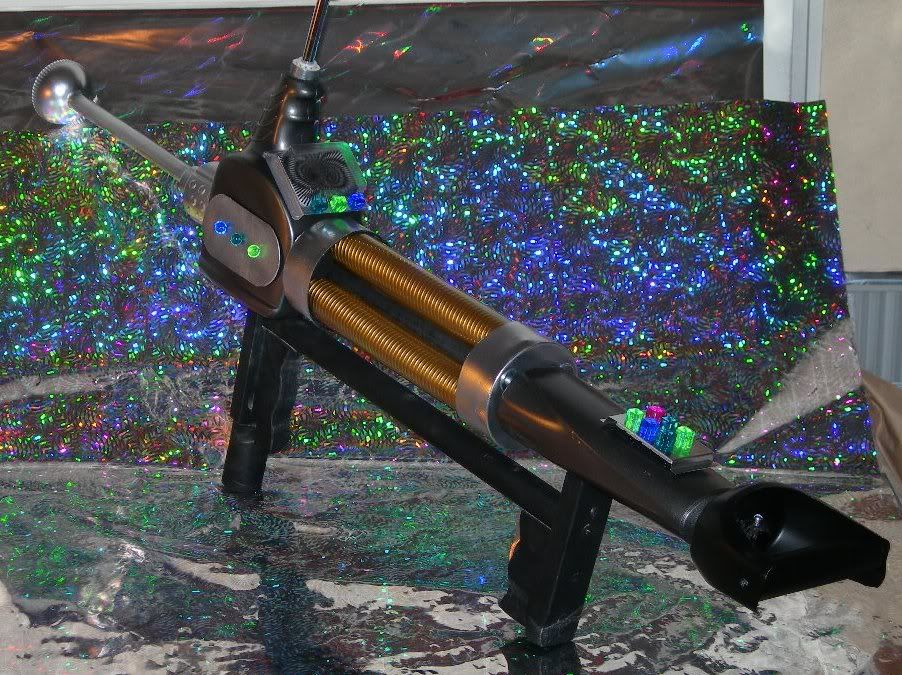
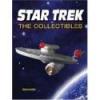
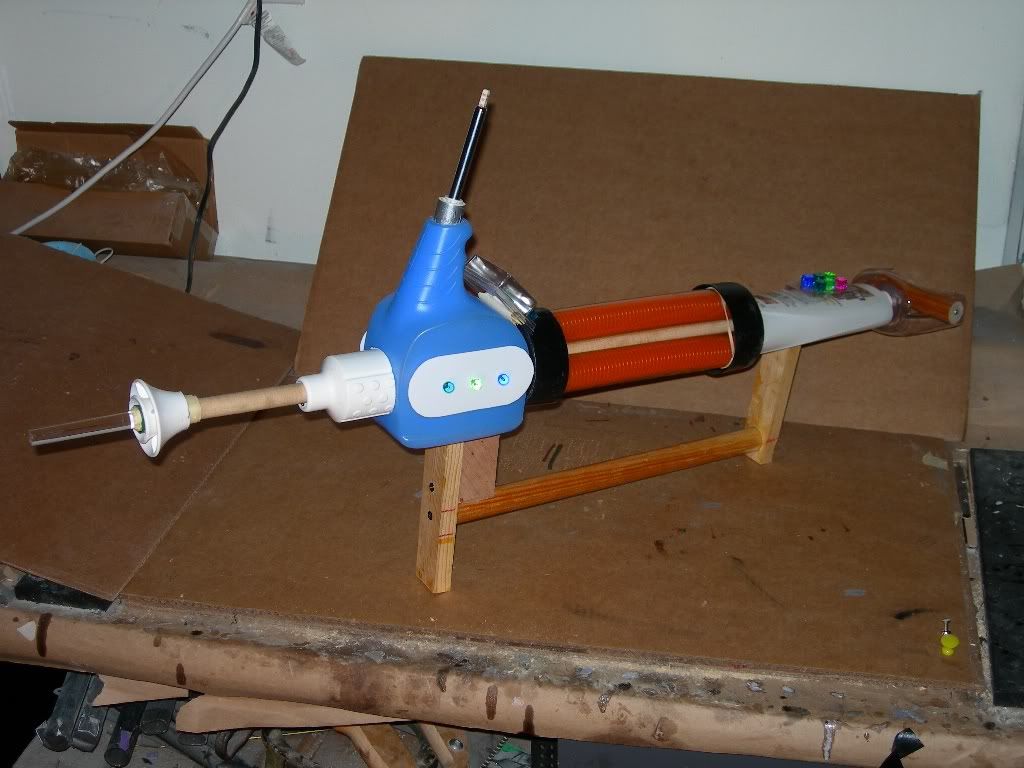
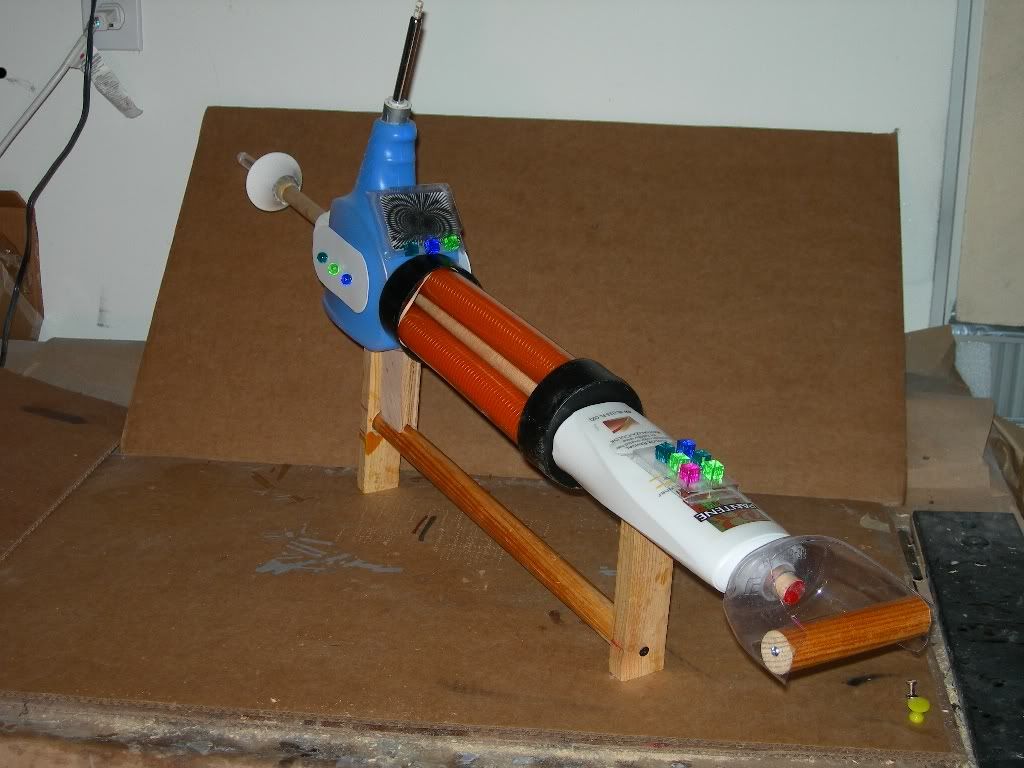
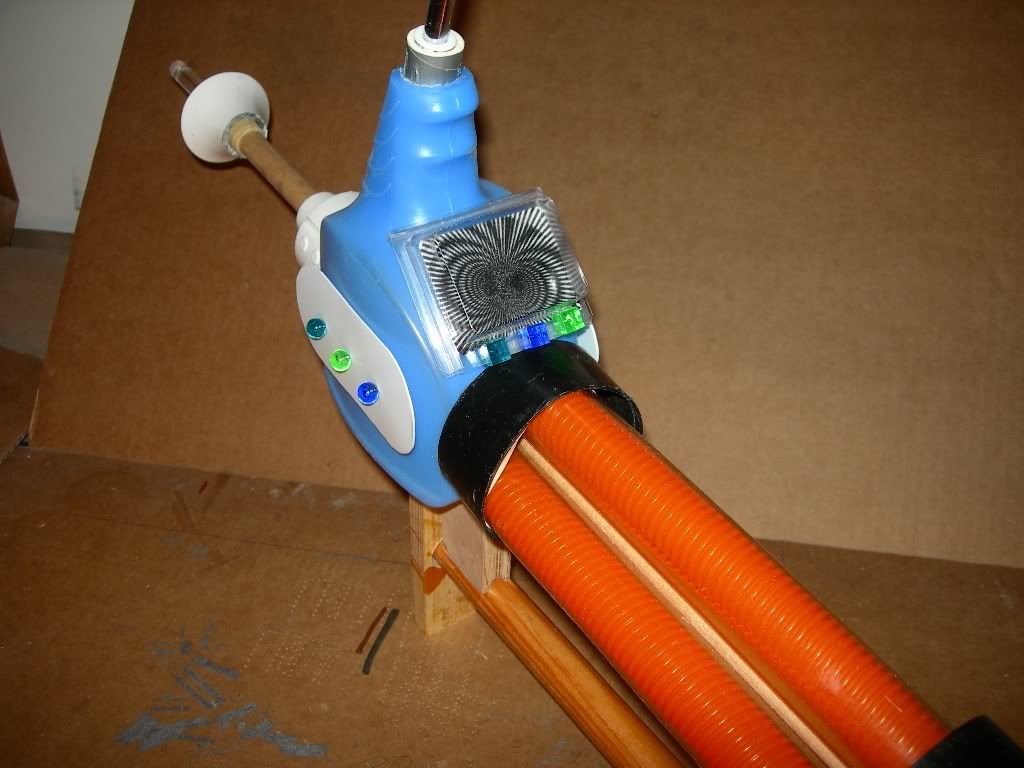
 Since my thoughts were in the Cage time period and they needed a Phaser rifle to play with, Starfleet came up with this gizmo hot out of Starfleet labs for field testing. It purposefully resembled the WNMHGB rifle, but predates it by a few Stardates, but also resembles the fashion of the hand laser - note the rear end shape, and how the center tubes are housed. I'll post some more pics once it's glue up and painted. I actually assembled this thing last night, it's fairly simple once you have all the "parts" together - parts list follows.
.
.
.
.
.
.
.
.
.
.
.
.
.
.
.
.
.
.
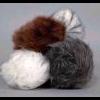
While I have not painted it yet, here I played with the PICTURE colors on a previous pic, to try to imagine what the final paint job would make it look like - something much more like this:

.
.
.
.
PARTS LIST:
- 5/8" wood dowel about 3-4 feet long (hobby shop)
- small size wood pieces for two handles, and 3/4" wood dowel for cross member.
- floor mop resin fixings for front nozzle parts (you need to locate one that can be used this way)
- fabreeze style bottle (check the dollar store for generic brand ones are much better)
- old broken auto tire gauge for upper "antenna thingy" makes a cool range indicator
- plastic tube or other method to fix the tire gauge (or antenna) to the top of the plastic continer mouth
- small clear plastic package from some small brads or something - so it looks like a viewscreen
- another similar small plastic package material to receive the square colored pushpins for the rear end
- round and square multicolored pushpins - get the largest ones you can fine - Staples had them.
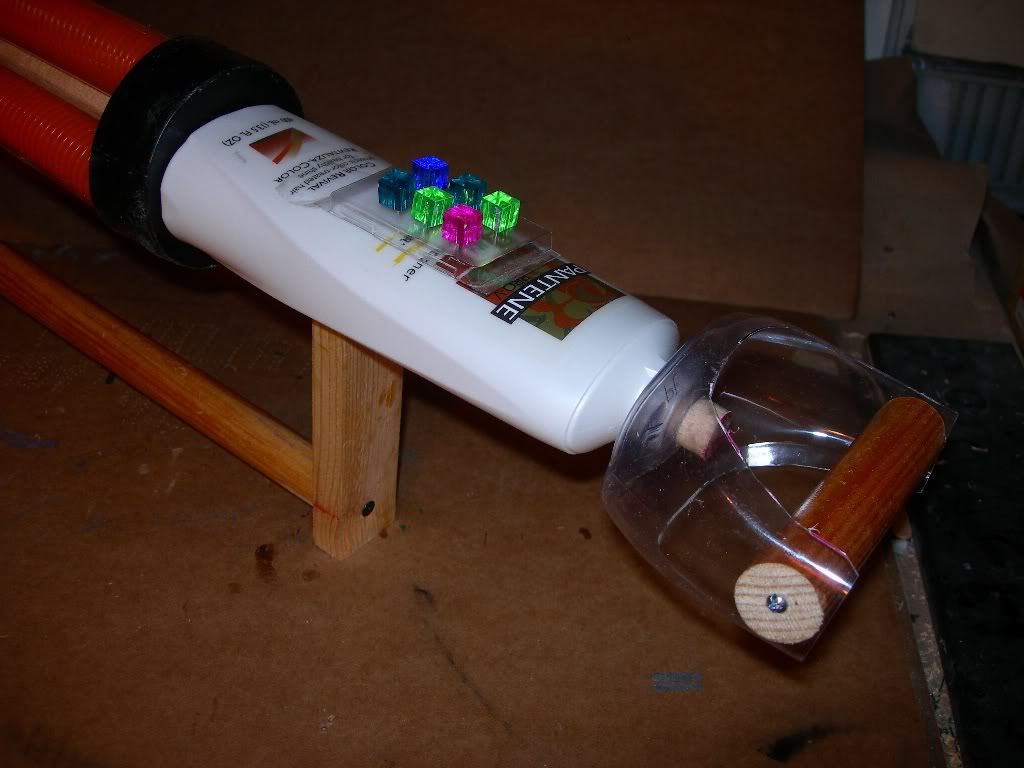
- shampoo bottle for the rear section
- Windex bottle - the bottom part only cut out and a short length of wood dowel screwed on - for the rear end handle
- clear tubing gotten from a wooden flagpole that had clear tubing with it - cut to three pieces
- three lengths of ribbed tubing - I used the type meant for hiding electric wiring or running network cables
- two cap ends from a large diameter tube mailing or storing container (the black things)
- side panels with the three "lights" are plastic cut from a Multicat cat litter container - it's cool plastic!
- length of acryllic resin for the front I obtained on the internet - but a clear small size plunger handle from CVS works too
Construction: The 5/8" wood dowel is the backbone of this baby. The wood handles have 5/8" holes cut in them and they slide right on the 5/8" wood dowel as you insert it into the plastic containers that form the body. The rear handle also has a 5/8" plastic hole drilled in the bottom - the Windex container bottom is thick plastic and curved so excellent fit and hold. The plastic tubing in the middle just needs some form of spacing to keep the three tube assemblies in a triangle formation. Of course all the plastic containers need 5/8" holes drilled in them to accept the dowel. The thing just holds itself together the way it is, but glue and paint will make this looks a lot more "professional" actually and less toyish. I figure Cage era paint won't be blue, I'm thinking black body, brass tubing color, and chrome for the nozzle end and round gizmos that hold the tubing. wink.gif
Have fun!!! Without fun, what is the point ?

Peter