
TNG Dustbuster Phaser
Started by 'E', Jan 01 2010 03:21 PM
34 replies to this topic
#21

'E'
-
- Members
-

- 114 posts
I know what a Pog is.
- Gender:Male
- Location:Las Vegas, NV
Posted 11 January 2010 - 08:26 PM
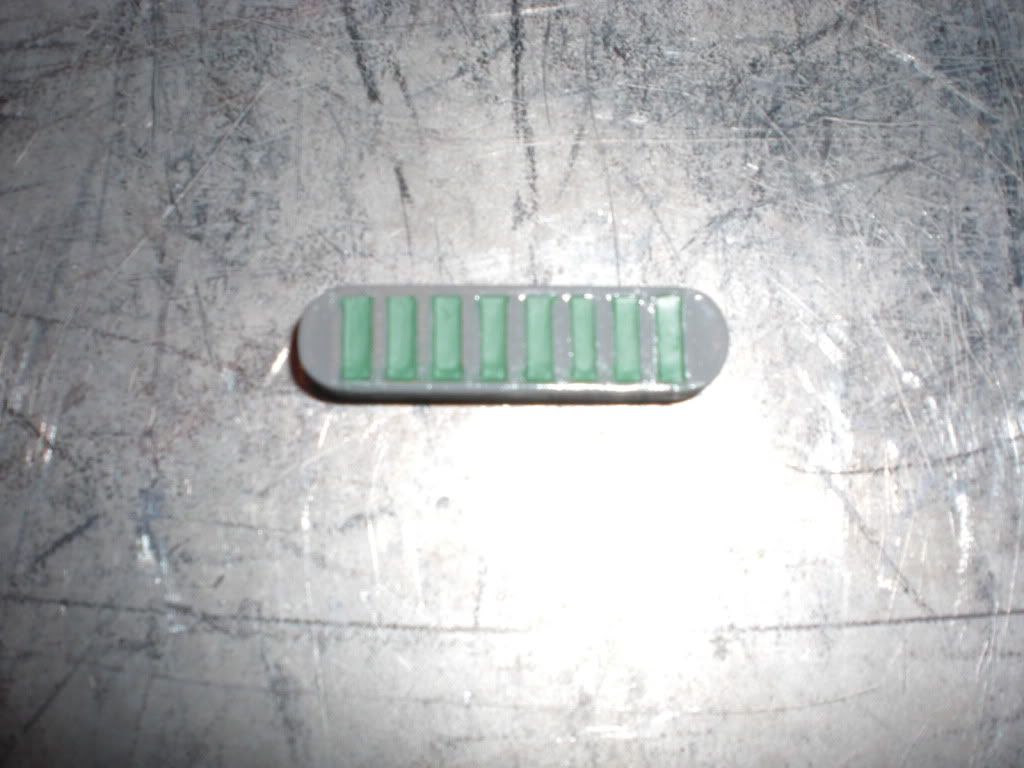
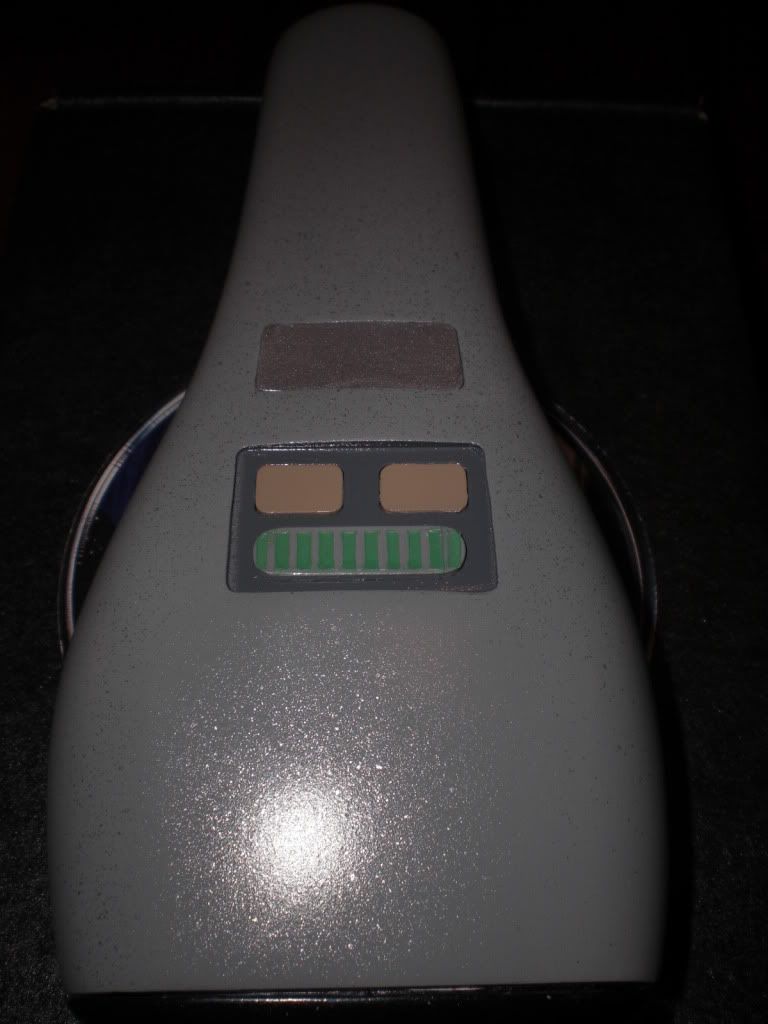
Here's the power meter with the tape taken off. Now I just need to do the last two bars, one on each end.
#22
FHC
-

- Owner
-

- 4,495 posts
Owner
- Gender:Male
Posted 11 January 2010 - 09:12 PM
Here's that EM I should I would post.

#23
'E'
-
- Members
-
- 114 posts
I know what a Pog is.
- Gender:Male
- Location:Las Vegas, NV
Posted 12 January 2010 - 07:05 PM
Thanks for the pics FHC! That looks like a nice piece.
There wasn't much work to do today since it's almost finished. I did manage to get a few things done, though
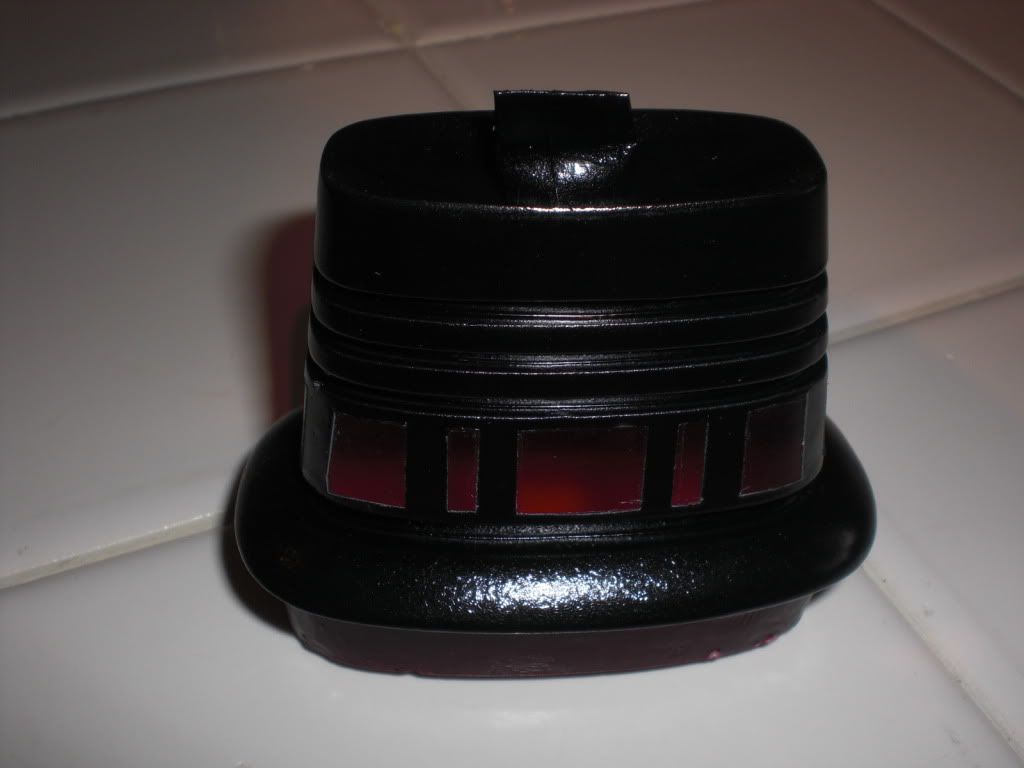
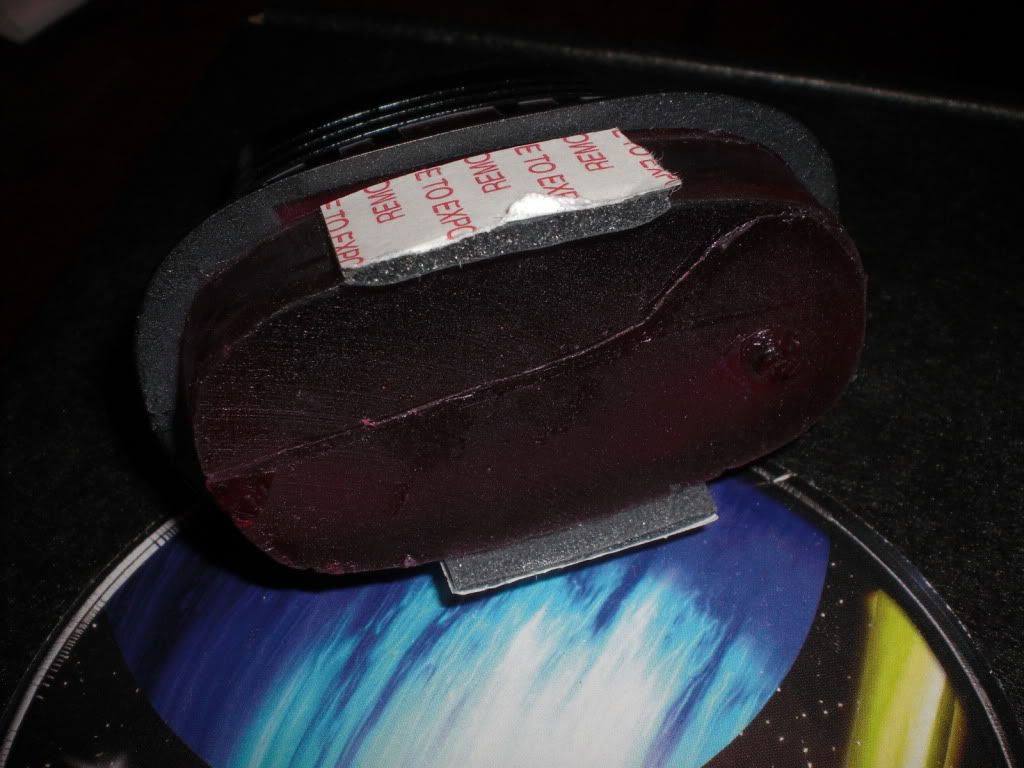
I removed the tape from the phaser emitter. For most part it came off pretty easy. One or two put up a fight.
I finished the power meter by adding the two end bars.

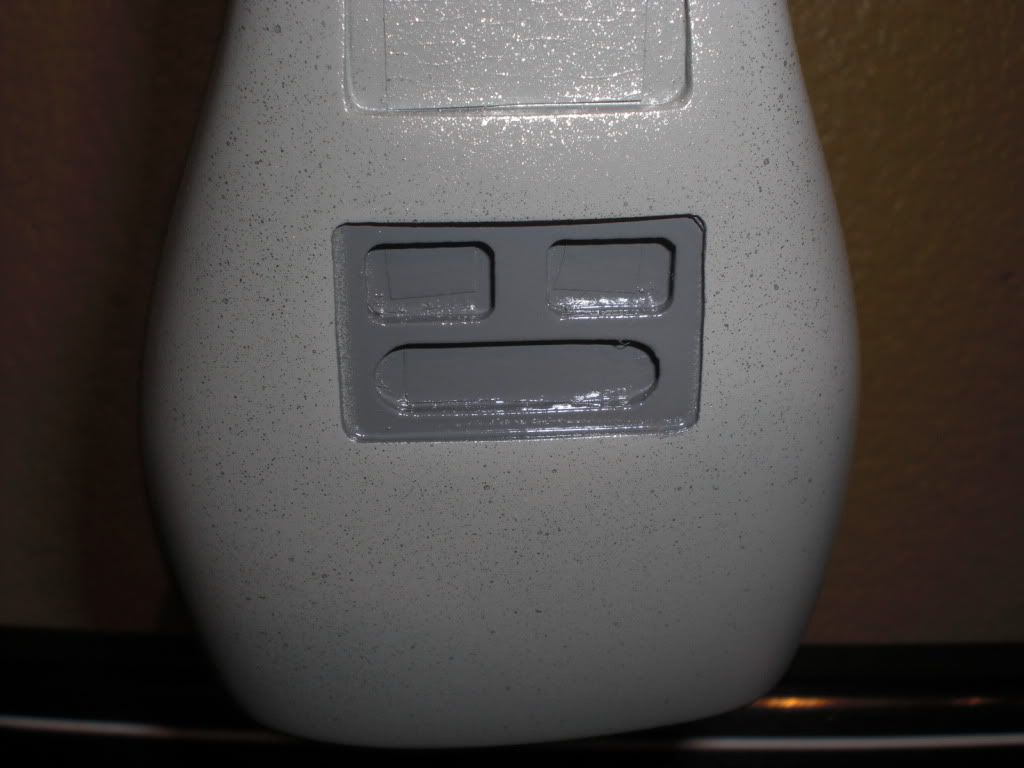
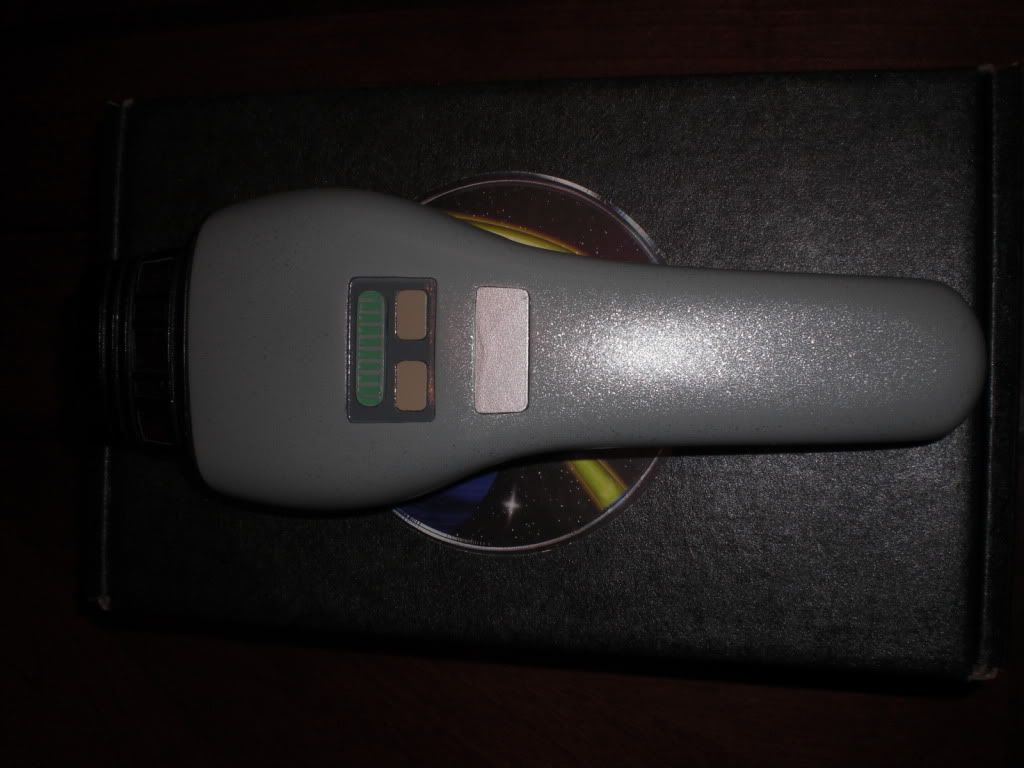
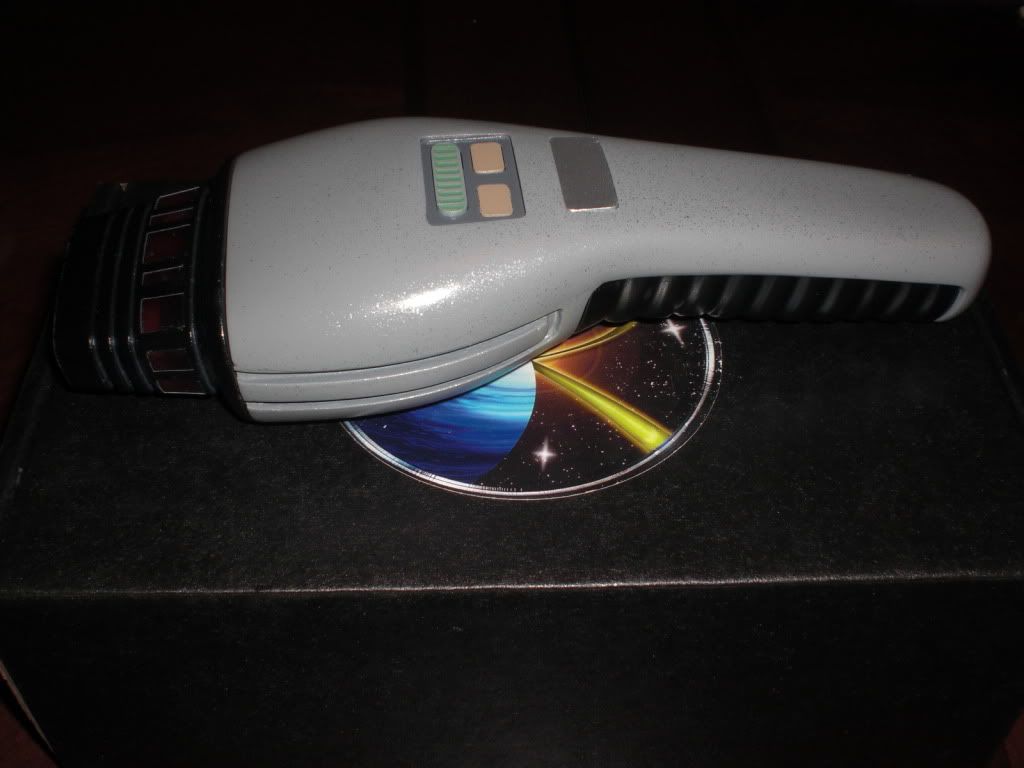
I finished the main phaser body by painting this area dark gray. I masked off the area and then cut a rectangle (a bit larger than the painted area) in a zip lock freezer bag. I put the phaser body in the bag and matched up the whole I just cut and masked again. I sealed up the bag and sprayed away. This is the end result.
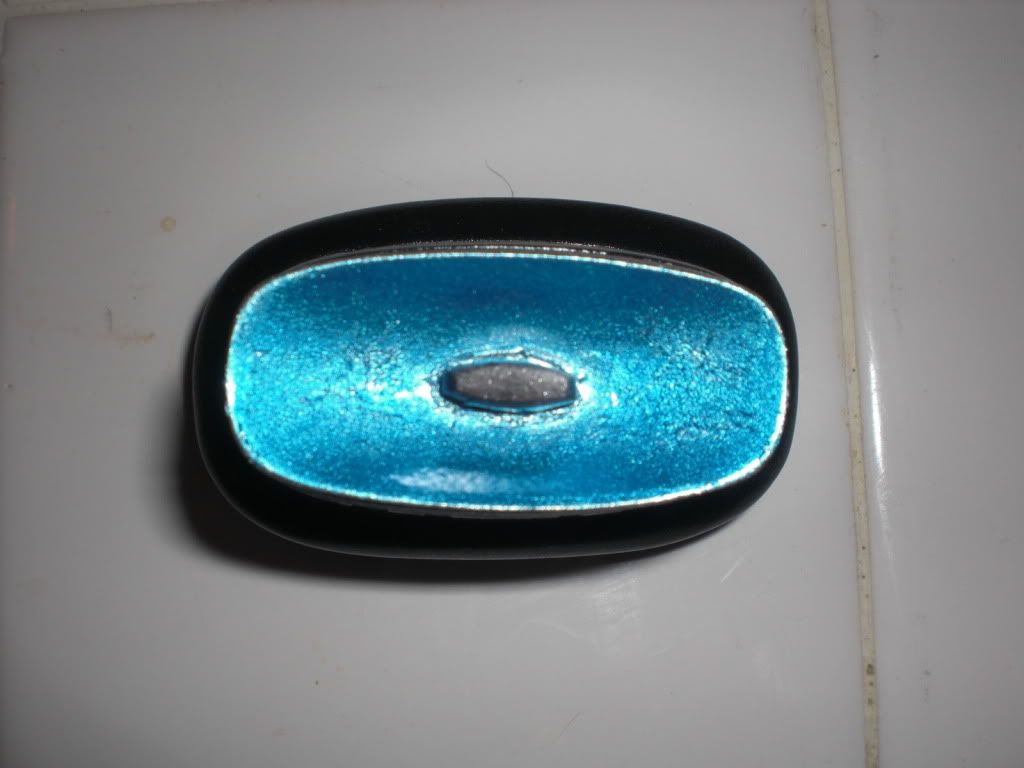
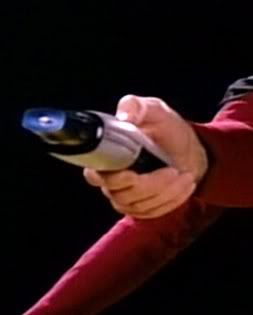
Lastly, I sprayed the emitter tip with silver. Once that was dry I sprayed again with translucent blue. It has a nice metallic blue look now. I'm not sure if it's too blue, though. Last night I happened to turn on the TNG episode "Conspiracy" (season 1 where the Federation gets invaded by little body controlling alien bug things) and it had some nice close ups of the emitter. The scenes were darker so I couldn't tell if it was more silver or blue. Oh well. Anyone know for sure? I can't find a descent pic online, either. I guess I could do another light spray of silver. Here's a pic of the what I ended up with.
I plan to just let everything sit now. I still have another day off tomorrow so I think I'm going to make the stand.
There wasn't much work to do today since it's almost finished. I did manage to get a few things done, though
I removed the tape from the phaser emitter. For most part it came off pretty easy. One or two put up a fight.
I finished the power meter by adding the two end bars.
I finished the main phaser body by painting this area dark gray. I masked off the area and then cut a rectangle (a bit larger than the painted area) in a zip lock freezer bag. I put the phaser body in the bag and matched up the whole I just cut and masked again. I sealed up the bag and sprayed away. This is the end result.
Lastly, I sprayed the emitter tip with silver. Once that was dry I sprayed again with translucent blue. It has a nice metallic blue look now. I'm not sure if it's too blue, though. Last night I happened to turn on the TNG episode "Conspiracy" (season 1 where the Federation gets invaded by little body controlling alien bug things) and it had some nice close ups of the emitter. The scenes were darker so I couldn't tell if it was more silver or blue. Oh well. Anyone know for sure? I can't find a descent pic online, either. I guess I could do another light spray of silver. Here's a pic of the what I ended up with.
I plan to just let everything sit now. I still have another day off tomorrow so I think I'm going to make the stand.
#24
TheHSBR
-

- Global Moderators
-

- 3,621 posts
Mirror Universe Moderator
- Gender:Male
- Location:Chicago, IL
- Interests:This will be quite the list...Star Trek, Star Wars, wrestling, He-Man, comic books, GI Joe, video games, and most of all collecting action figures!
Posted 12 January 2010 - 09:51 PM
looking good!!! Im so glad Im not into the props world because I could see myself devoting a good chunk of my life to it! have you checked trekcore for the screencaps because i cant remember offhand....
#25
'E'
-
- Members
-
- 114 posts
I know what a Pog is.
- Gender:Male
- Location:Las Vegas, NV
Posted 12 January 2010 - 09:57 PM
I came across a few screen grabs from another site. Looks like I'm pretty dead on!
#26
'E'
-
- Members
-
- 114 posts
I know what a Pog is.
- Gender:Male
- Location:Las Vegas, NV
Posted 13 January 2010 - 05:44 PM
I'm done!!!!!!
Here's today's work.
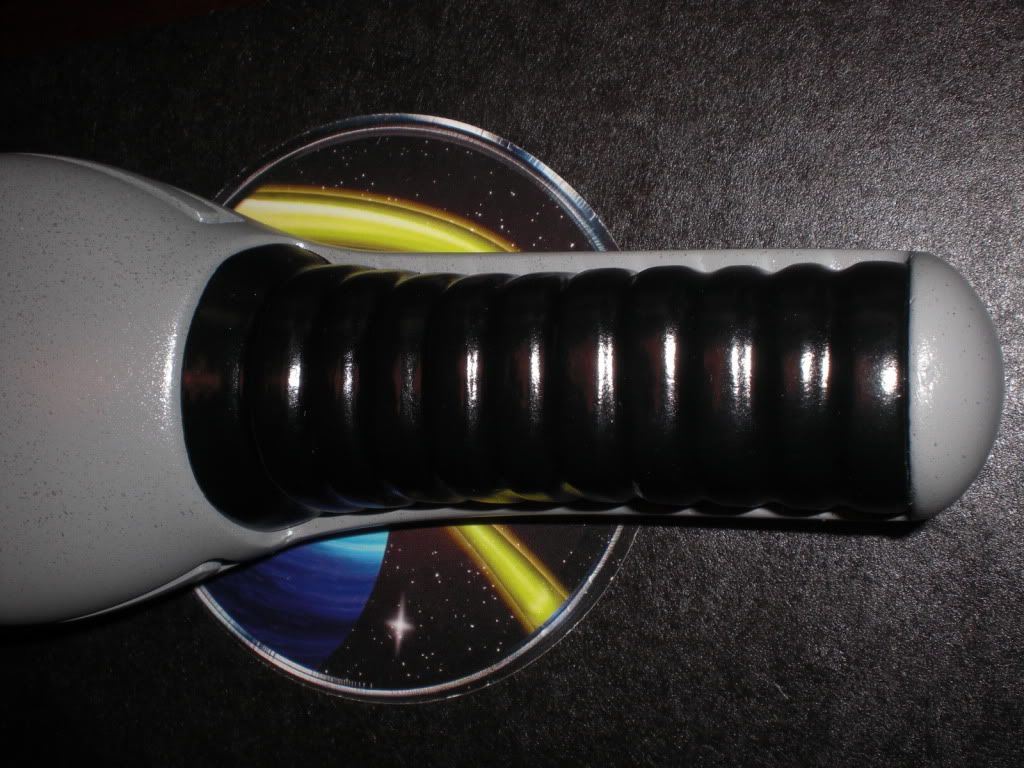
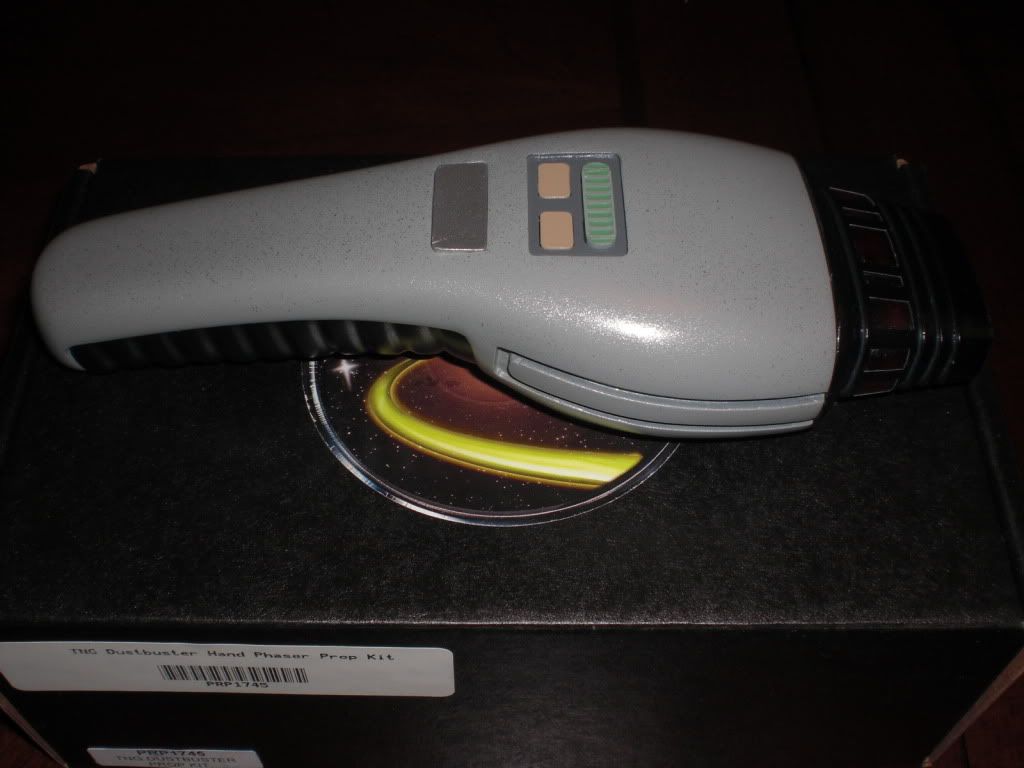
I attached the finished handle to the phaser body.
I then glued in all the buttons and power meter.
I didn't want to commit yet to gluing in the emitter yet since I haven't decided what do do yet with the minor silver paint leakage. So I found some stick foam pads and and attached them to the area that goes into the main body. It's got a nice snug fit and I can easily remove the emitter later for easier handling.
Then I sat back and enjoyed by handy work. I couldn't believe I actually built it. I was a complete disaster when it came to model building when I was a kid.

Here's today's work.
I attached the finished handle to the phaser body.
I then glued in all the buttons and power meter.
I didn't want to commit yet to gluing in the emitter yet since I haven't decided what do do yet with the minor silver paint leakage. So I found some stick foam pads and and attached them to the area that goes into the main body. It's got a nice snug fit and I can easily remove the emitter later for easier handling.
Then I sat back and enjoyed by handy work. I couldn't believe I actually built it. I was a complete disaster when it came to model building when I was a kid.
#27
'E'
-
- Members
-
- 114 posts
I know what a Pog is.
- Gender:Male
- Location:Las Vegas, NV
Posted 13 January 2010 - 05:44 PM
It actually looks like the one from the show!!

That last shot is not easy to do by yourself!
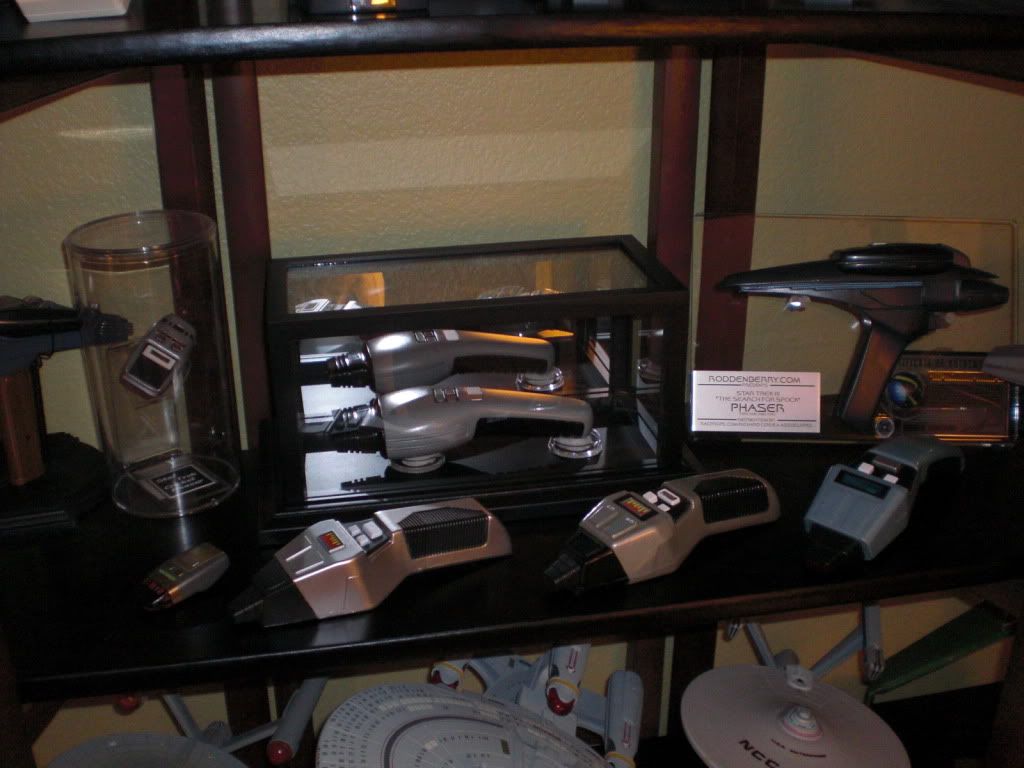
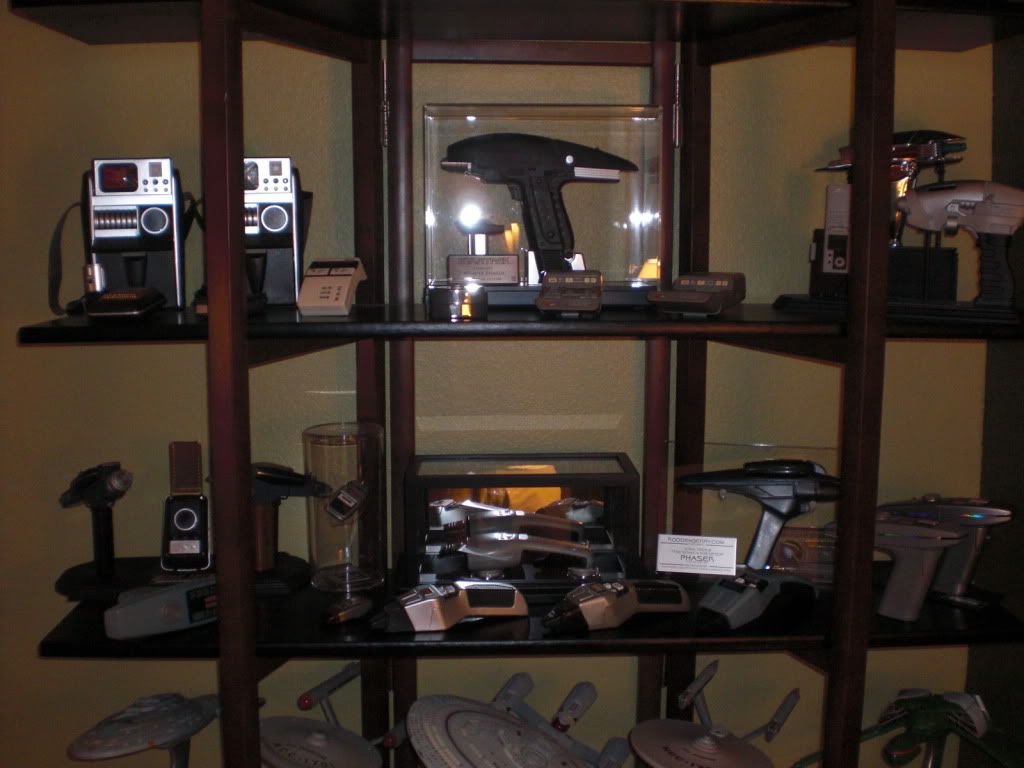
Lastly I needed some way to display it. I went to Michael's (an arts/crafts store chain on this end of the country) and bought a display case. They just happened to be having a 40% off sale. Not bad for $15. It even came with little pedestals I used to set the phaser on.
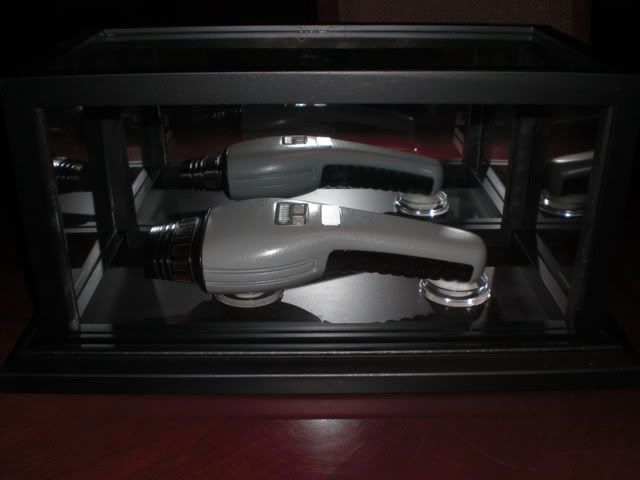
So that's it! Aside from the minor touch ups here and there this one's in the bag. It looks pretty good on my office display shelf!
Well I have to say it was a fun experience. One I'll definitely do again. Maybe this will show some other noobs out there that you don't have to be a pro to do this. Hmmmmm...what shall I do next? Where can I get a SFS communicator kit?
That last shot is not easy to do by yourself!
Lastly I needed some way to display it. I went to Michael's (an arts/crafts store chain on this end of the country) and bought a display case. They just happened to be having a 40% off sale. Not bad for $15. It even came with little pedestals I used to set the phaser on.
So that's it! Aside from the minor touch ups here and there this one's in the bag. It looks pretty good on my office display shelf!
Well I have to say it was a fun experience. One I'll definitely do again. Maybe this will show some other noobs out there that you don't have to be a pro to do this. Hmmmmm...what shall I do next? Where can I get a SFS communicator kit?
#28
JMW326
-

- Members
-

- 4,836 posts
If I don't have it, they never made one.
- Gender:Male
- Location:Charlotte, NC
Posted 13 January 2010 - 05:51 PM
That turned out really nice. Great job.
#29
TheHSBR
-
- Global Moderators
-
- 3,621 posts
Mirror Universe Moderator
- Gender:Male
- Location:Chicago, IL
- Interests:This will be quite the list...Star Trek, Star Wars, wrestling, He-Man, comic books, GI Joe, video games, and most of all collecting action figures!
Posted 14 January 2010 - 09:37 AM
That is really cool! I love that display!!
#30
WORF22
-

- Members
-

- 1,894 posts
It's not a disease it's a hobby.
- Gender:Male
- Location:N.J.
Posted 15 January 2010 - 02:59 PM
looks good. i like your set up
#31
'E'
-
- Members
-
- 114 posts
I know what a Pog is.
- Gender:Male
- Location:Las Vegas, NV
Posted 29 January 2010 - 08:42 PM
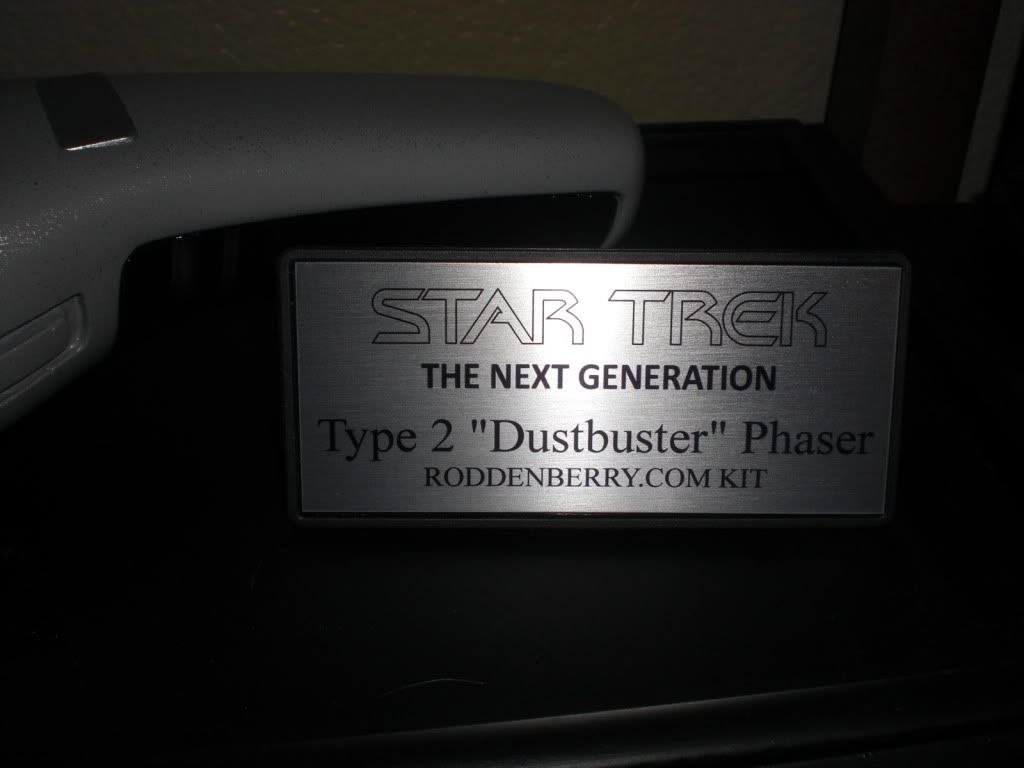
Almost forgot to add the finishing touch I added the other week.
#32
FHC
-
- Owner
-
- 4,495 posts
Owner
- Gender:Male
Posted 30 January 2010 - 05:51 PM
Now you need to post the one that you're working on now!
#33
'E'
-
- Members
-
- 114 posts
I know what a Pog is.
- Gender:Male
- Location:Las Vegas, NV
Posted 30 January 2010 - 06:02 PM
Sure, no problem. What section should I post in, though?
#34
FHC
-
- Owner
-
- 4,495 posts
Owner
- Gender:Male
#35
pickard
-

- Members
-

- 958 posts
Yes the Troi figures hair worries me.
- Gender:Male
Posted 31 January 2010 - 09:31 AM
Nice job!


0 user(s) are reading this topic
0 members, 0 guests, 0 anonymous users

