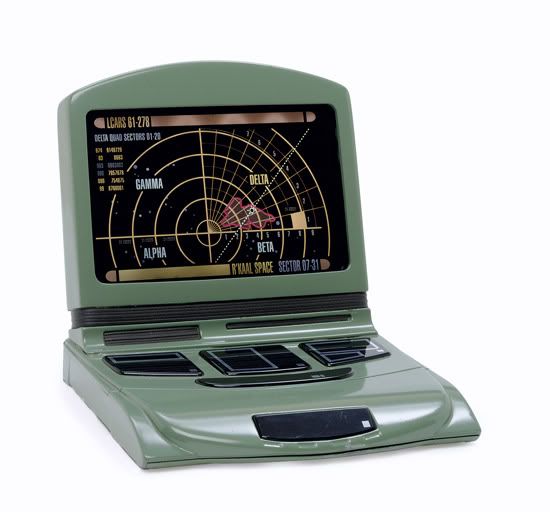
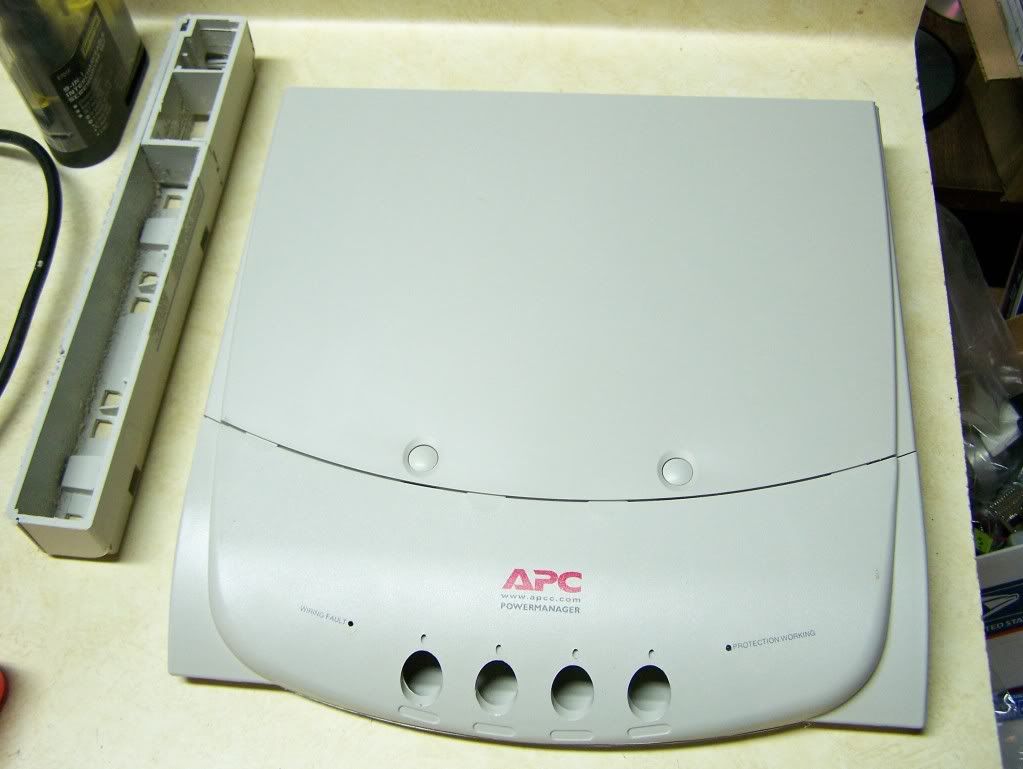
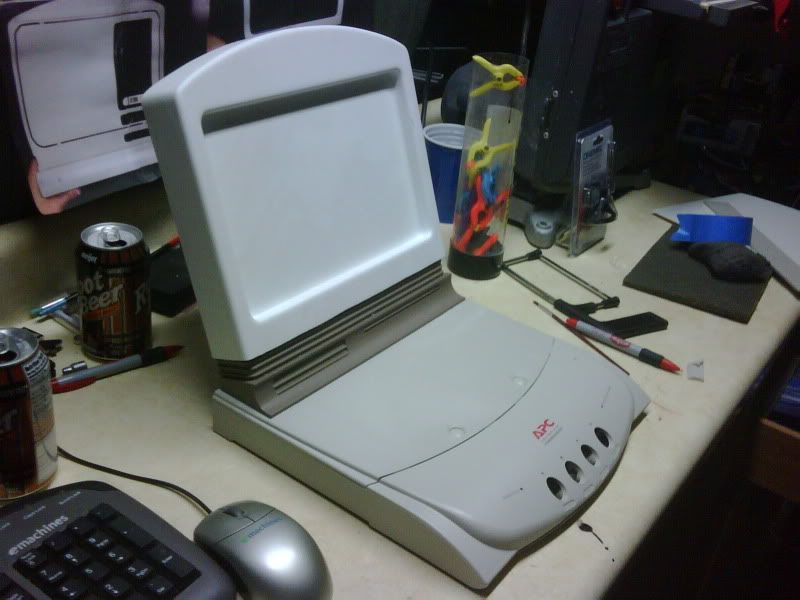
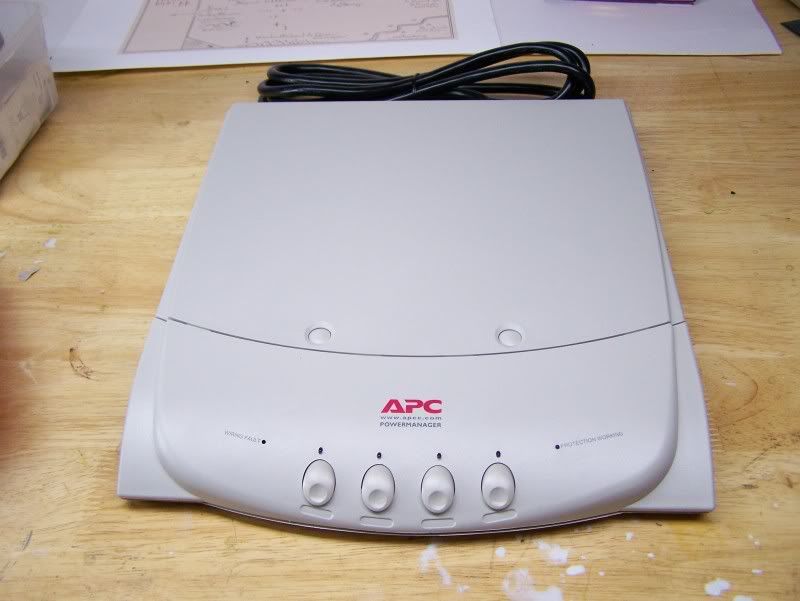
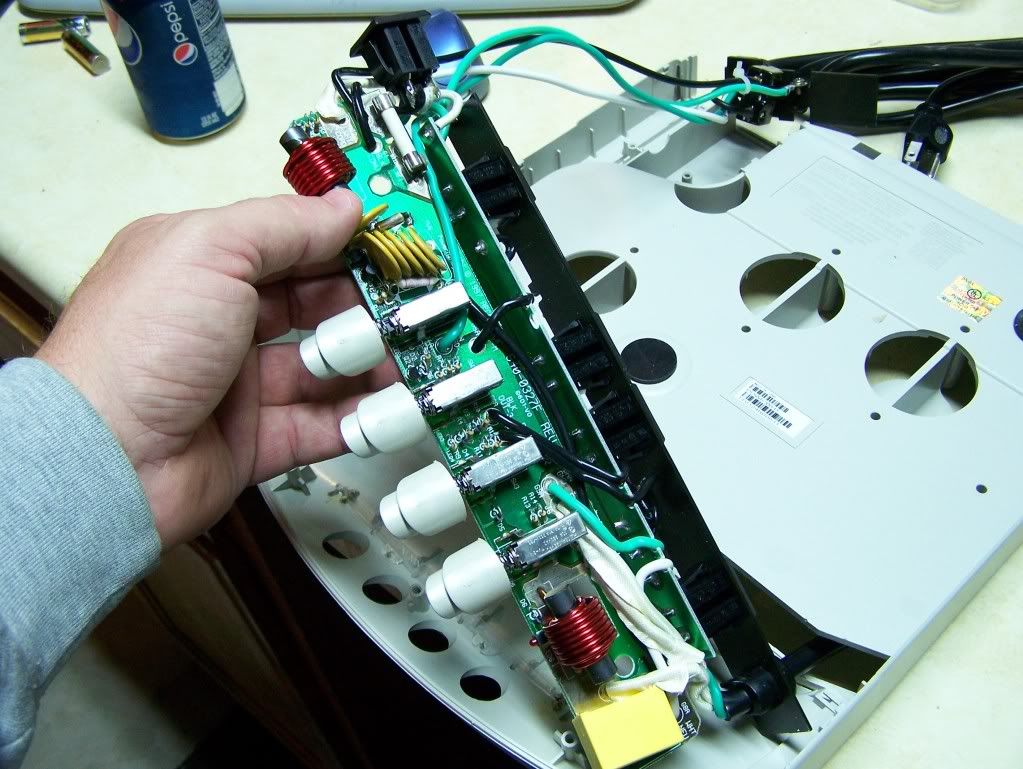
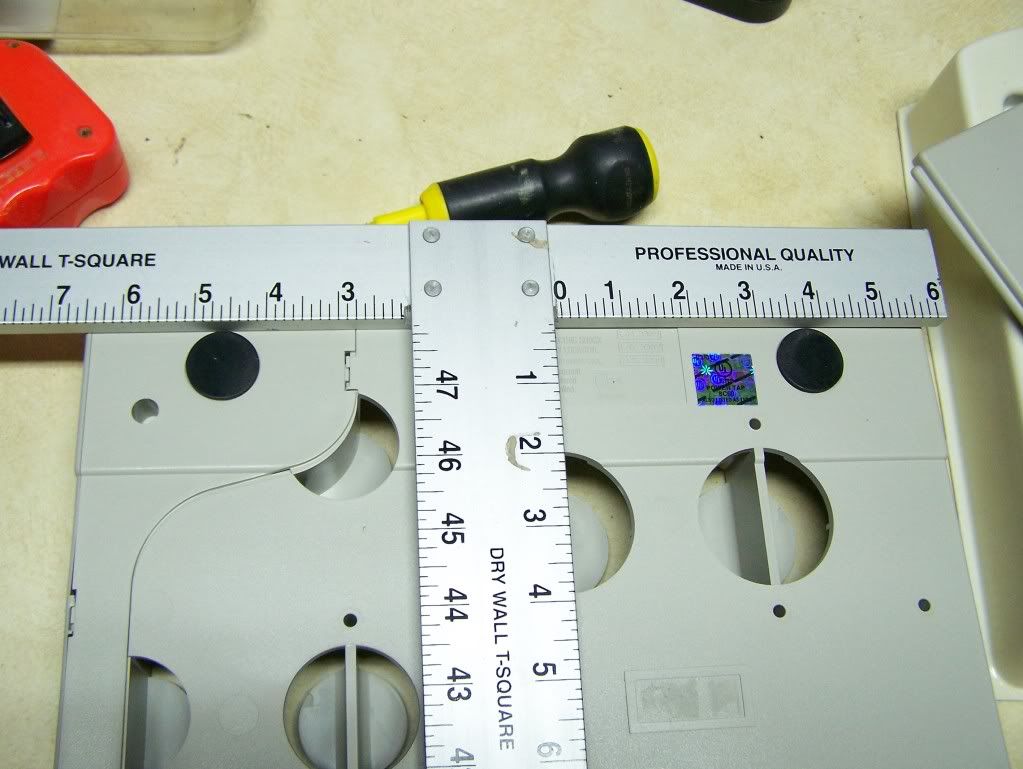
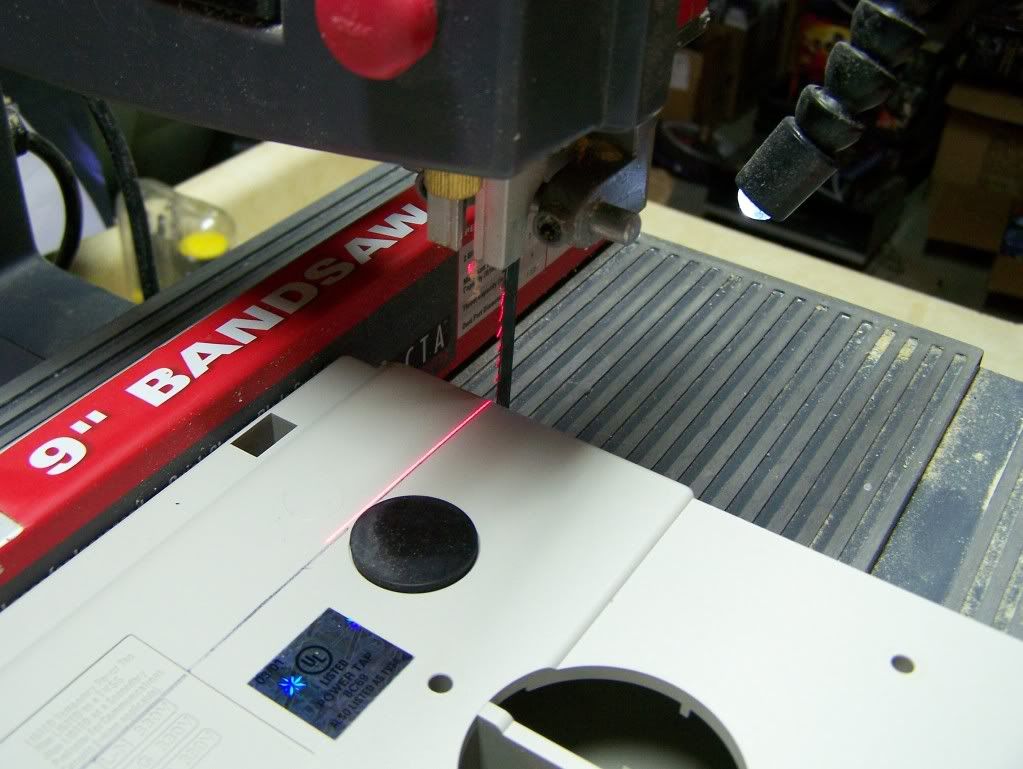
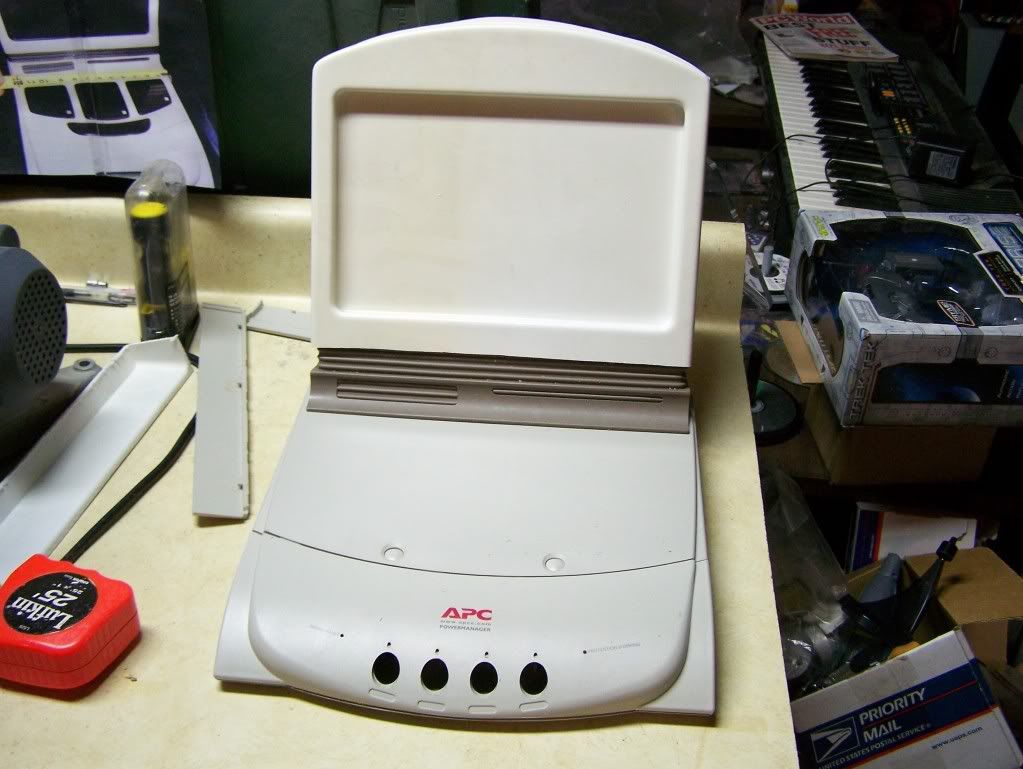
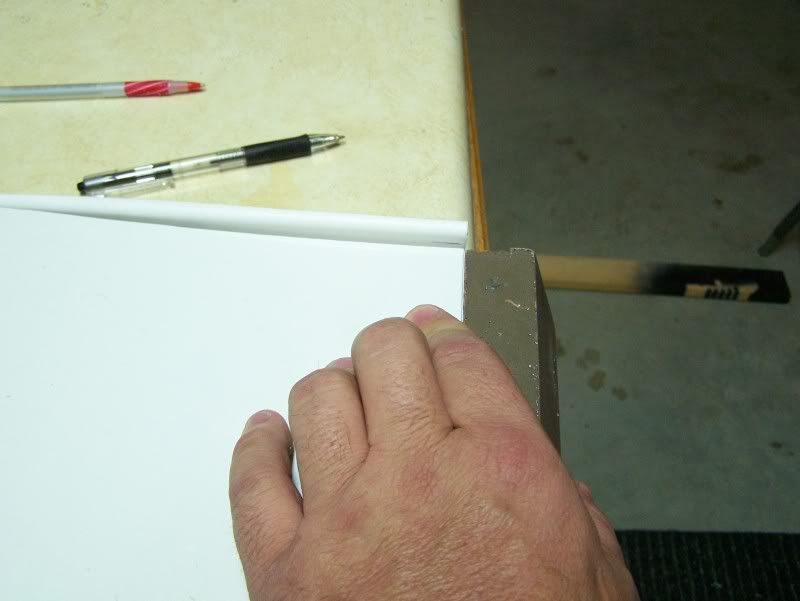
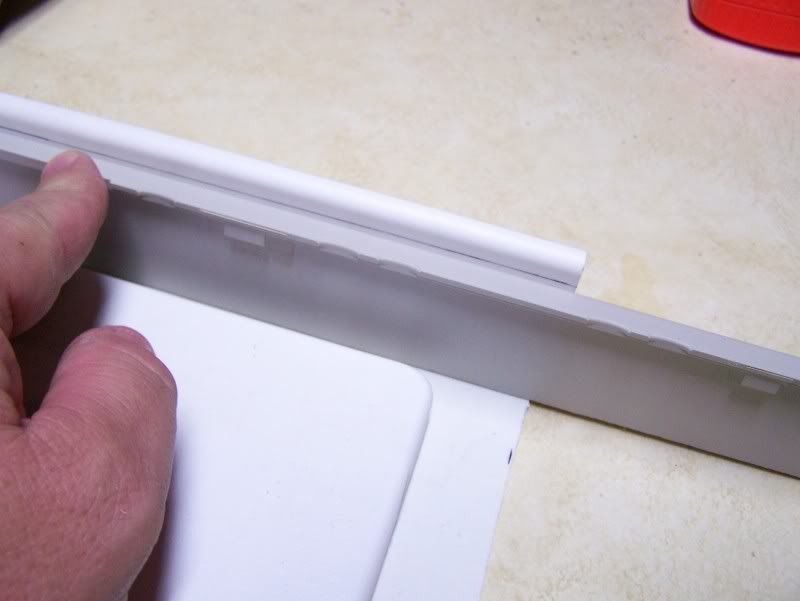
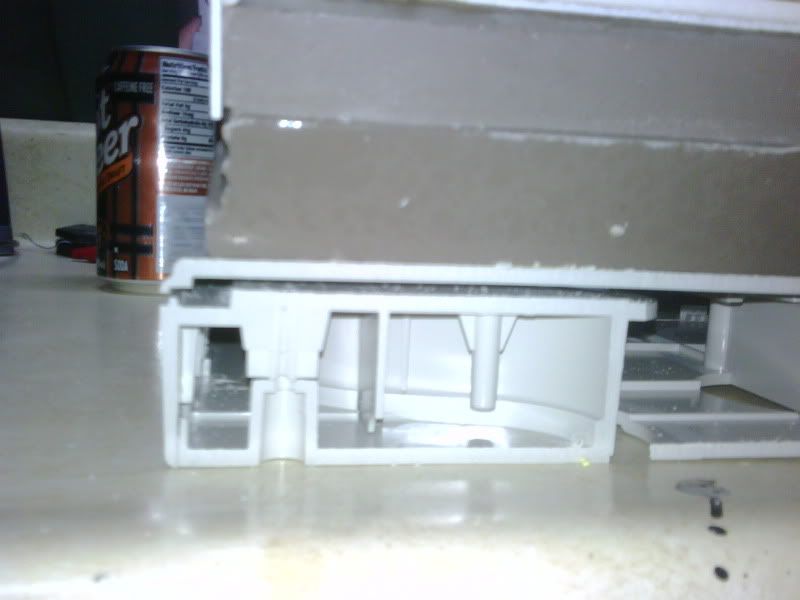
Voyager Desktop Computer build
#1
Posted 05 January 2010 - 11:21 PM
Into THIS!
these parts
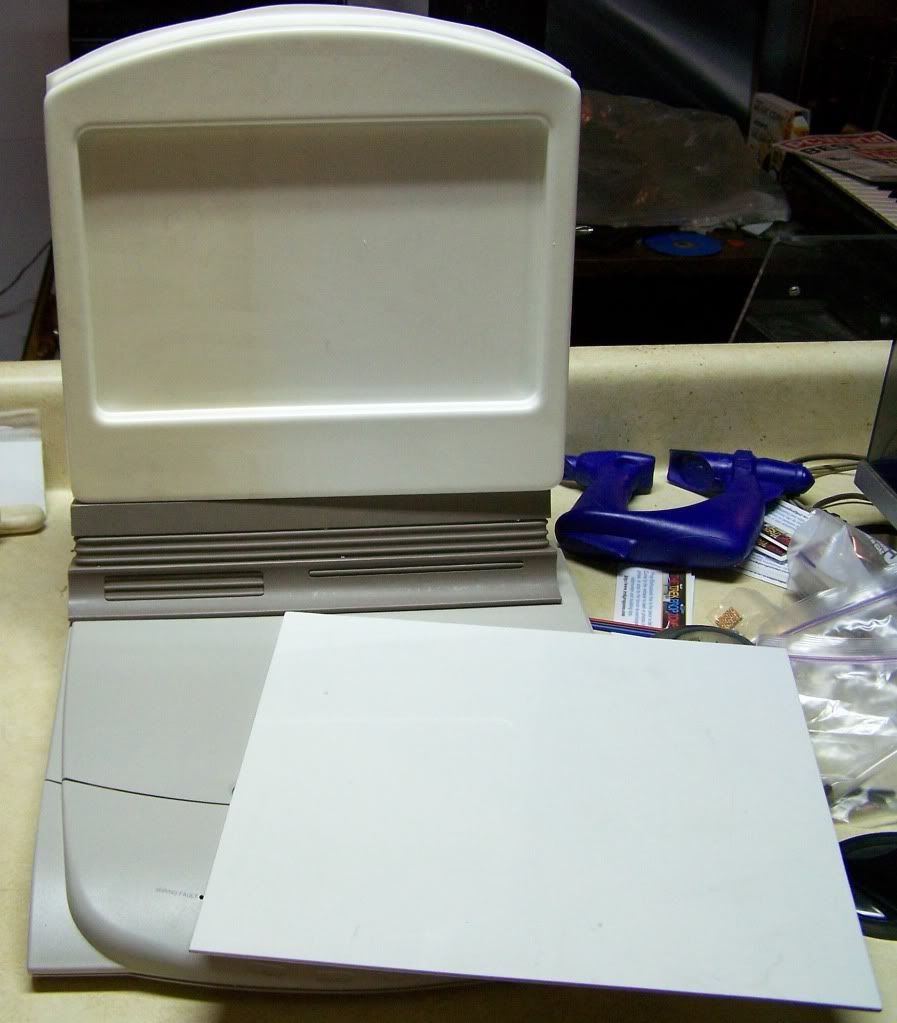
To be continued.....
#2
Posted 06 January 2010 - 01:10 AM
#3
Posted 06 January 2010 - 02:53 PM
Slide the cover off the top and this is what we have. I don't see any need for those wires and buttons so lets get rid of them.
There are only 3 screws holding this thing together, you can see the holes there in the front
With them gone, it sort of snaps together. I have this tiny pry bar and I'm easing it open here on the side.
Now I'm doing it along this edge
Once you get that, the cover just falls off almost
The electronics slide out easy enough. Then I made sure to get the little plastic bar out. You get it open and you'll see what I mean.
Here are we with no buttons 
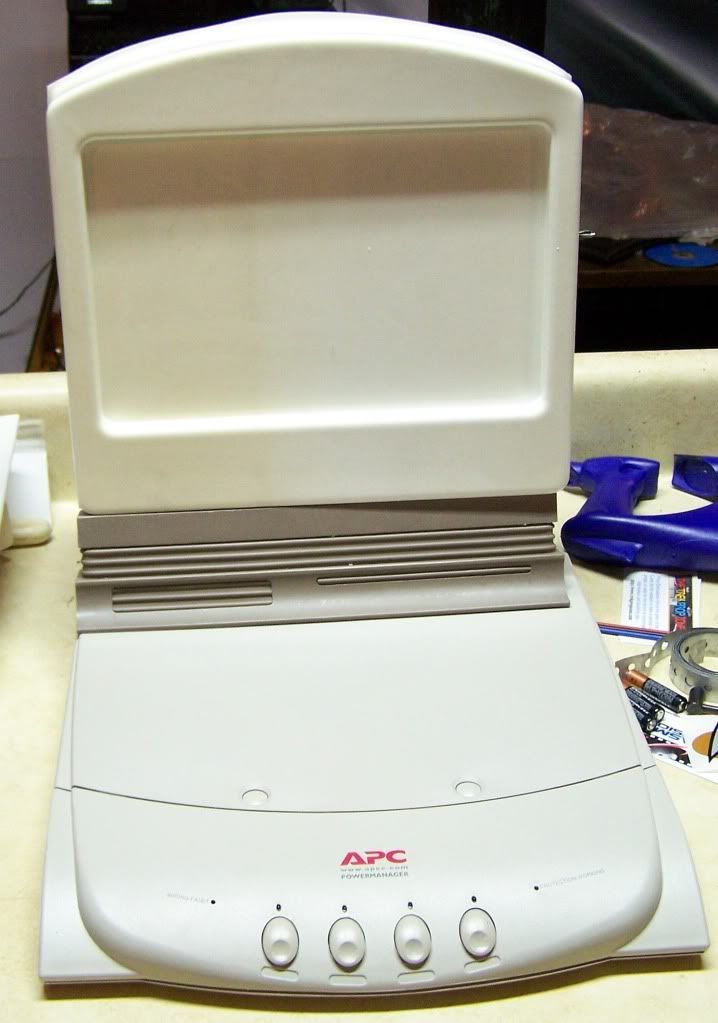
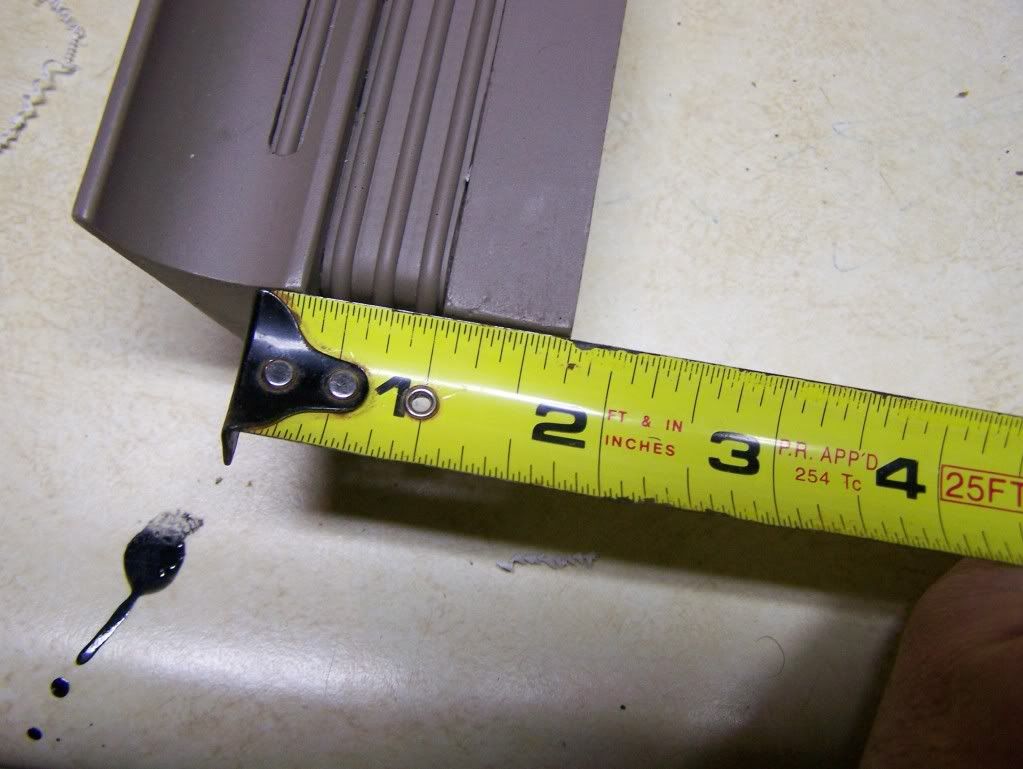
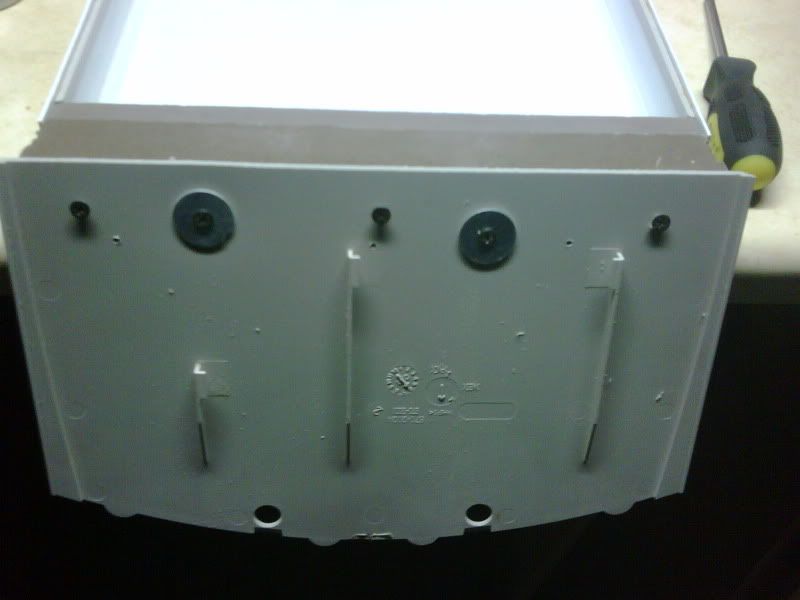
I slide the top cover back on and snapped and screwed the bottom piece back on.
#4
Posted 06 January 2010 - 02:56 PM
There that looks a little shorter.
Time to get that screen cut down a little. This attachment area measures 3/4 of and so I think that I'll go a little taller for some play room.
This file is 7/8 of an inch so that will work.
Once I mark it, I drill two holes thru it on the line One at each end.
I mark a straight line from hole to hole
I check to make sure the line is straight using the dip as a reference.
With that cut off I just had to prop it up to see how it looked. Yes I think that it's starting to look more like it should look.
I'm liking it!
to be continued......
#5
Posted 06 January 2010 - 03:31 PM
#6
Posted 06 January 2010 - 04:11 PM
#7
Posted 07 January 2010 - 09:15 AM
Well here's today's efforts. I'm on my way to a desktop computer or a pile of useless plastic!!
Setting the base back in. Can you see the lip on the backside of the base where the back panel seats?
The back panel sort of pushed in and set in the lip to see where the sides of the front need cut off.
When I went to mark it I picked up this scrape piece and lo and behold, it's right!!
I marked it and cut it off with my band saw. This is the first band saw I've ever owned. Now I wonder how I I made it without one!
Marking the back panel
Cutting the back panel. Thanks to Mr Band Saw!
First test fit. Not bad if I say so myself.
#8
Posted 07 January 2010 - 03:10 PM
#9
Posted 28 January 2010 - 10:02 PM
What other parts are you using?
#10
Posted 29 January 2010 - 11:54 AM
I havent stated how amazing this is, but it is. What was that thing, a power block?
#11
Posted 29 January 2010 - 05:44 PM
What other parts are you using?
I thought about that but I can't get one that fits. The back and the base that it sits on were cast for me by a friend. So, I sort of cheated there a bit.
Dang! I have a screw holding it up! I'll drill a hole for the screw to drop into.
There, fits like a glove.
I thought about leaving the plug-in, in this hole like the first ones had, but I'll make it my next step to cut a piece to fill this in.
This recent update is brought to you by Root Beer.
#12
Posted 29 January 2010 - 07:13 PM
Keep those progress pictures coming, Mark ....
0 user(s) are reading this topic
0 members, 0 guests, 0 anonymous users