Jump to content


Kmagz

Member Since 06 Sep 2013
Offline Last Active Mar 15 2014 04:59 PM
-----

Topics I've Started

Enterprise D Playmates Custom Lighting and Painting

10 March 2014 - 04:18 AM

This has taken me a while to start a write up of my attempt to re-light and paint my tired old Playmates Enterprise D. My initial intention was to just clean it up and add some brighter lights to it, but once I started, my mind began going crazy with ideas as you will see. This was not an easy build as this toy was built to be played with....hard, so pulling this thing apart took some time, patience and a fluent vocabulary of words I cannot repeat on here. As I would like to attempt the kit version of this ship, I think this was a good insight for what to expect when I eventually tackle that build.
I do not have the full documented process of this build as I had not intended to post it, so please forgive the lack of detail.
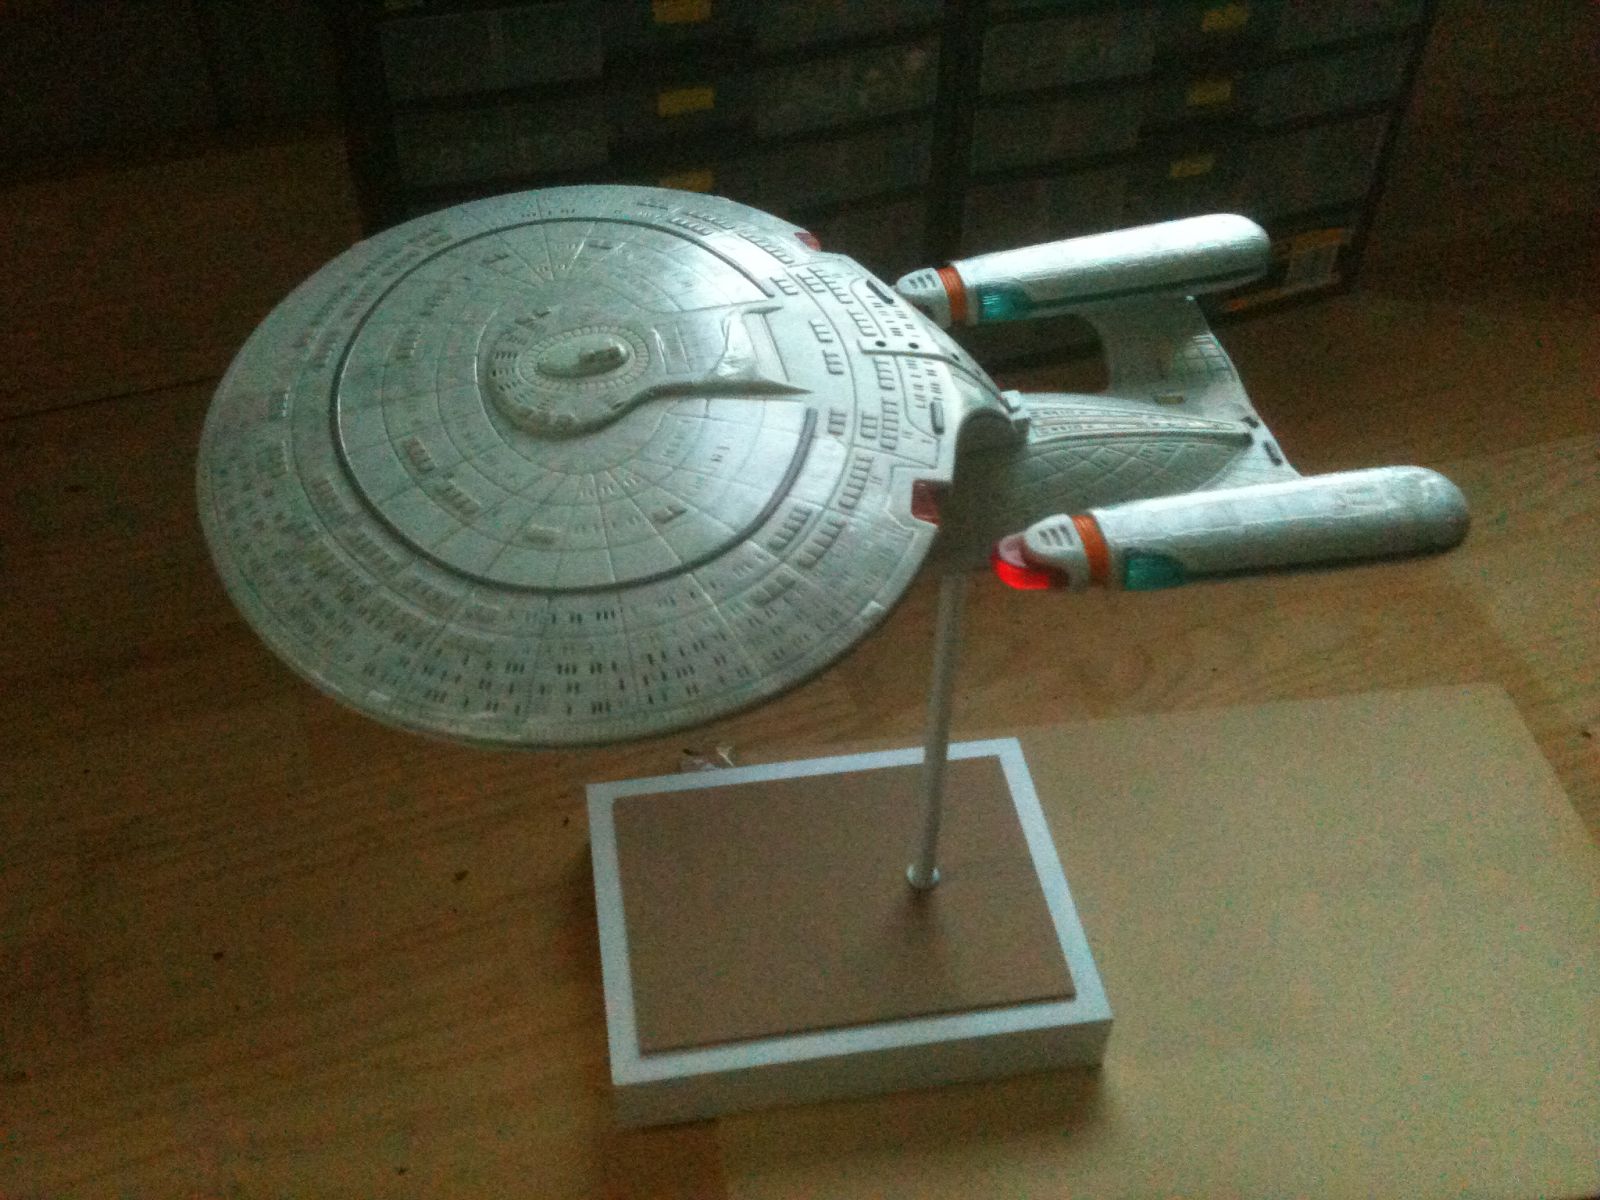
Here is what I started with. It was not mounted to the stand originally; this was a simple battery operated toy with a single globe in each Nacelle and a soundboard.
 
Enterprise D Playmates
 
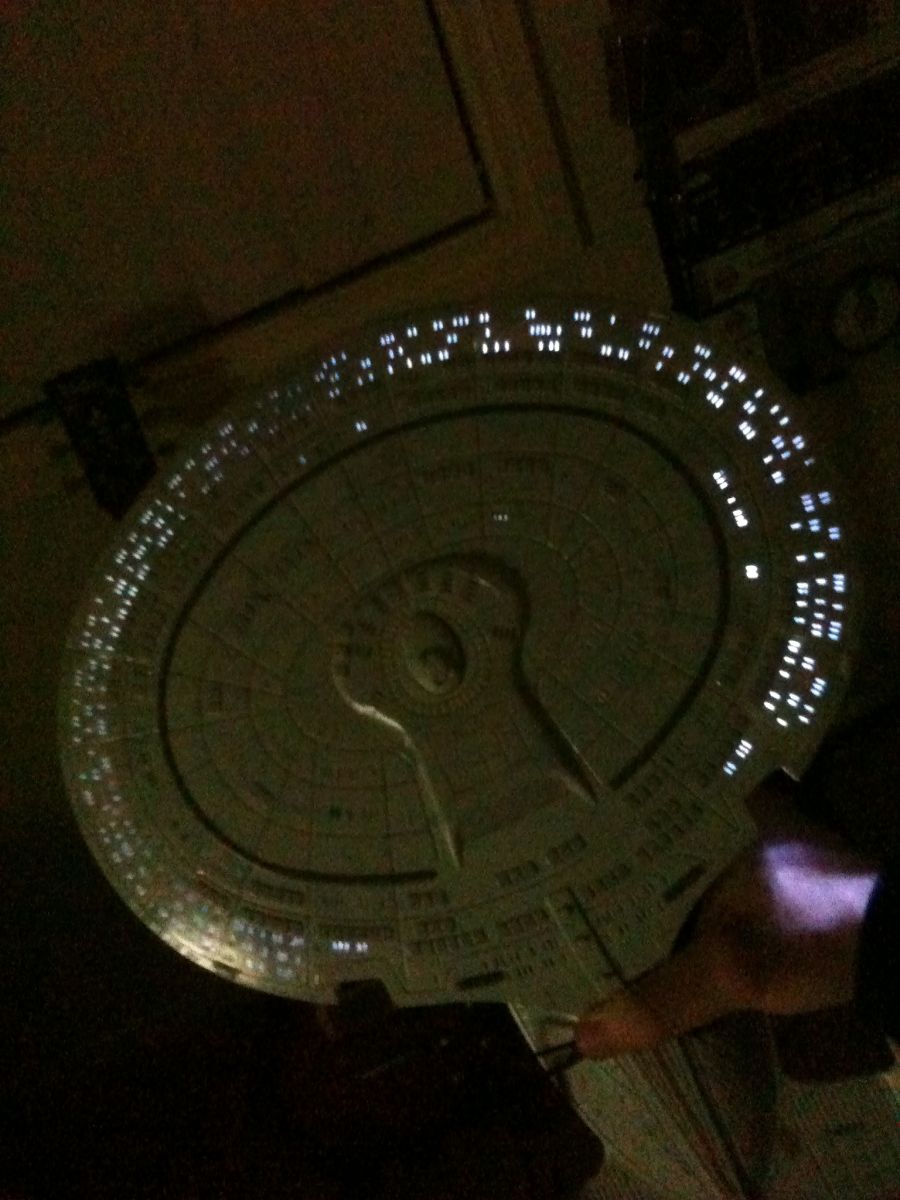
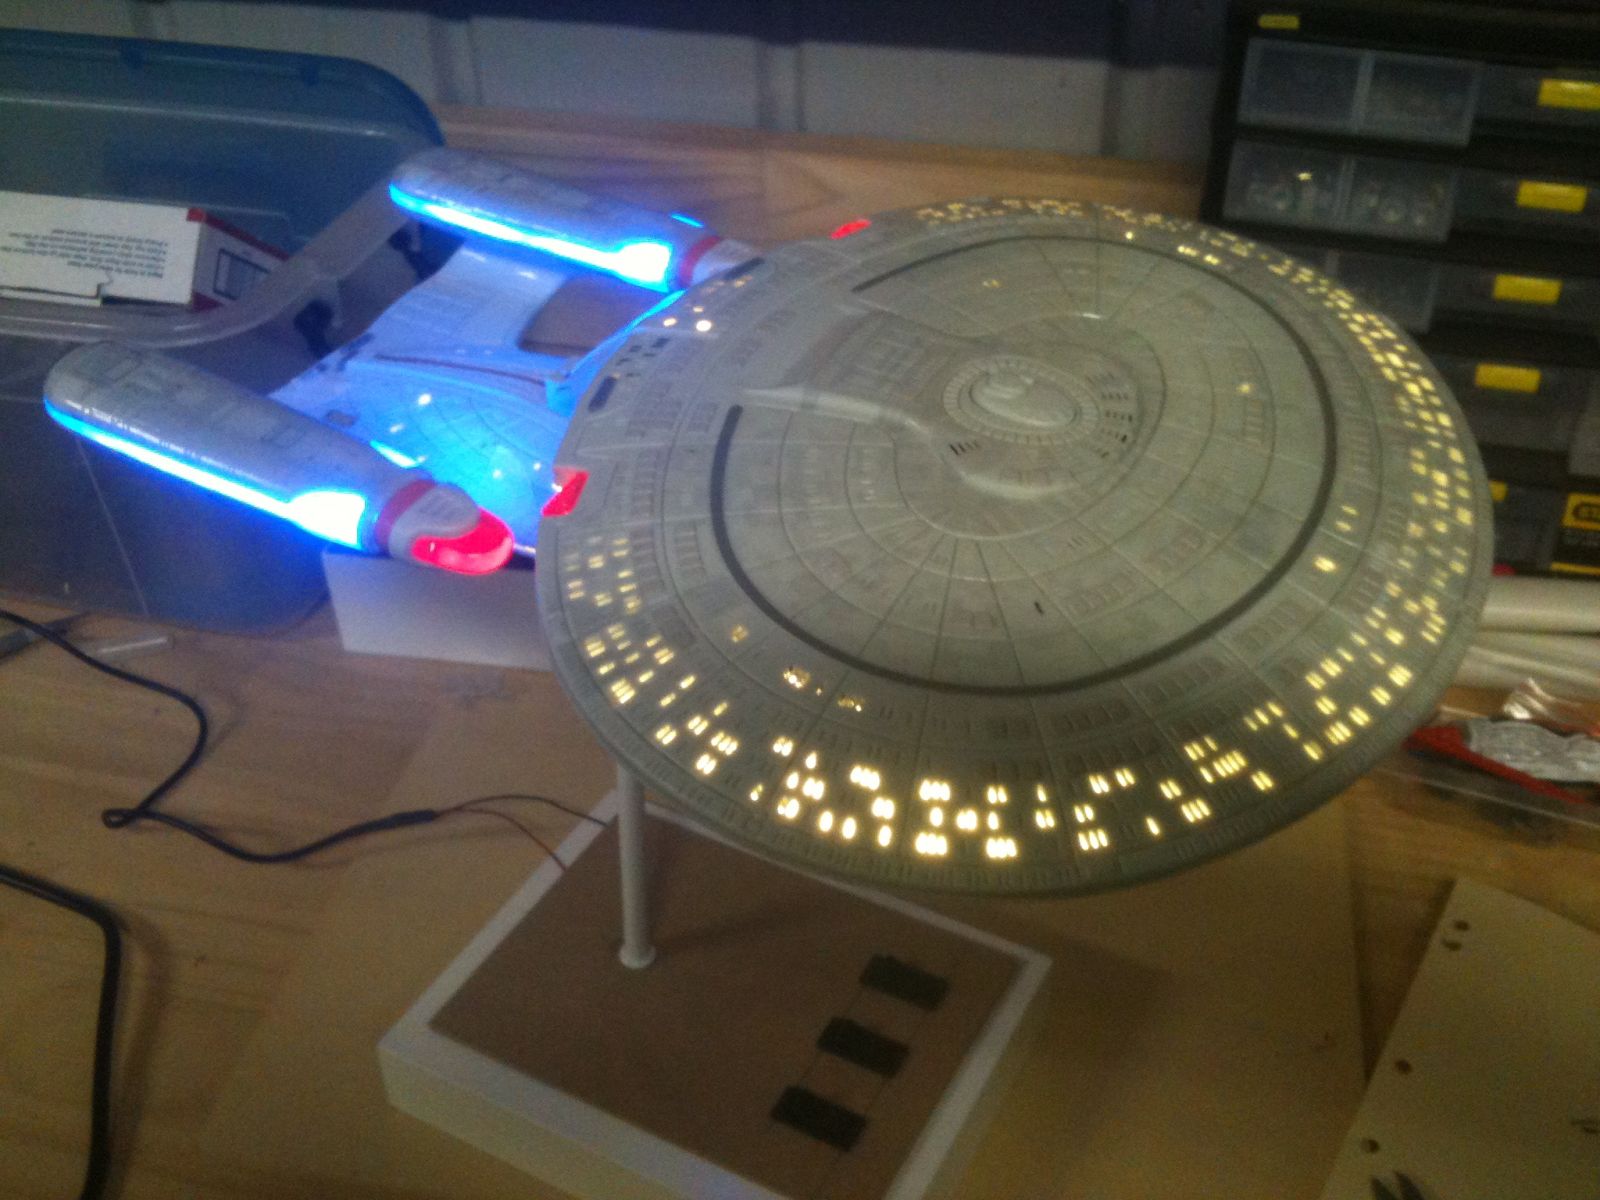
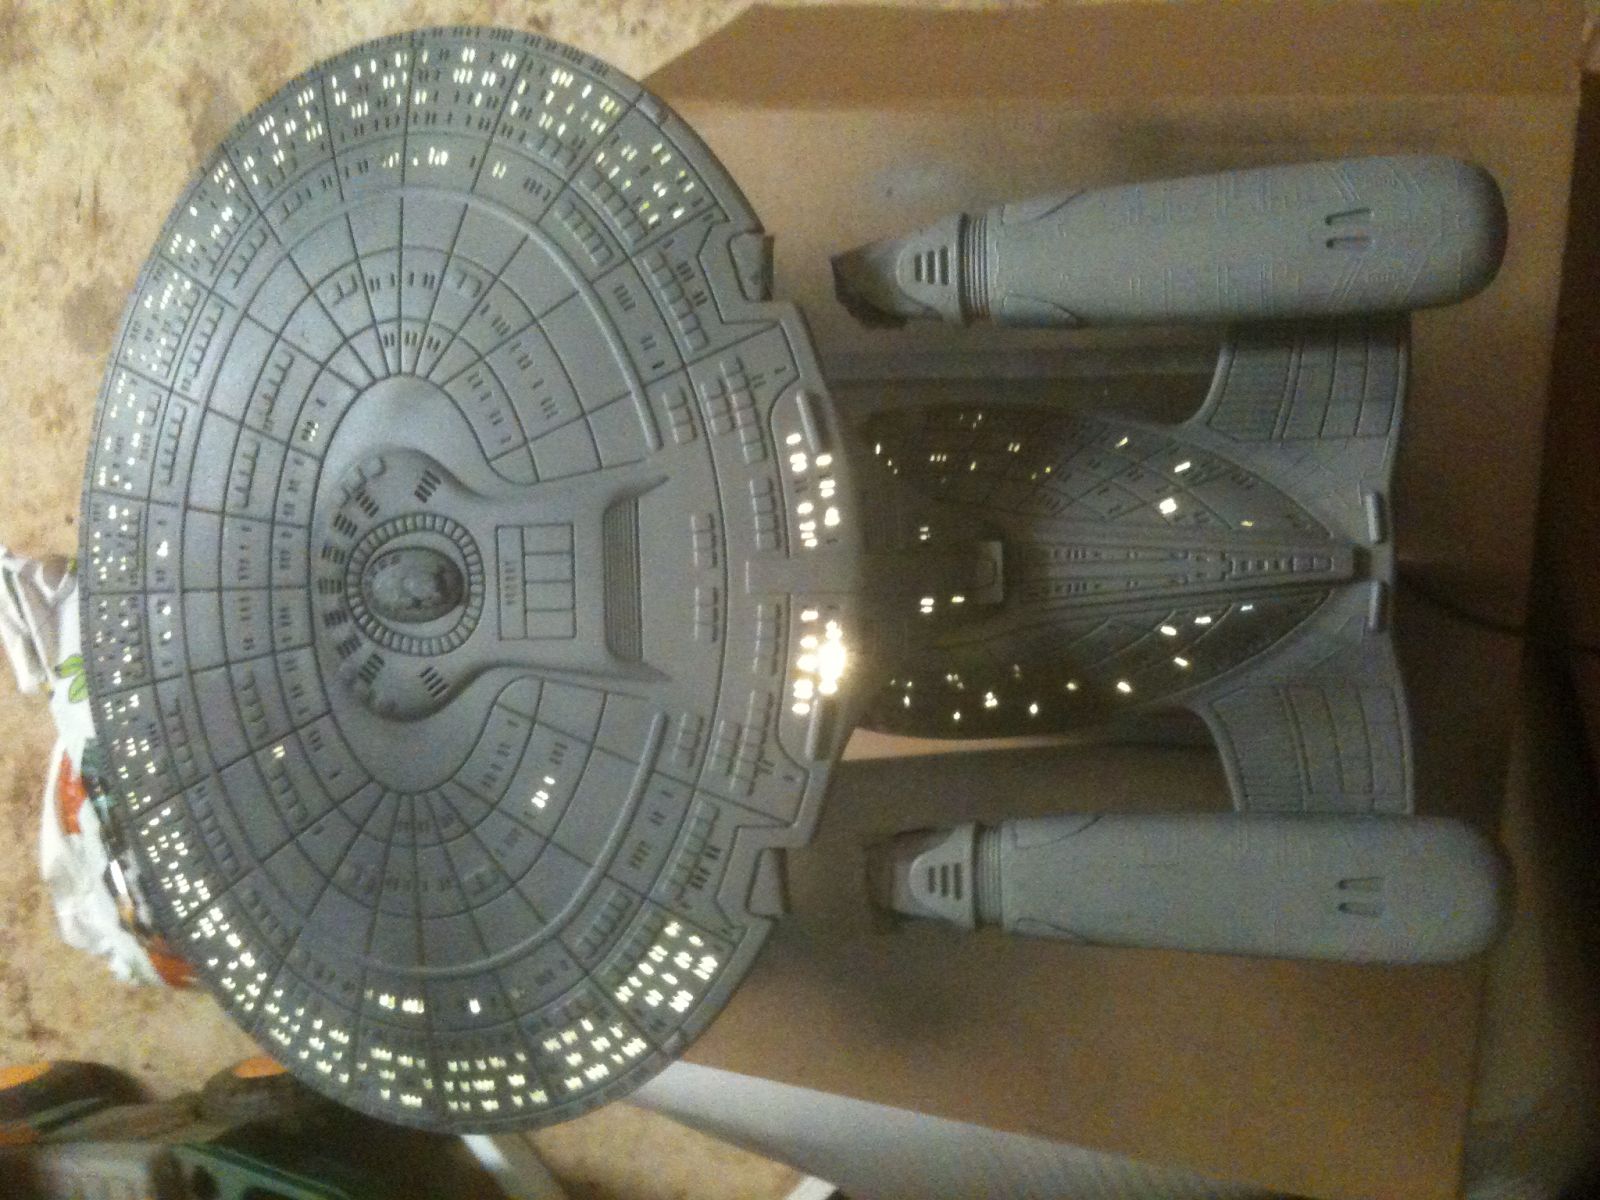
Once I had taken the whole thing apart I decided I was not satisfied with simply changing the Nacelle bulbs and putting it back together, so I decided to light the windows. The trouble with this idea is the playmates toy does not have windows, well none that would light up. So I began the long and tedious process of individually drilling out each window I wanted to be lit. I was almost about ready to give up after the second one, but I kept going. I must have watched the whole series of TNG by the time I finished.
 
Lighting test 1


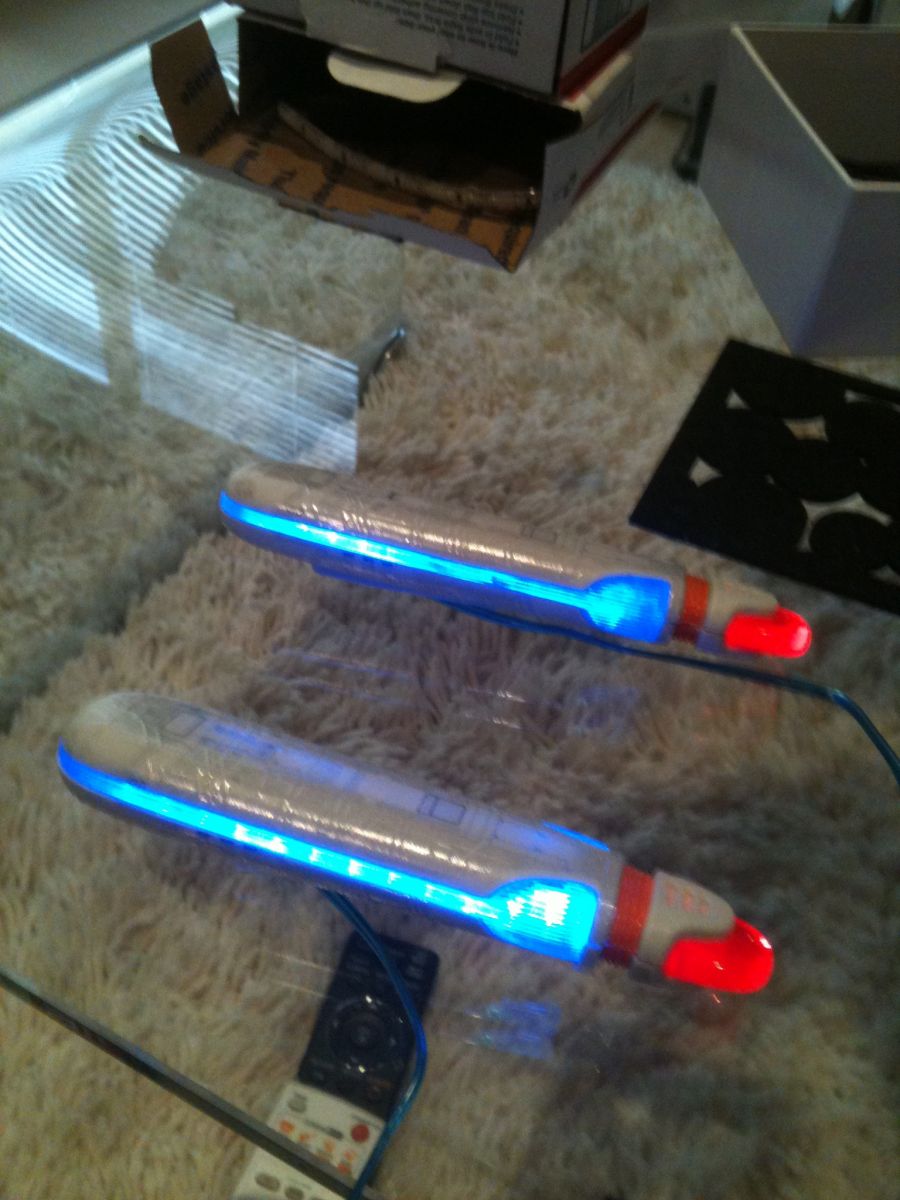
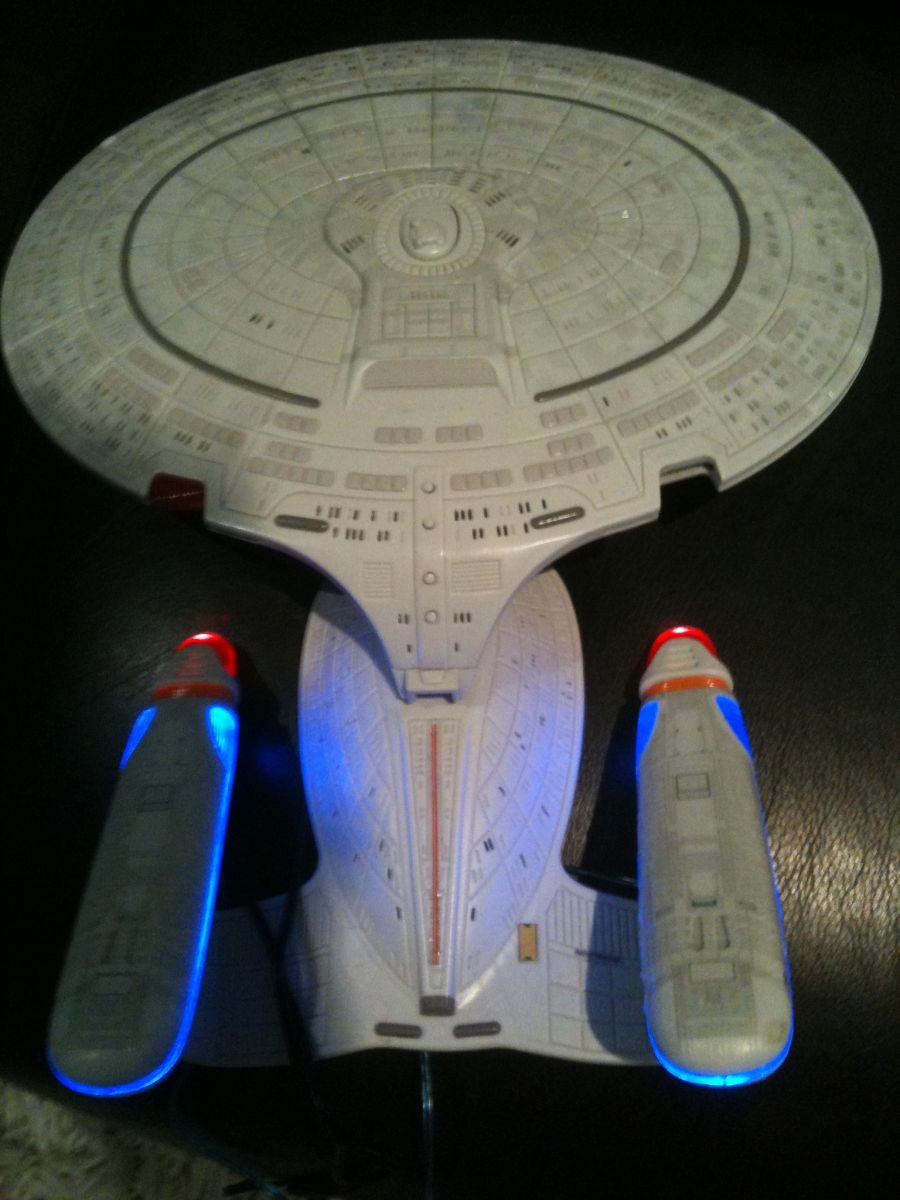
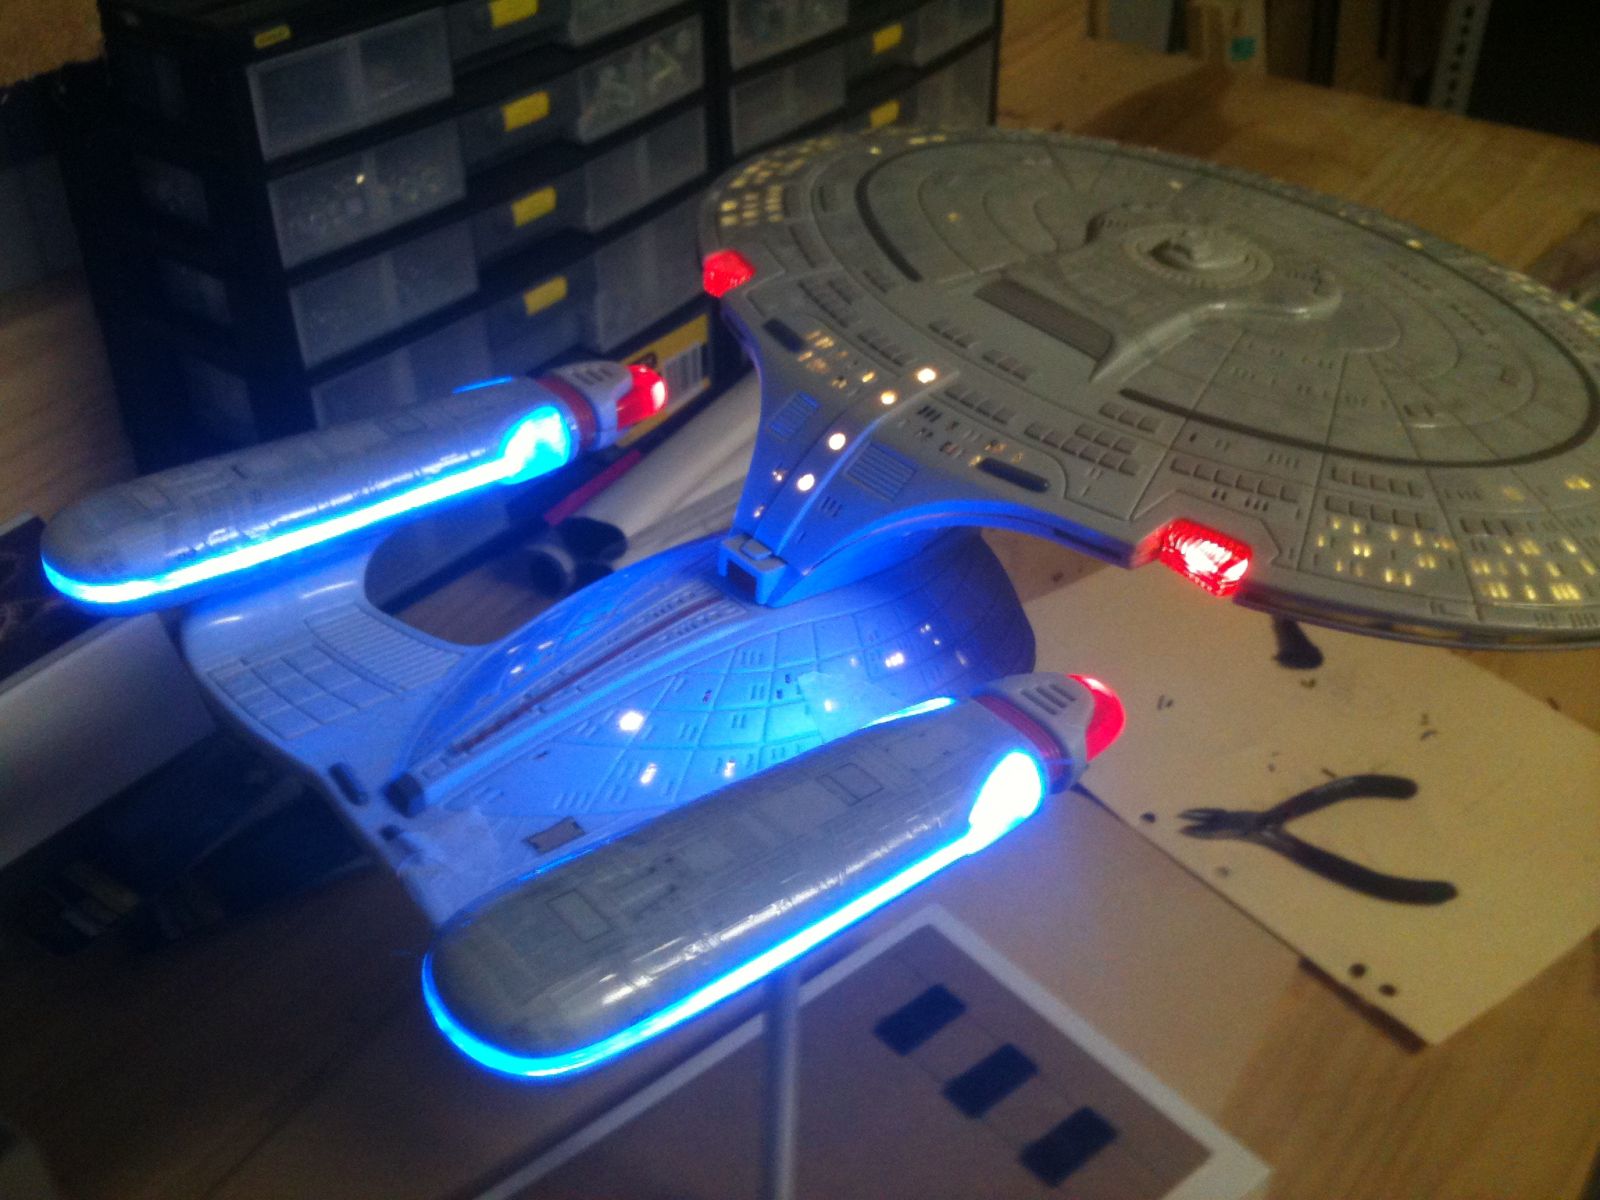
Here are the Nacelles with their new lights installed. I test fit everything about 50 times before sealing them up. The insides were lined with tin foil to minimise the amount of light bleed you have to block out later on. 


Nacelles Lighting test 1
 
Nacelles Lighting test 2
 
The inside of the saucer section was also lined with foil and two lighting strips were used for the lower and upper sections. The aim was to get an even amount of lighting around the saucer. In this picture you can see the base with 3 switches. I wanted to be able to turn the windows, Nacelles and impulse engines on separately. The base is just a picture frame with a $5 lamp stem bolted to it. Simple, but it does the job.......for now.


Nacelles and Saucer Lighting test


Nacelles Lighting test 4
 
After I saw the ship al lit up, I decided not to replace the soundboard. By this stage of the build, the ship was becoming more of a display piece rather than a toy and I felt it was much easier to leave it out for now and I can find a way to incorporate it back in later.
 
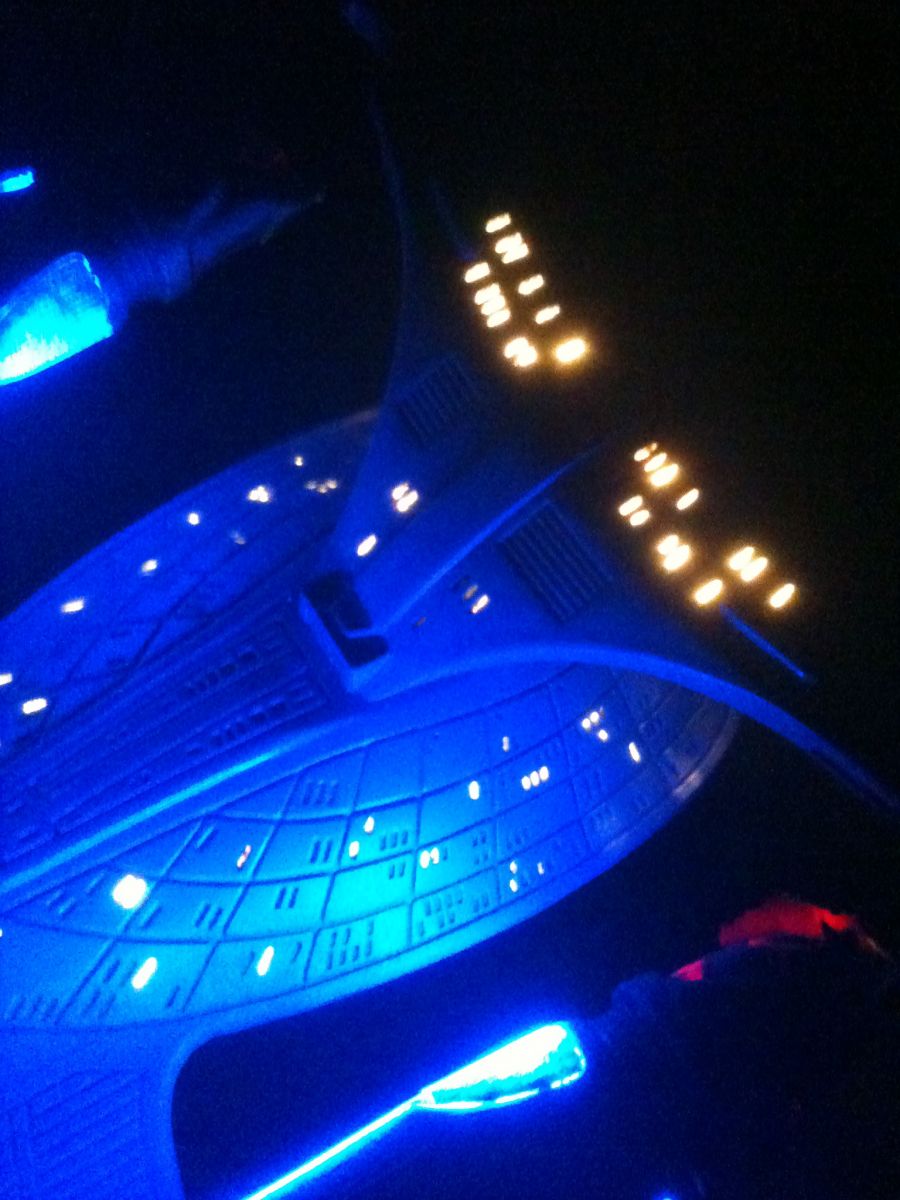
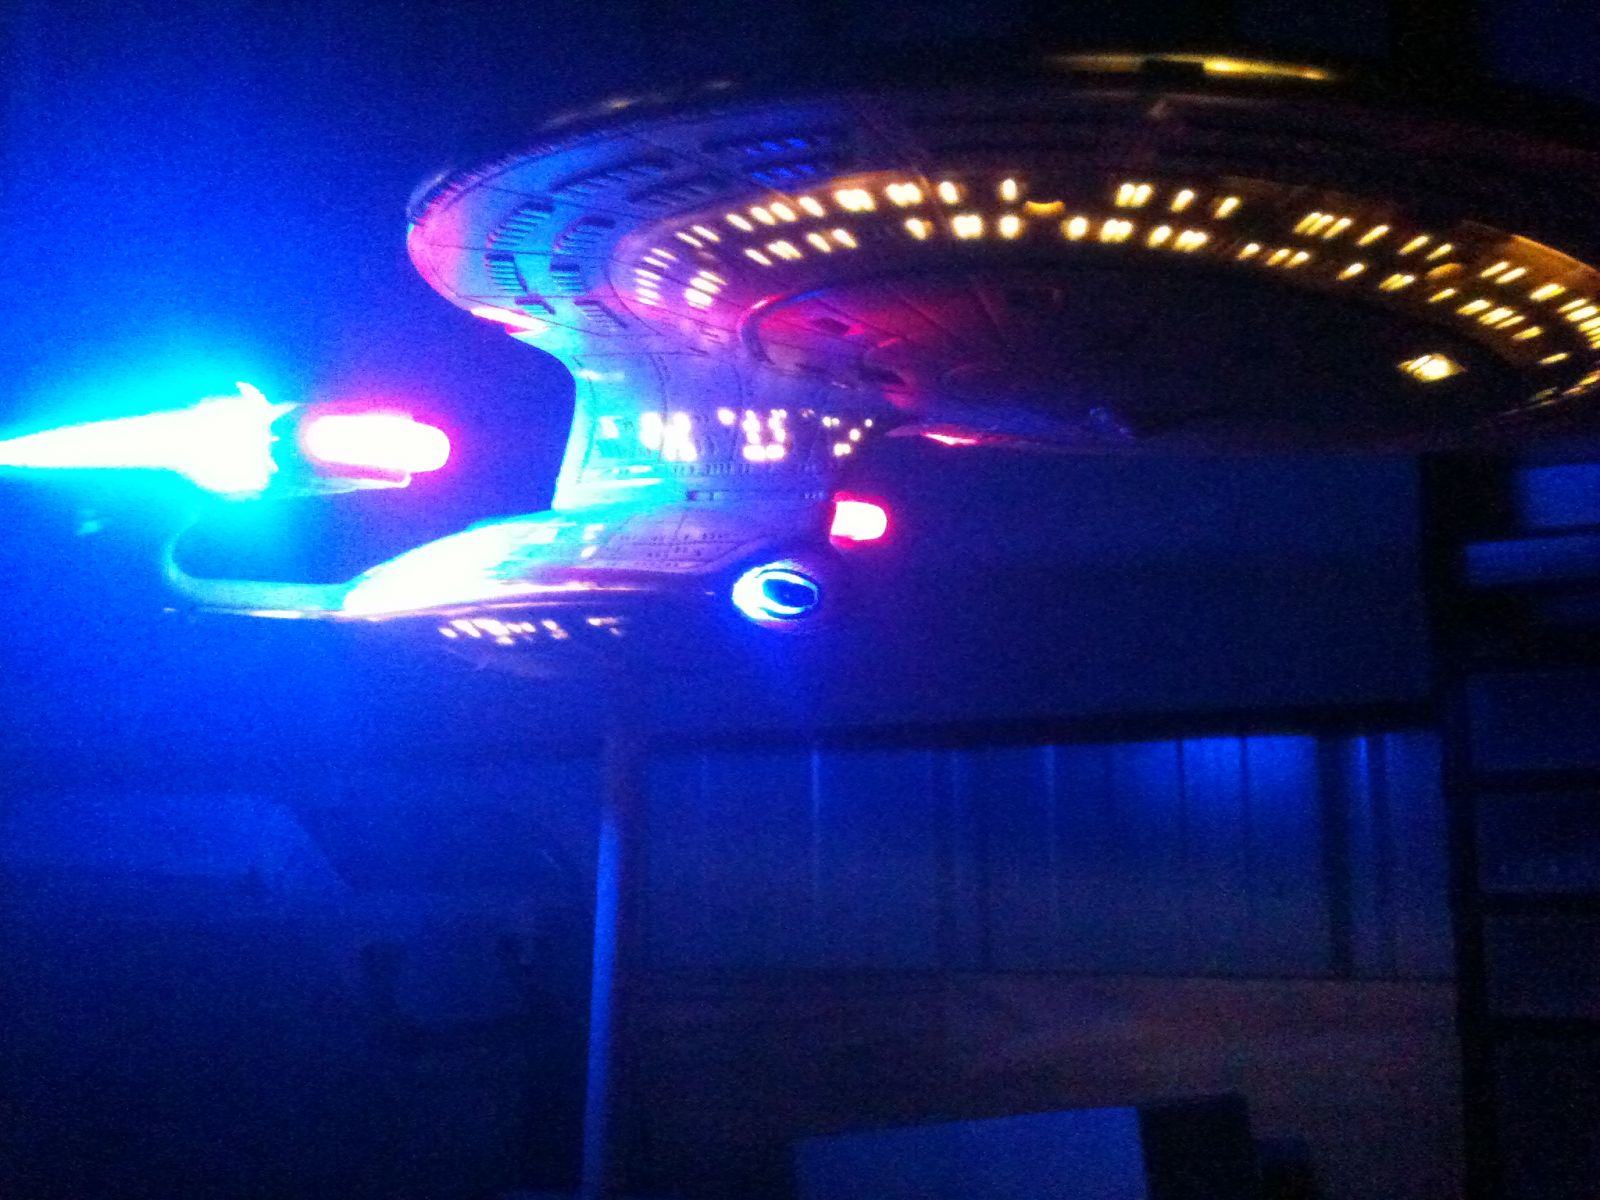
Once all the lighting had ben positioned and fixed in place, I began sealing up each sections and cleaning up all major imperfections and light bleeds. The biggest change was the spine where the buttons were previously mounted. These were filled in and sanded back smooth. My aim was not for screen accuracy as this toy is not in proportion in some areas, and I was not going to the extent of scratch building sections to fix this. The only thing left to do was clean up the areas that didn't fit together 100% by filling in with some plastic putty along the seams and sand/file smooth ready for painting.
 
Close up Rear Spine
 
Lights Out Test


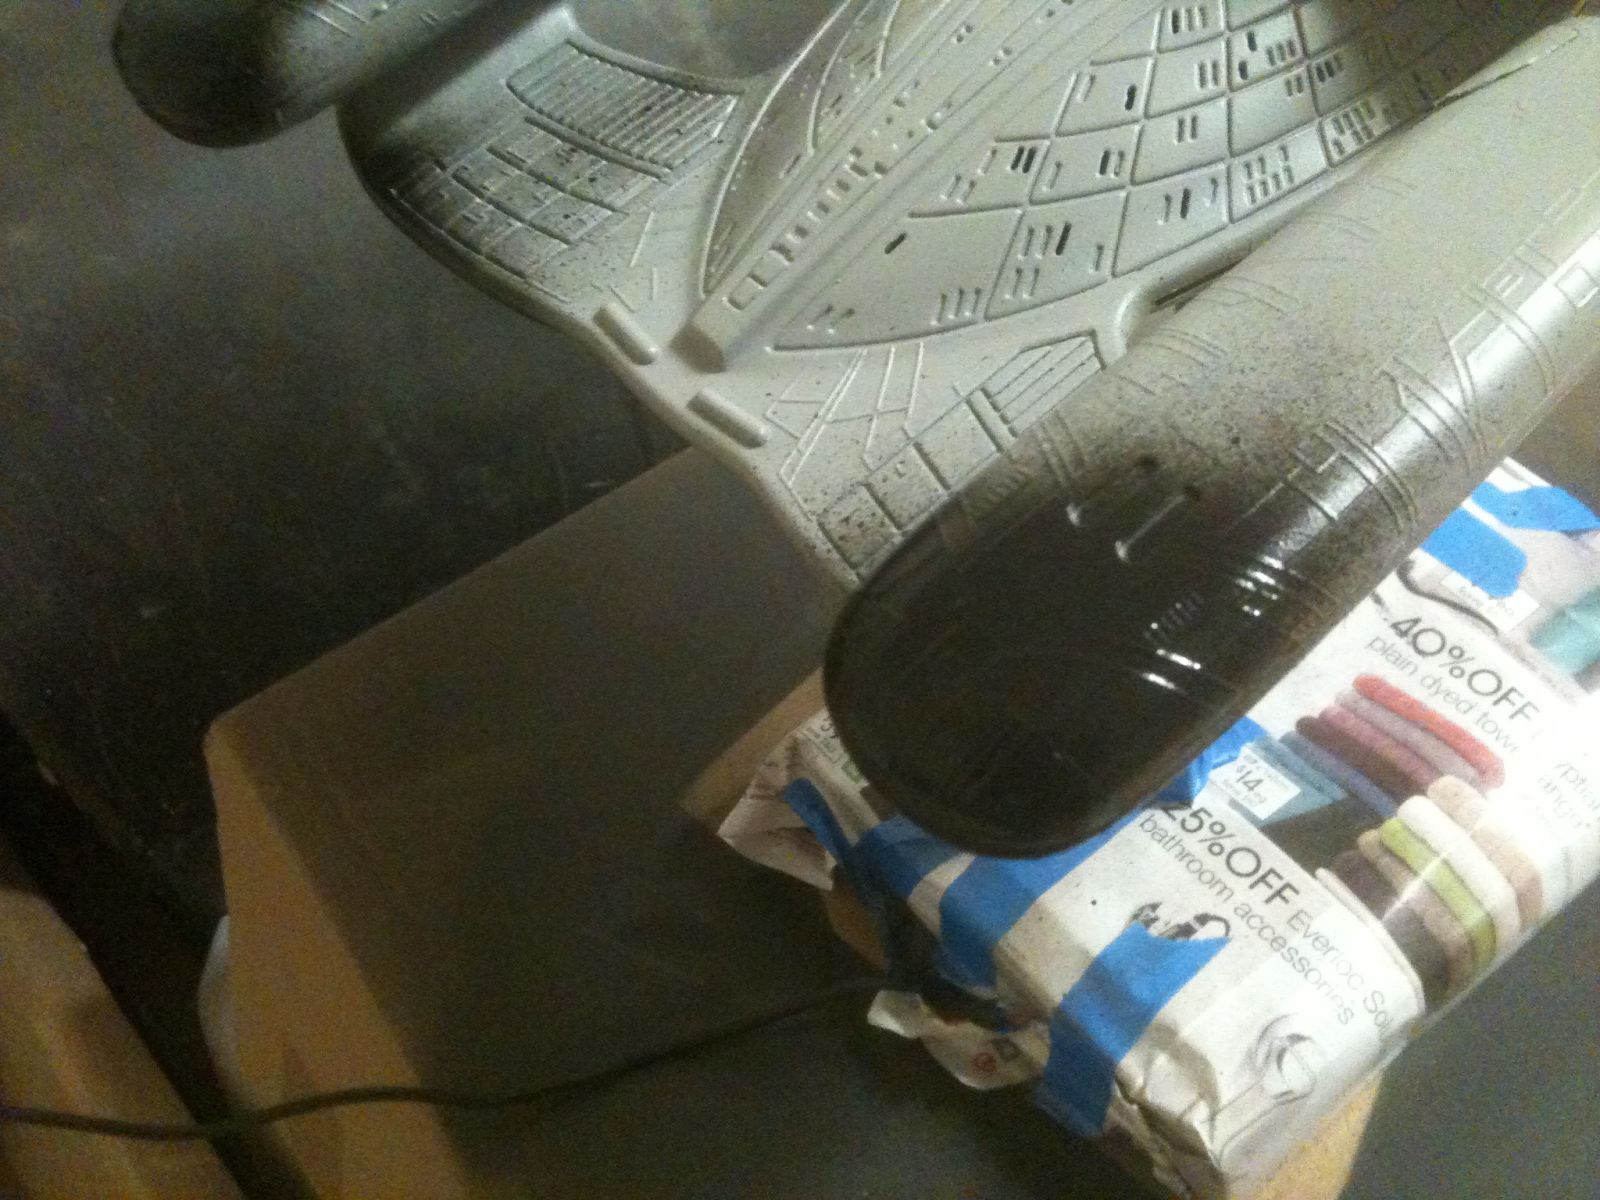
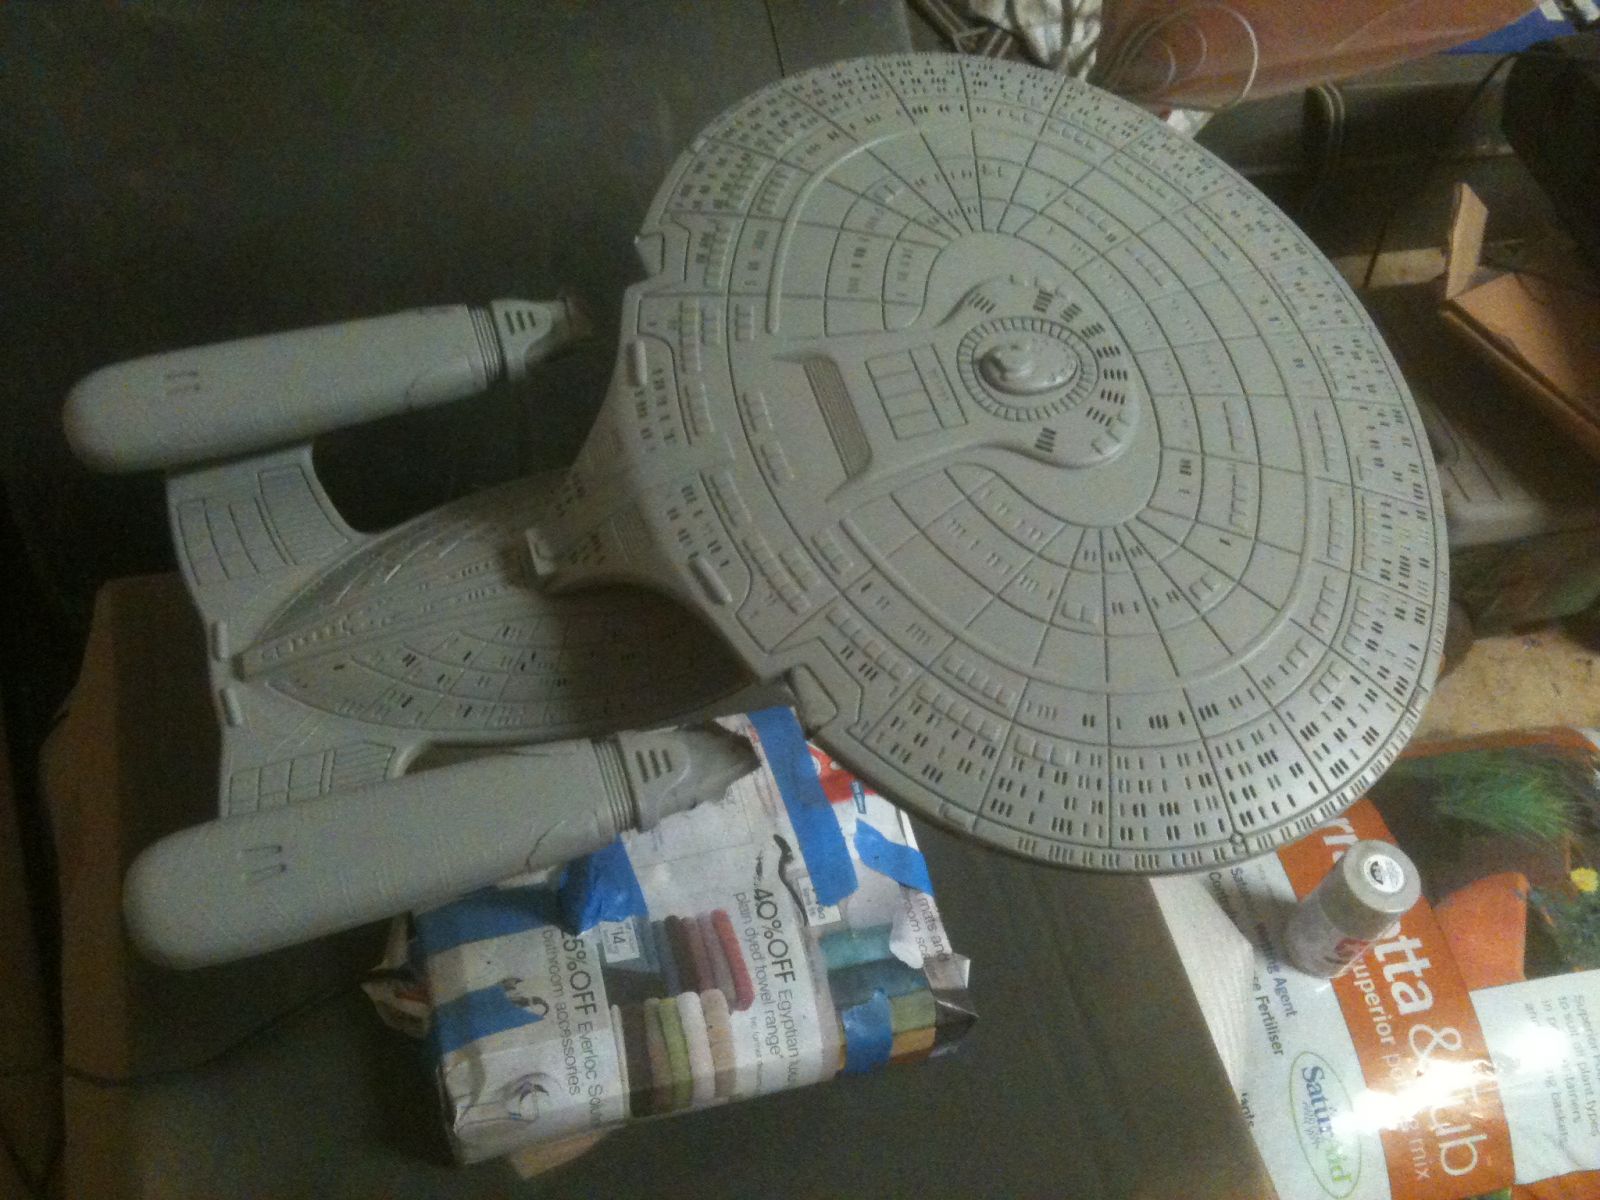
I then began masking the Nacelles, deflector and impulse engines and shot the entire ship in black. Some areas required a fine paint brush where the spray couldn't cover enough.  I then applied the grey base coat ready for the next step. Applying Aztecs. This is all I have time for tonight as it is getting late, but I will continue with my application of the aztec pattern soon. Hope you enjoy it so far.


Light Bleed Fix
 
Final Base Coat


Painting Black Base Coat