Jump to content


Kmagz

Member Since 06 Sep 2013
Offline Last Active Mar 15 2014 04:59 PM
-----

Posts I've Made

In Topic: Enterprise D Playmates Custom Lighting and Painting

14 March 2014 - 03:58 AM

Destructor!!! I hear you. Its been easily over 12 months since I finished this and I have not touched another model. I hope you do decide to dust off the cobwebs mate. I would love to see more of these models customised and re-built.


Ok on to Aztecs.


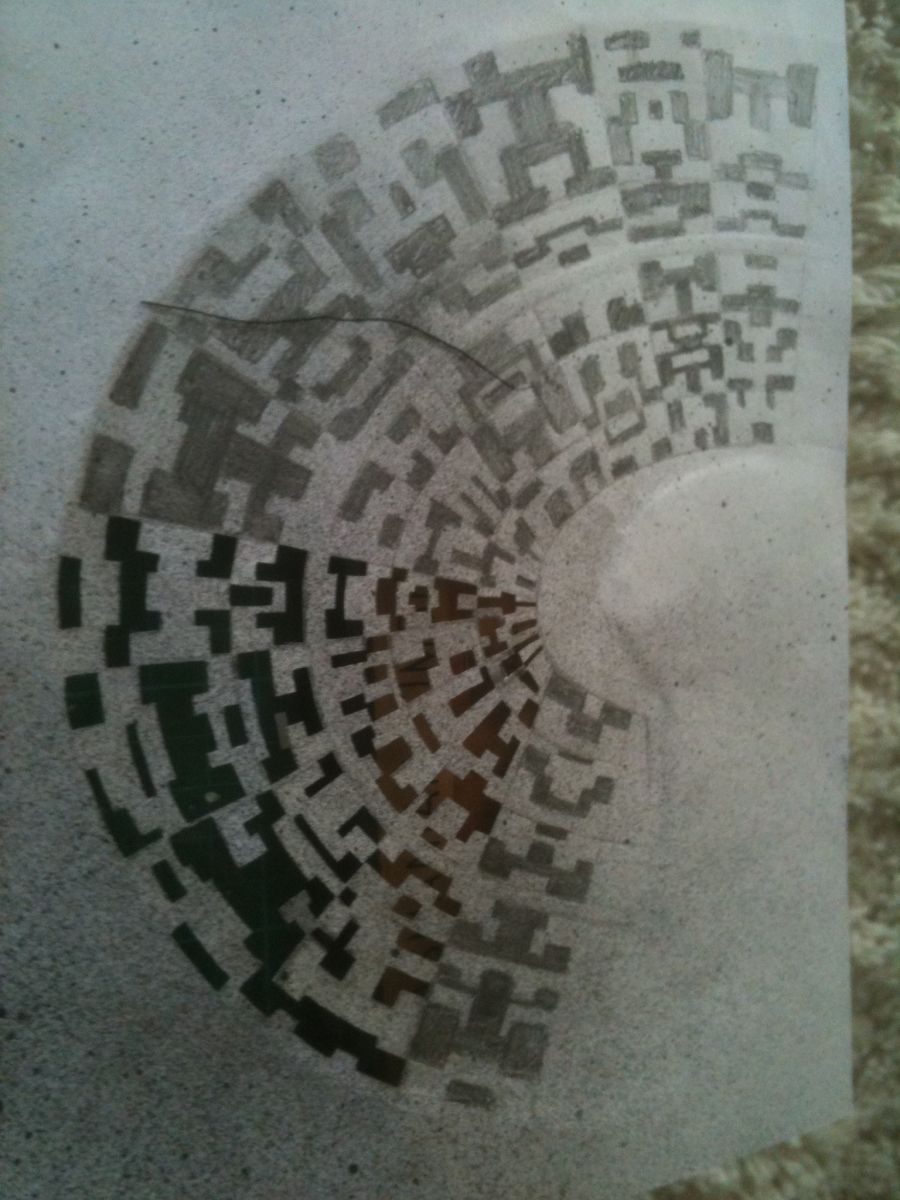
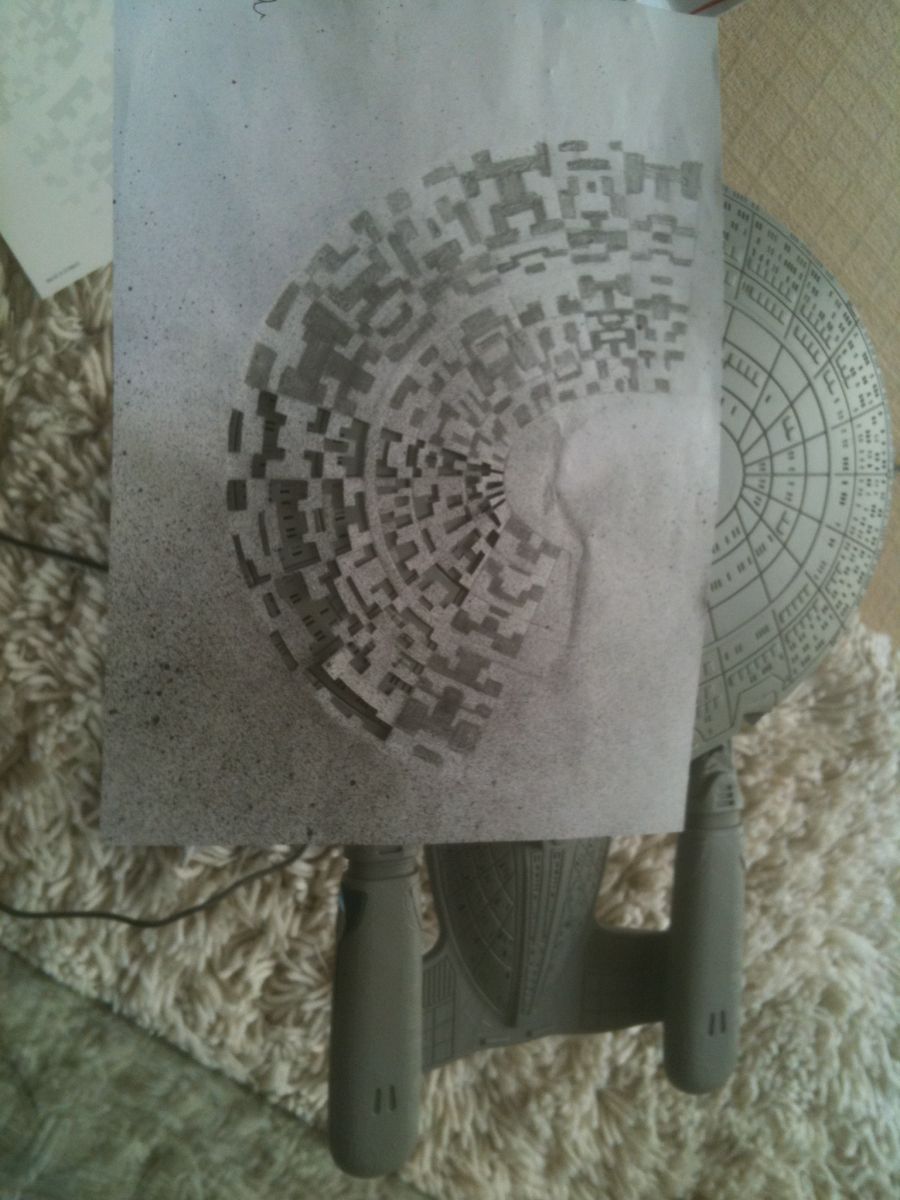
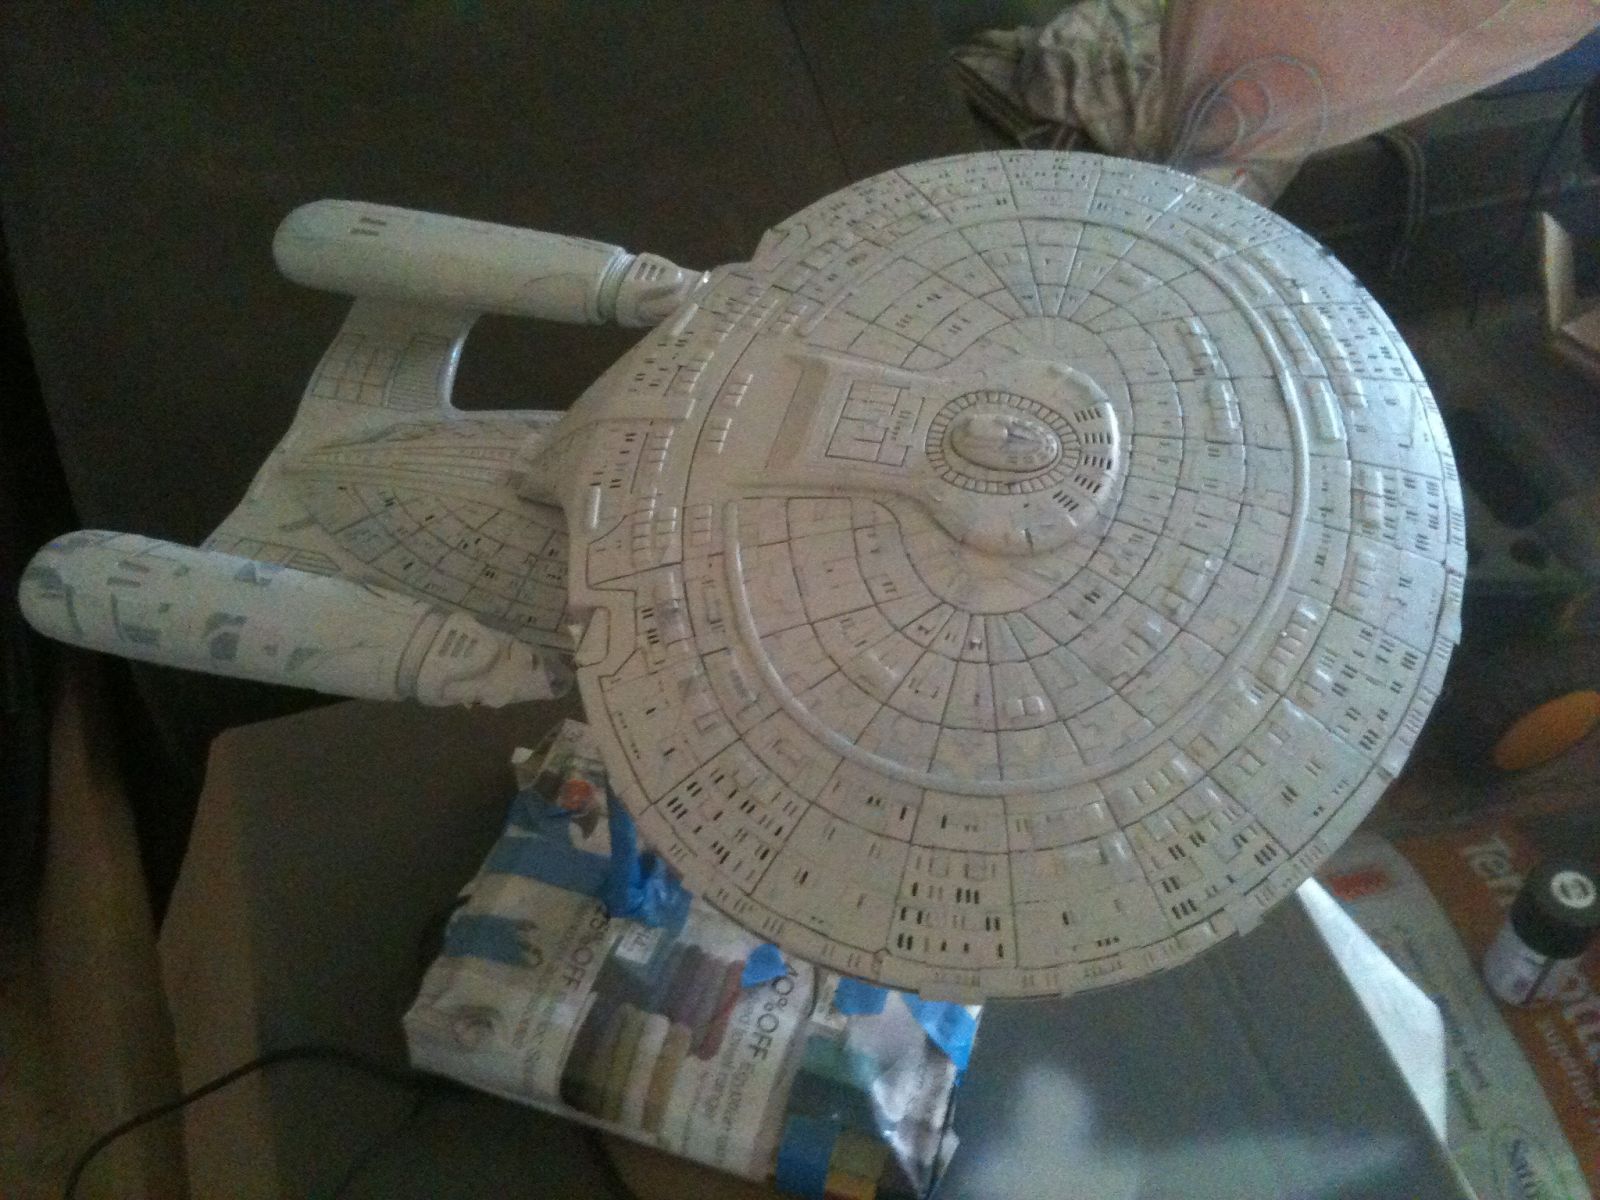
I started by placing a piece of paper over the hull and traced the pattern of the panels. I had some reference photos whited helped to get a basic pattern. My intention was to then use it as a mask and spray paint with a lighter colour over the base coat.


Aztec Attempt 1
 
Aztec Attempt 2
 
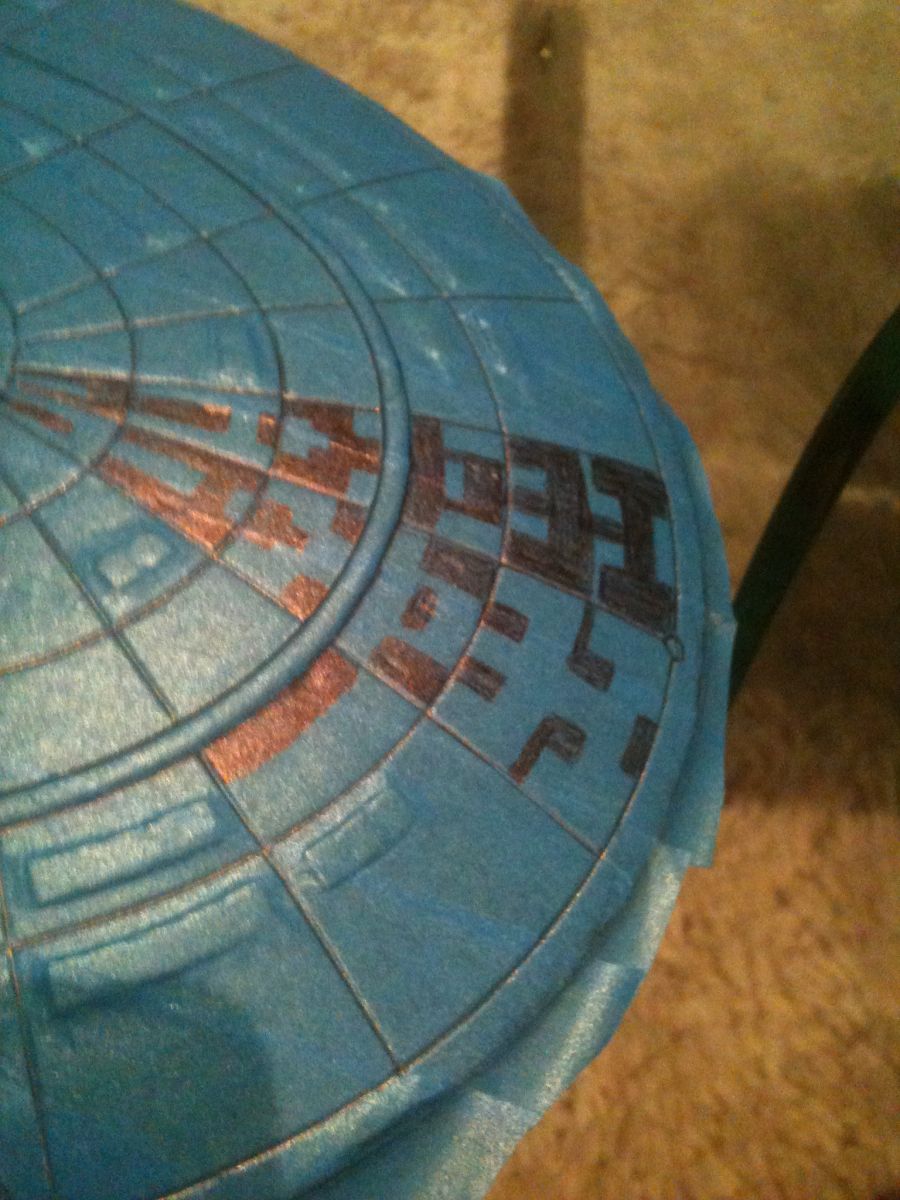
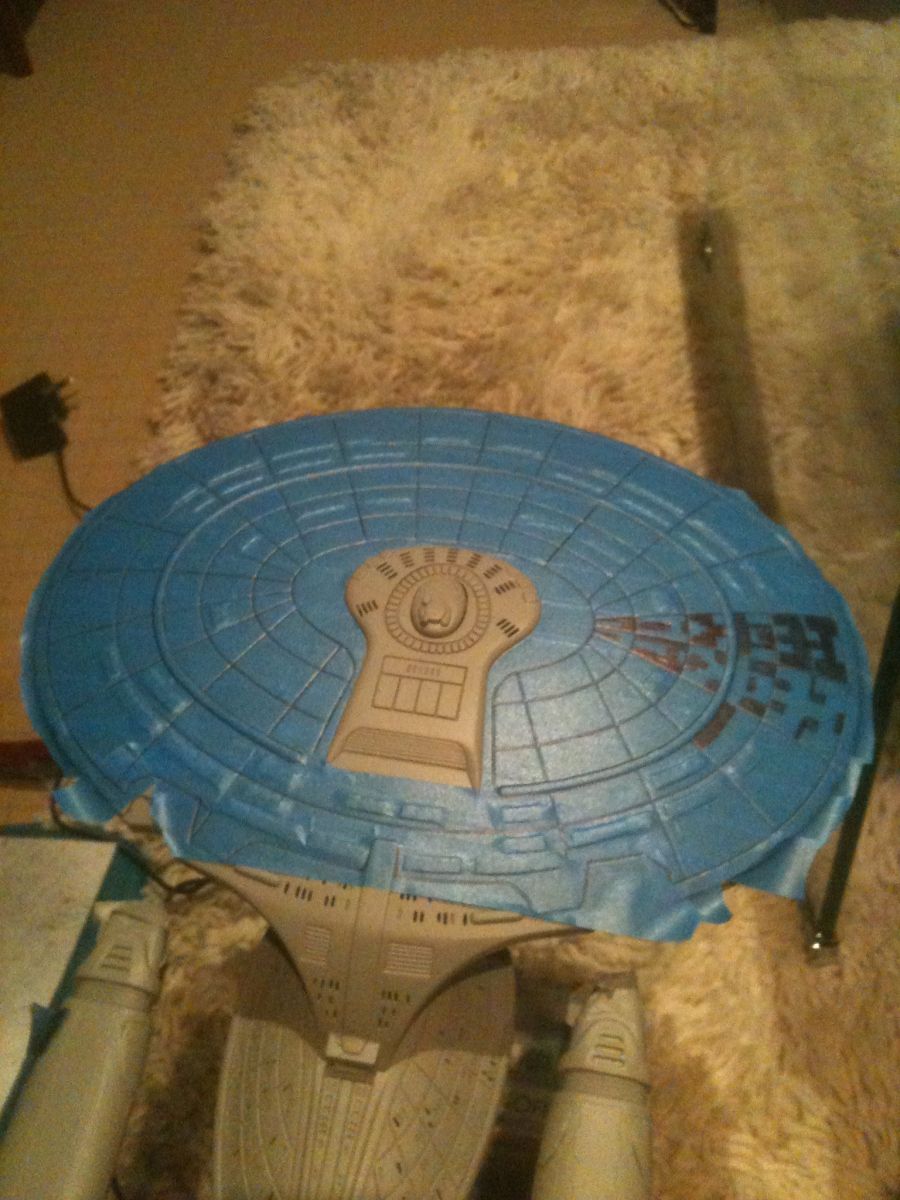
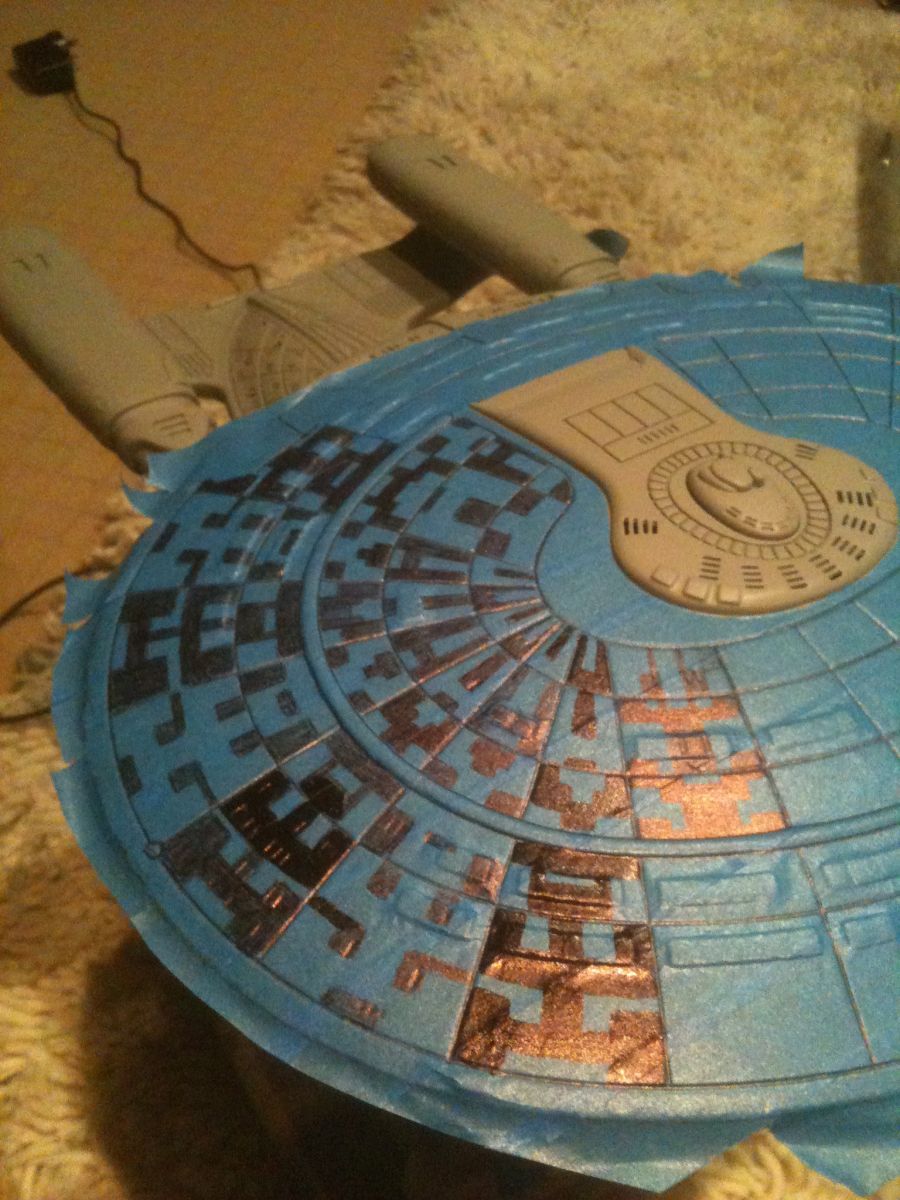
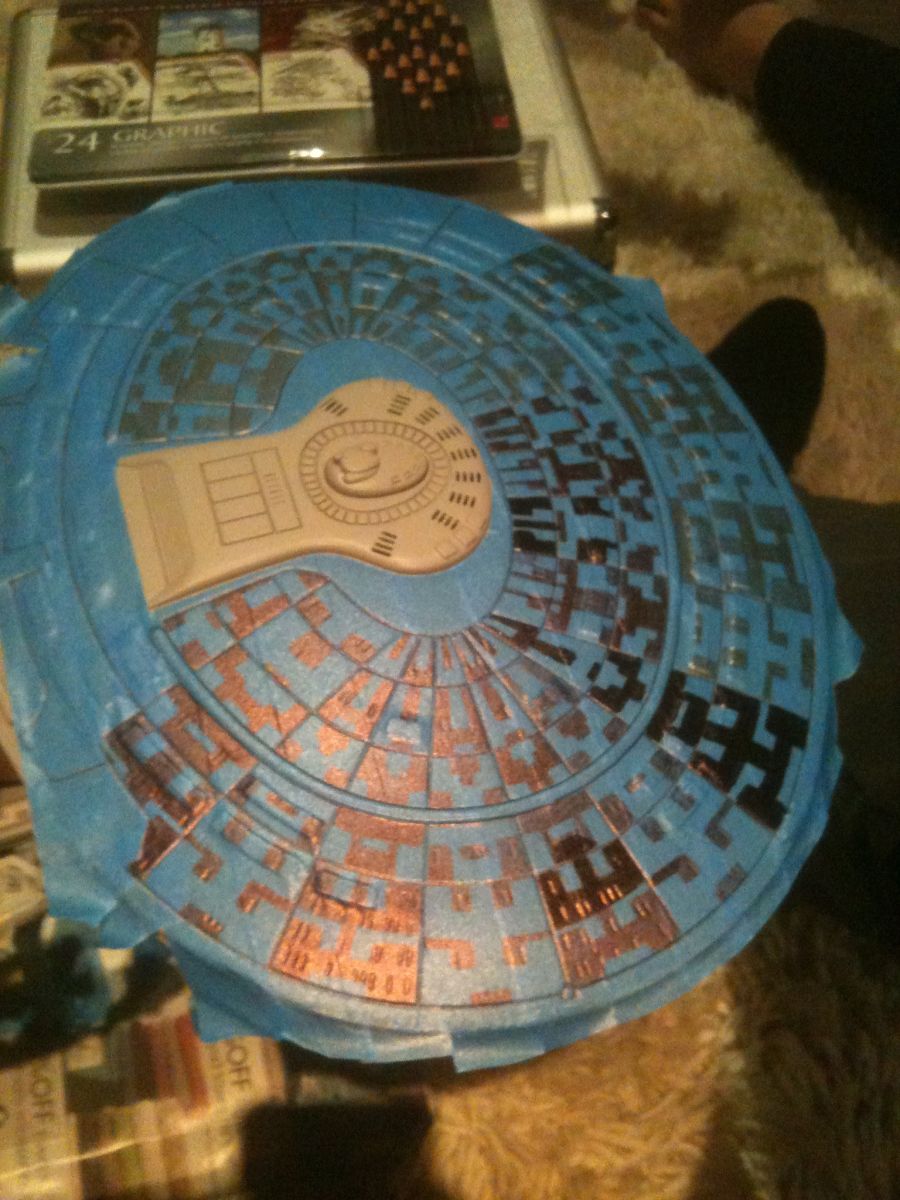
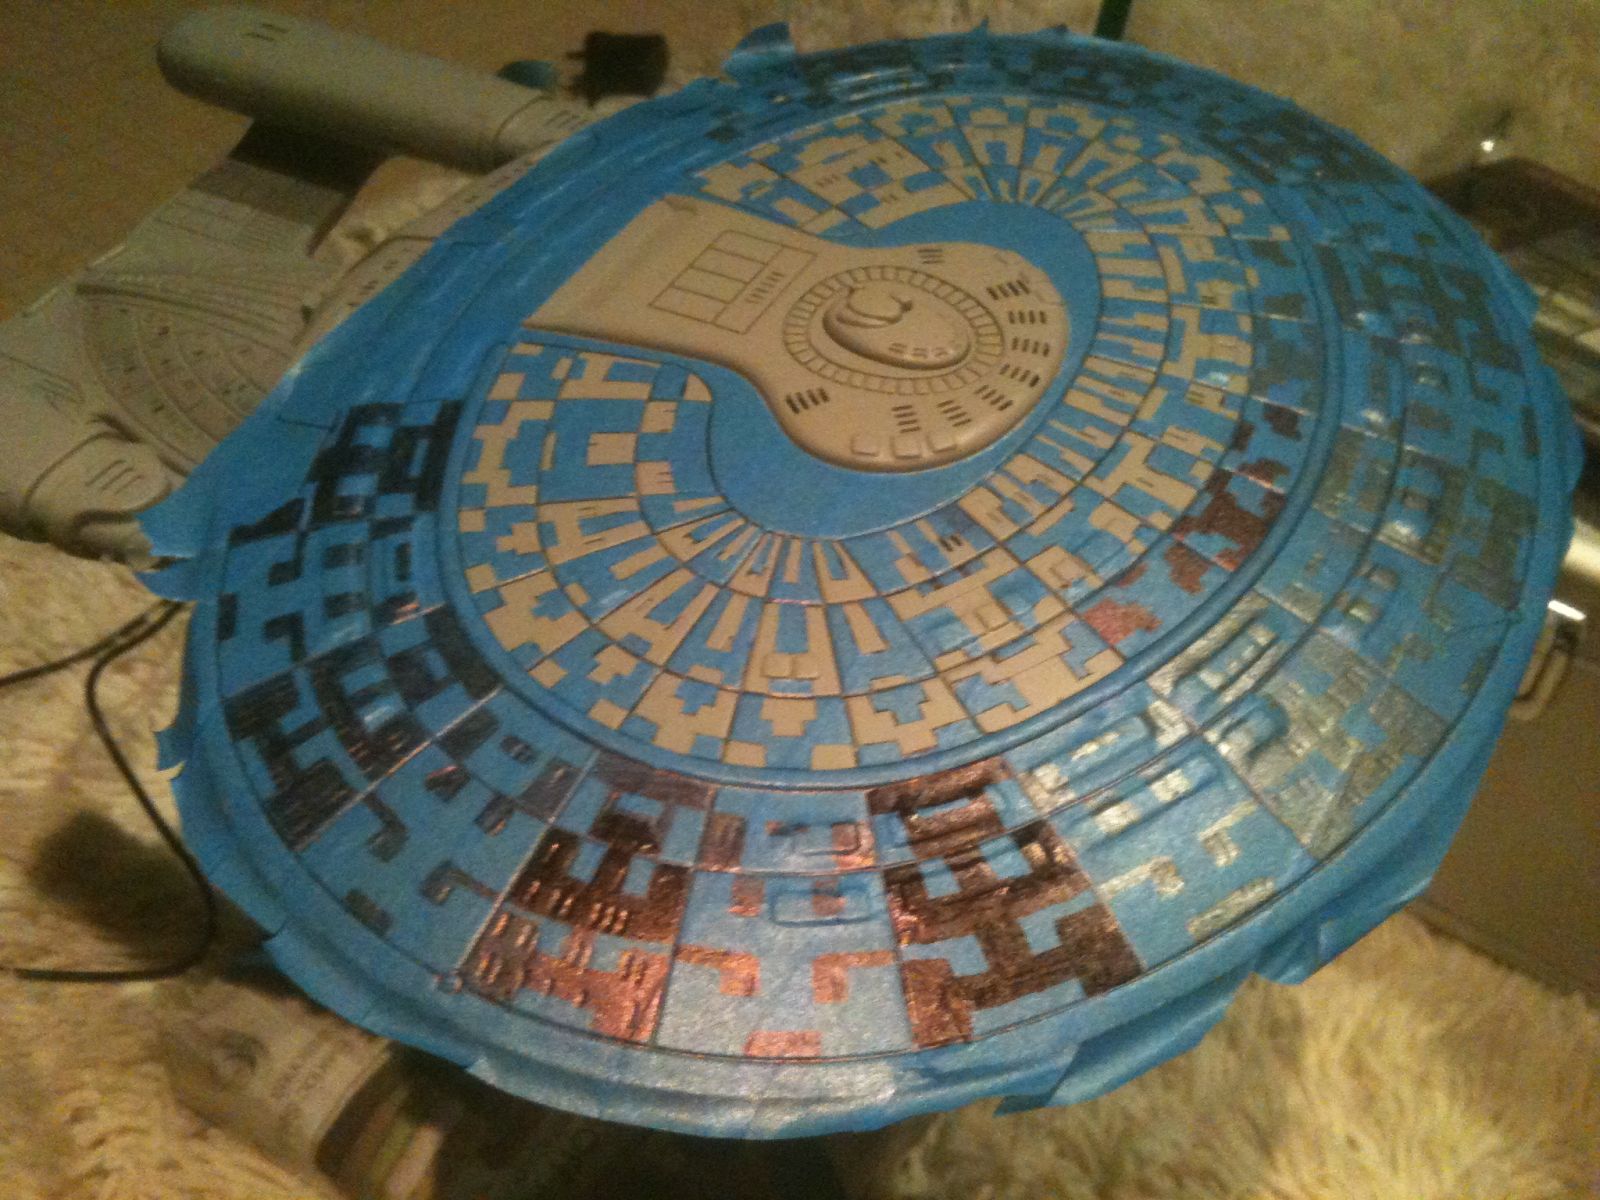
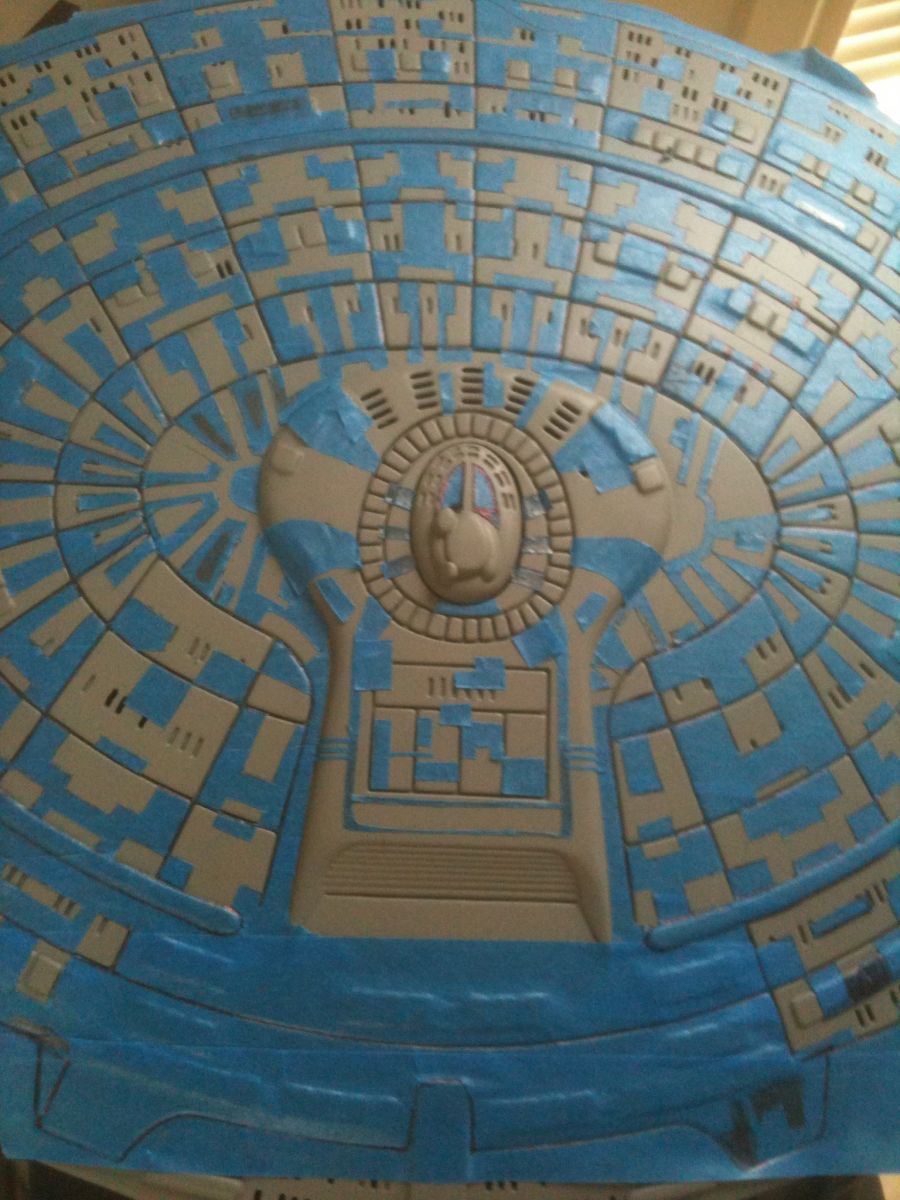
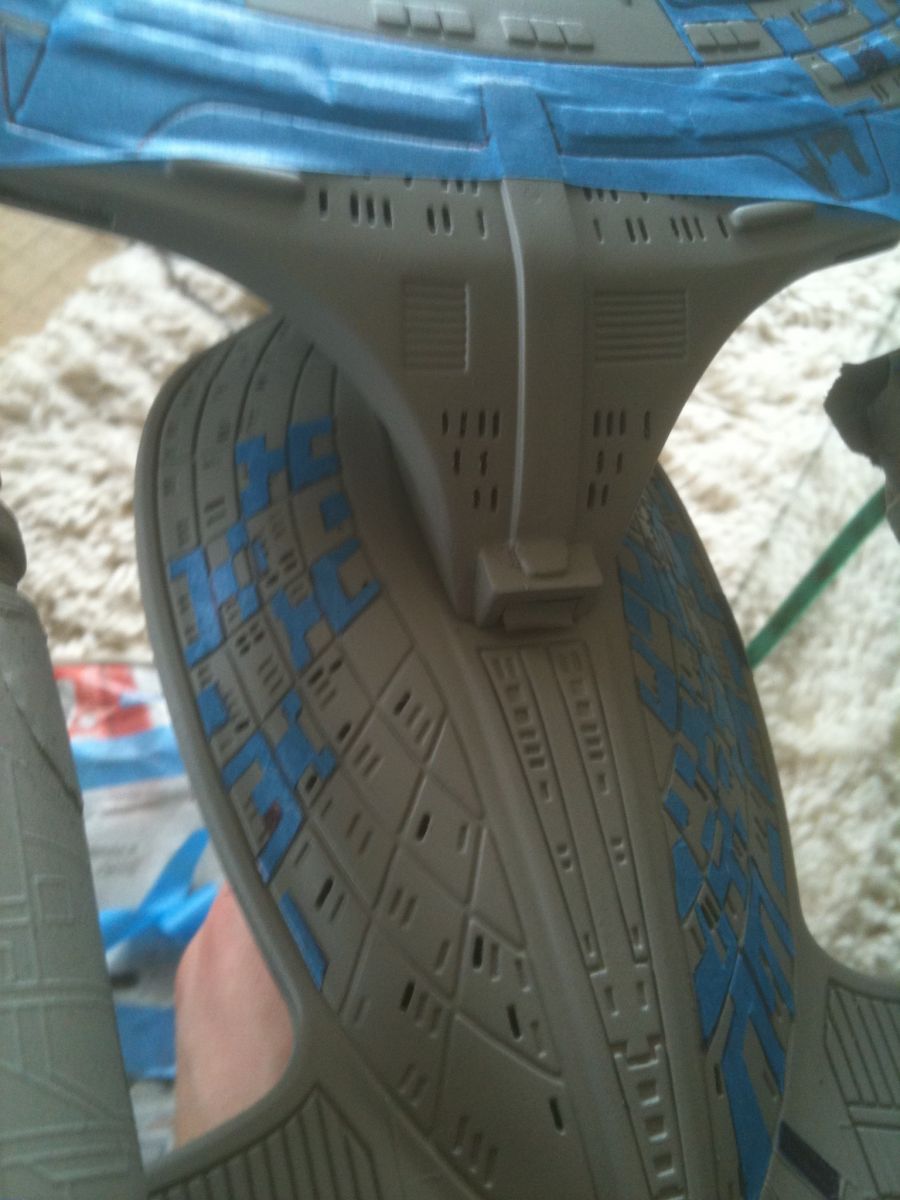
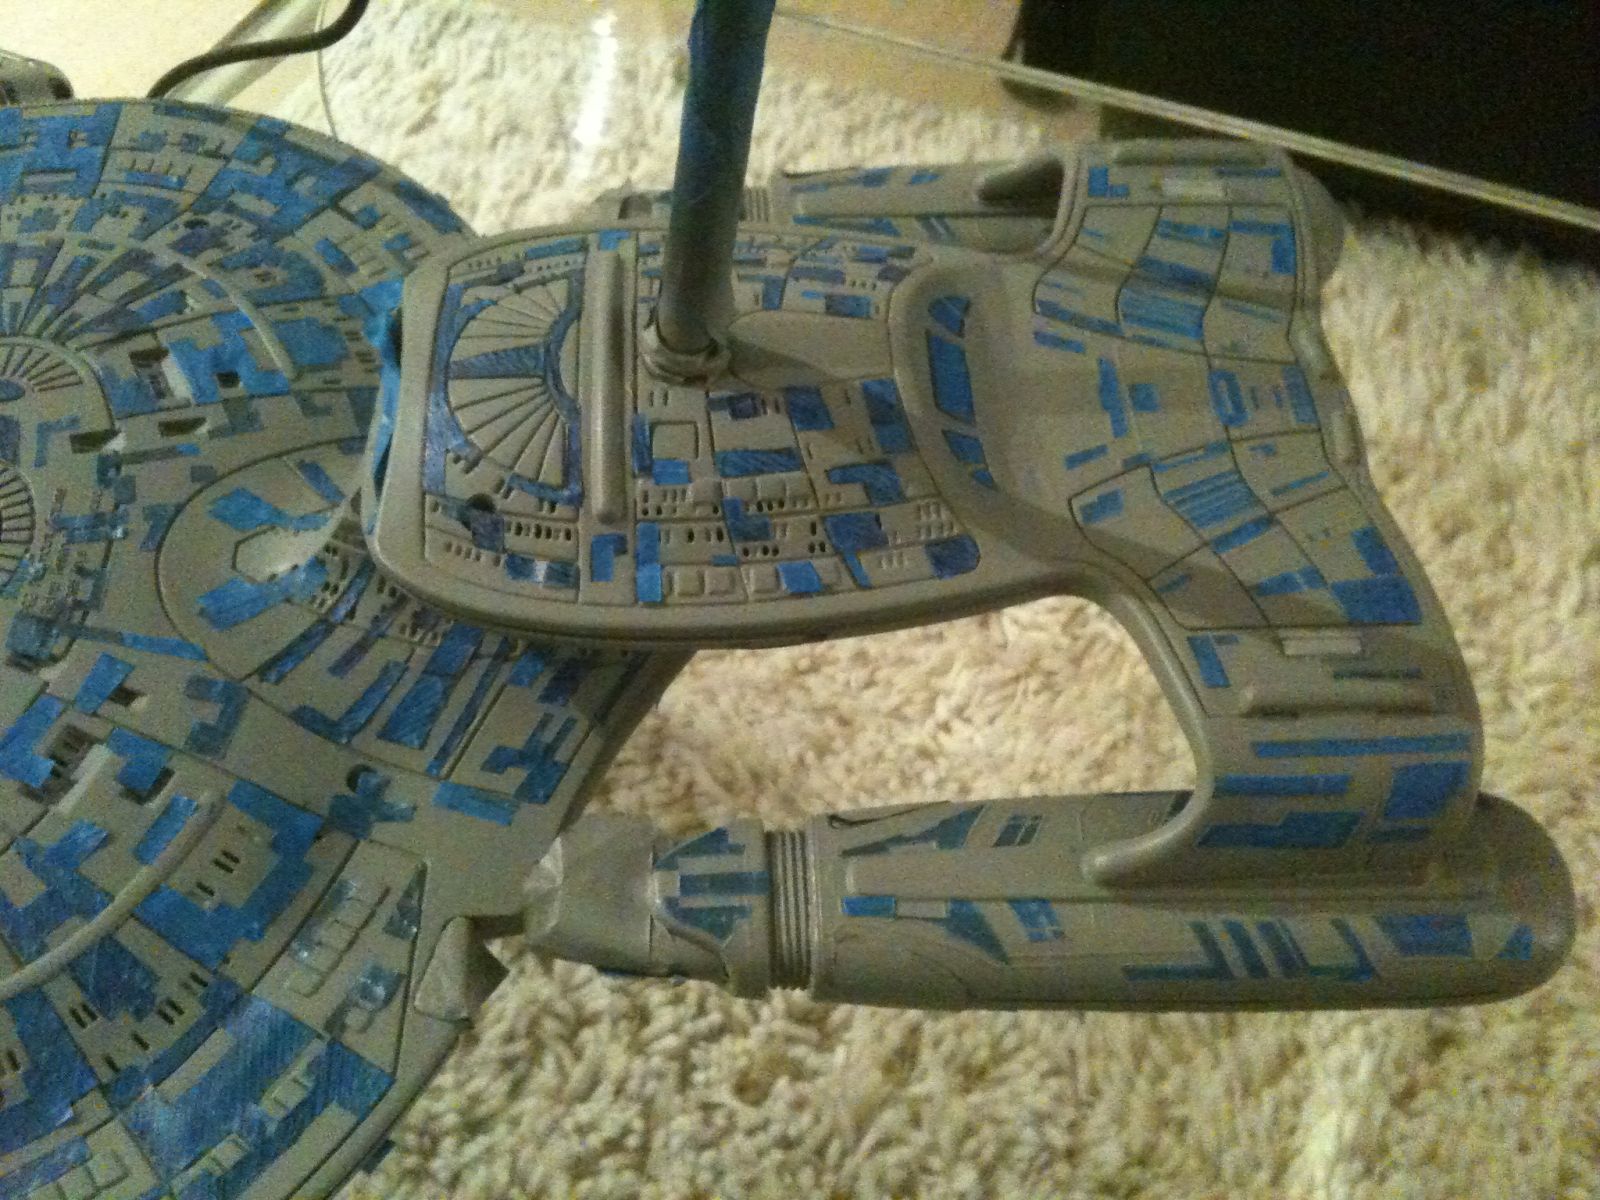
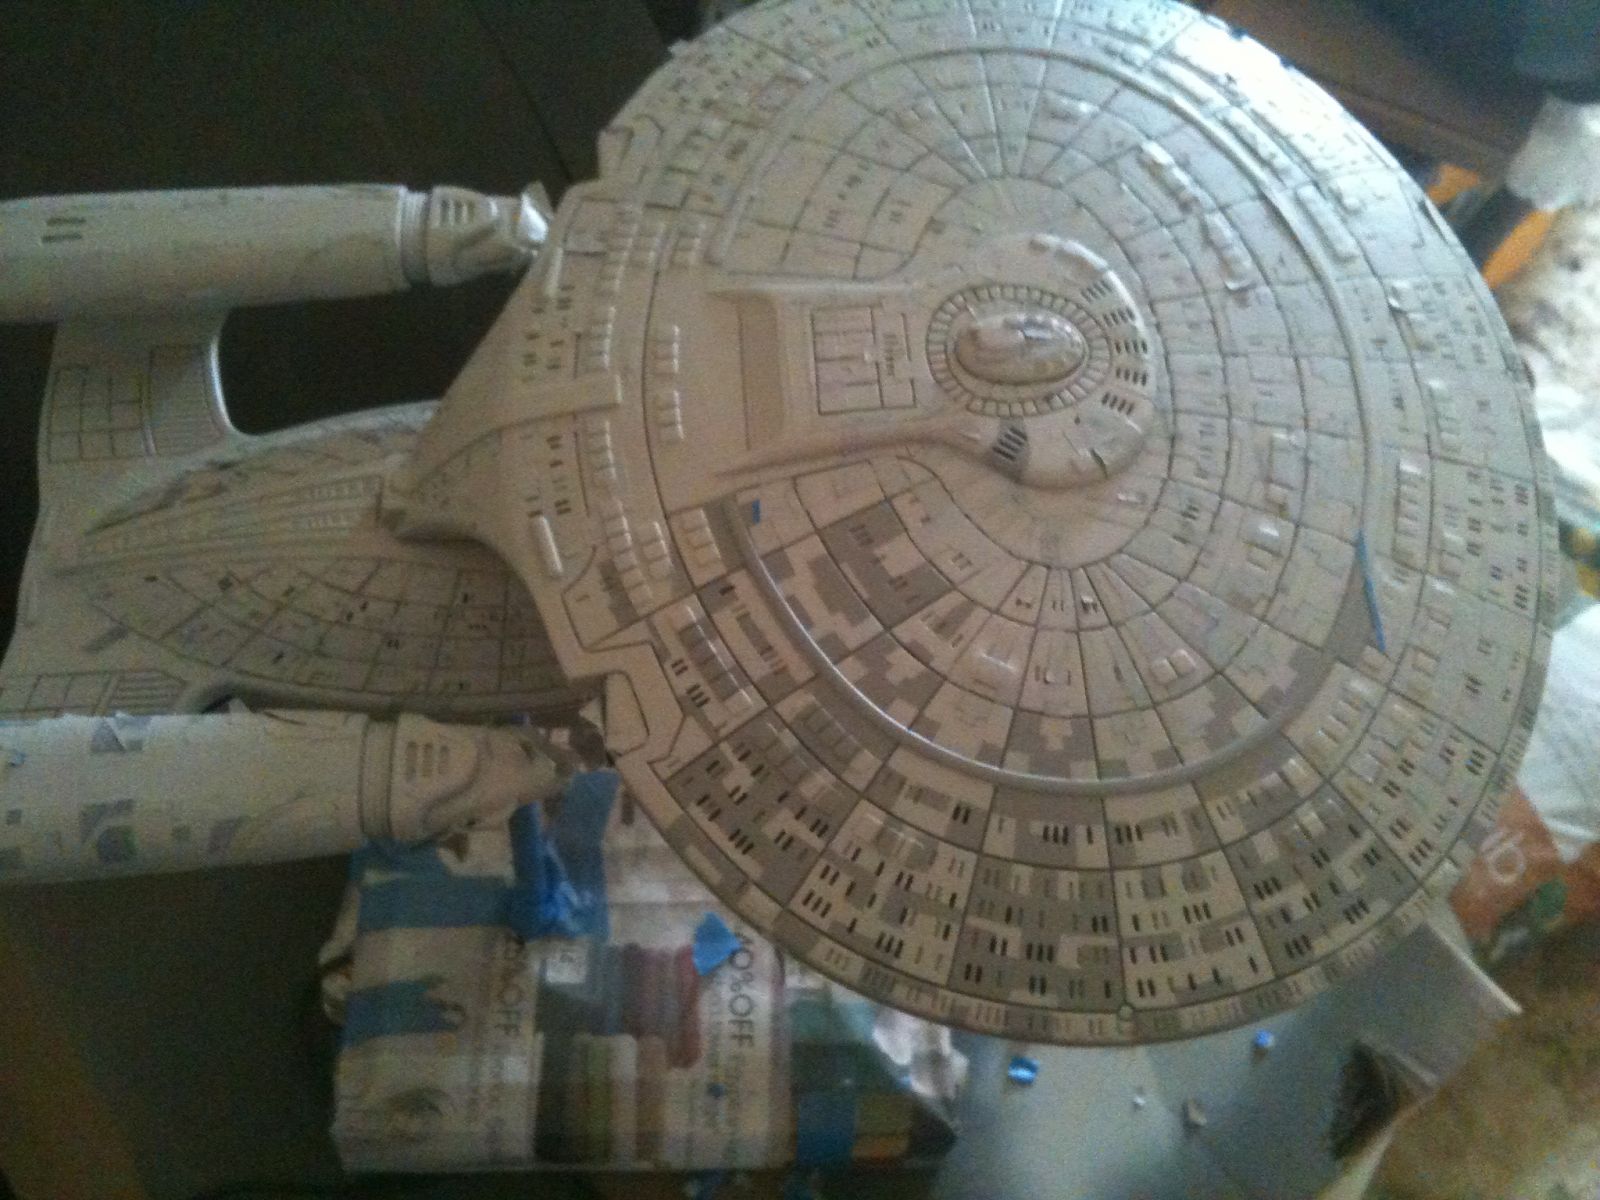
I did a test of a few panels, but this didn't turn out very well. There was plenty of over spray and it would have taken ages to section off one area at a time. So I had a bit of a brain storm and decided to cover the whole top section in masking tape. Using a black pen I marked out the hull pattern and begun re-drawing the design. This process was just as time consuming as the windows. So if you attempt this, patience is a must.
 
Aztec Masking 1
 
Aztec Masking
 
Aztec Masking 2
 
Aztec Masking 3
 

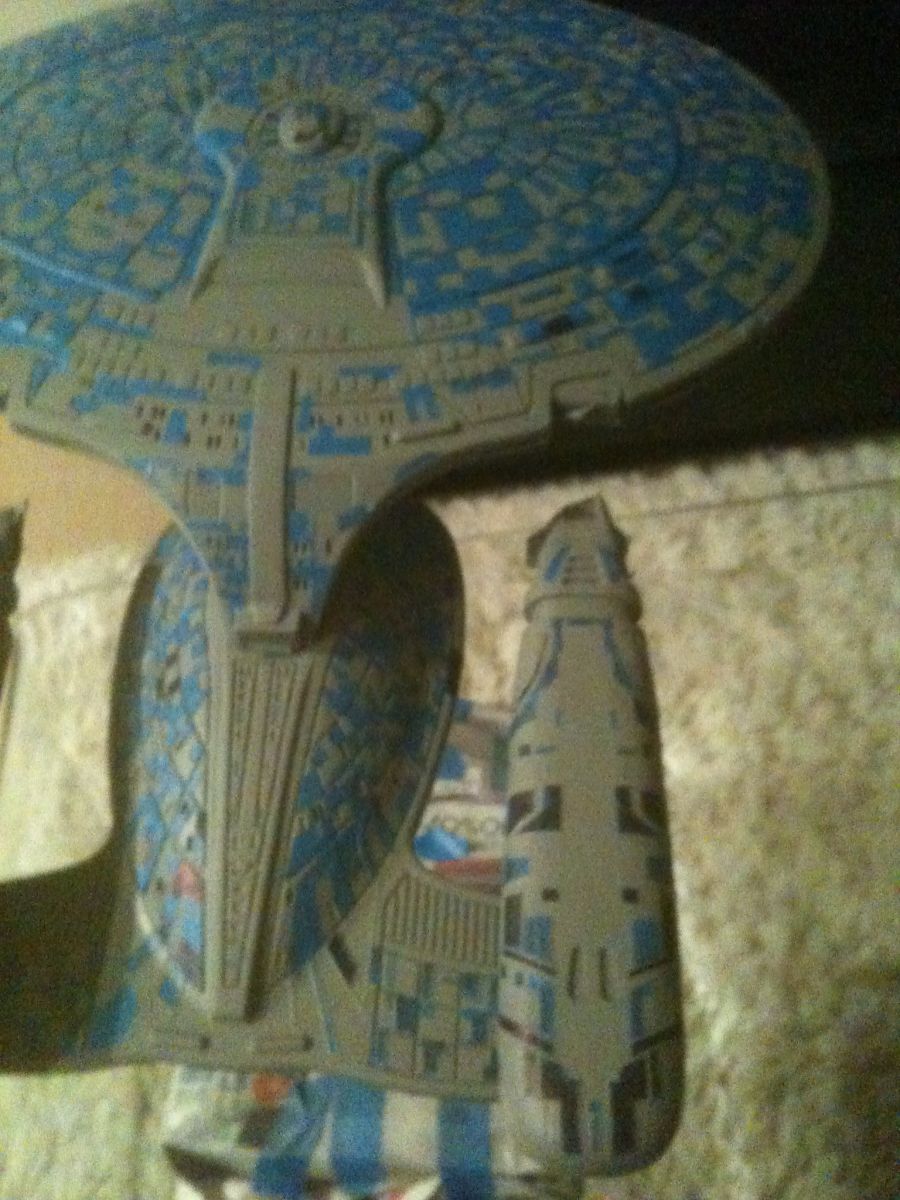
Once I had the top of the ship marked out, I started to cut away the black parts. I was not as careful as I should have been with this and ended up cutting into the plastic. If I did this again, I would have marked it out on the ship and transferred the tape onto a cutting board to cut out. I ended up doing it this way on the underside. The only issue you will have doing it this way is the tape is less tacky and will start to peel away.


Aztec Masking 4
 
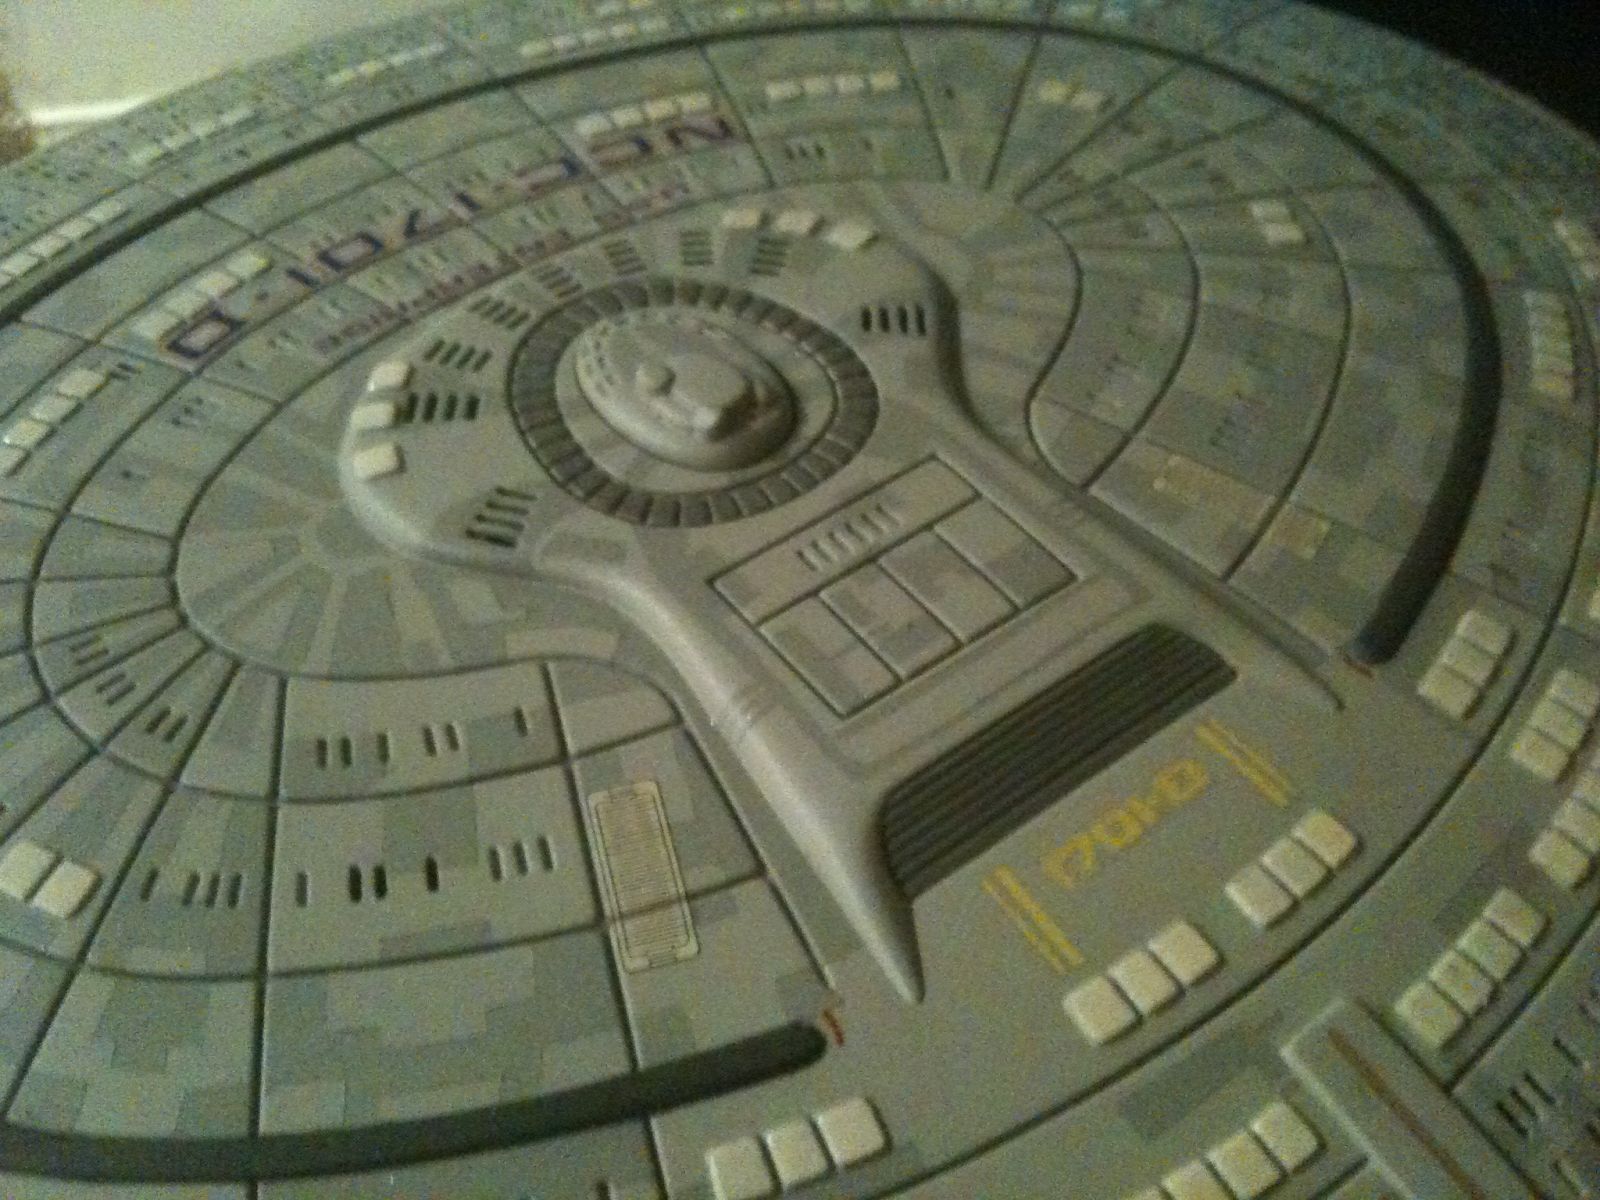
Saucer Aztec
 
I did use reference images to get the basic pattern down, but as I was not attempting to have my build screen accurate I made random patterns in certain areas. You will notice this around the bridge area and shuttle bays.
 
Aztec Continued
 
Aztec Continued 2
 
Aztec Continued 3
 
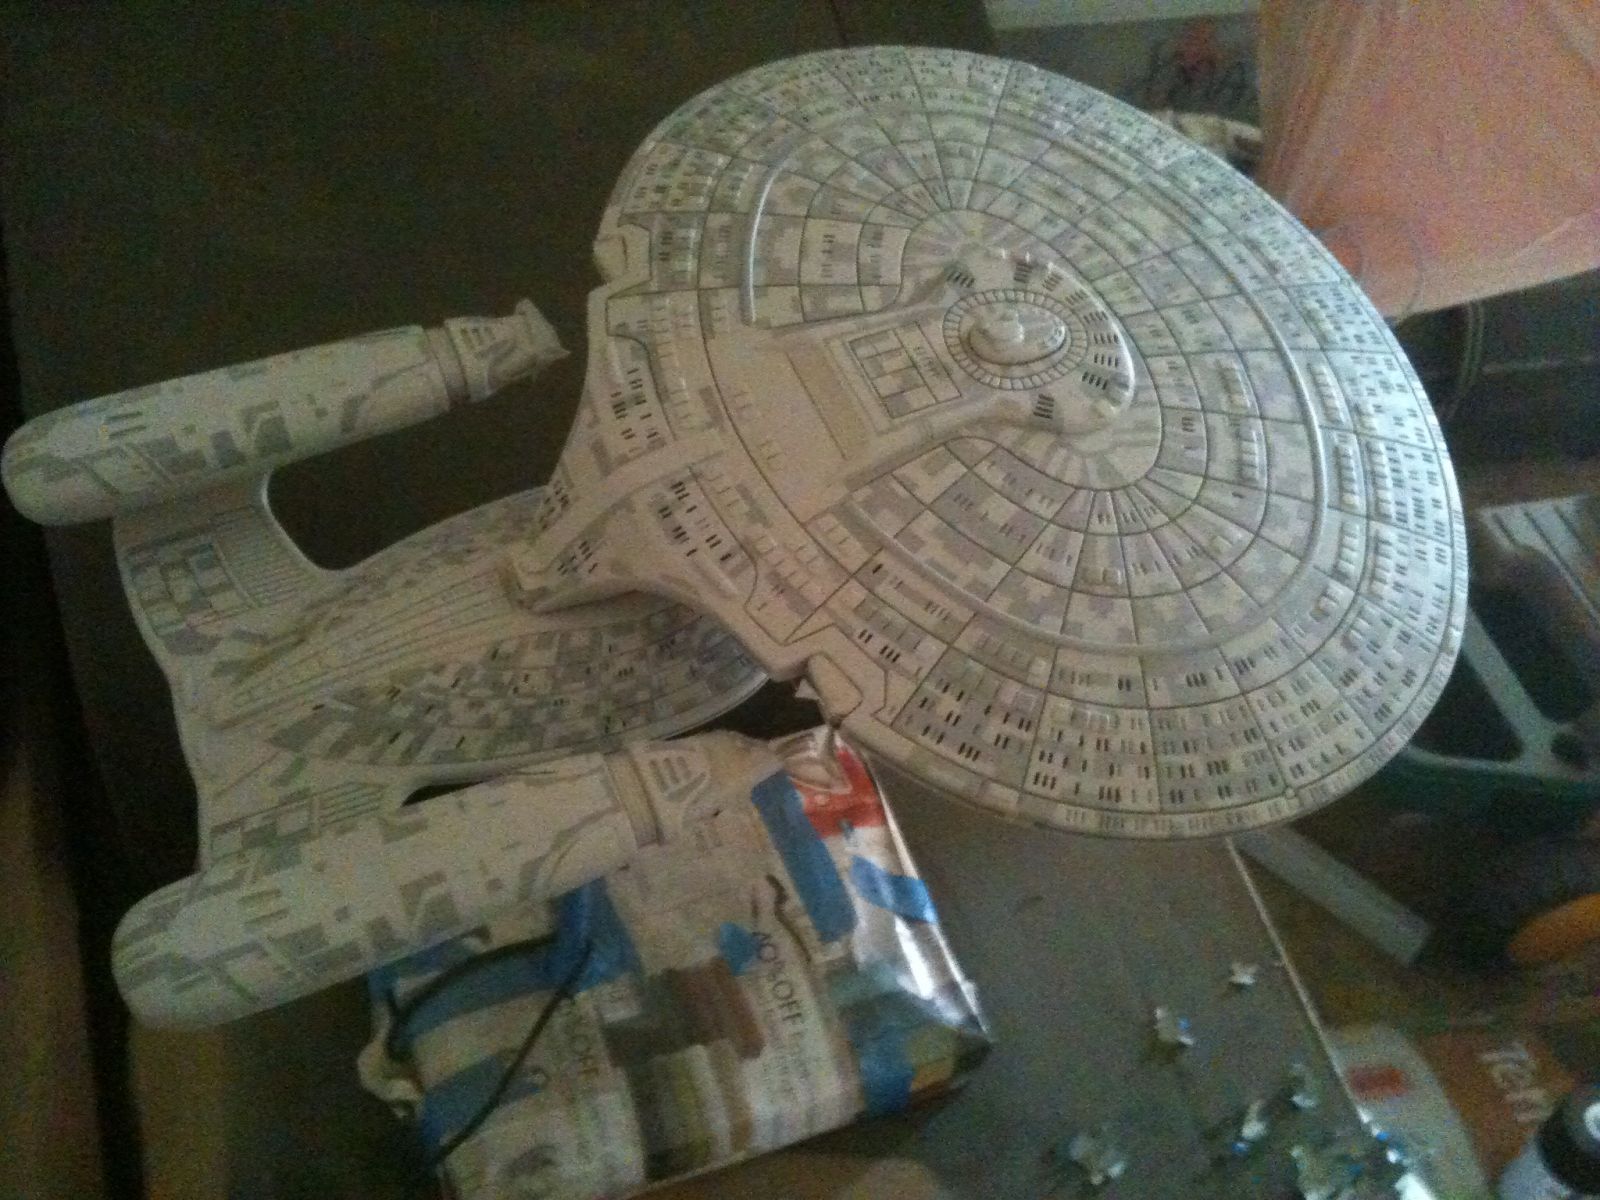
The Nacelles were much easier as they have raised areas which outline the patterns. To mask this, I simply placed the tapu over the Nacelles and lightly ran the pen over the tape. Basically a rubbing. Once I had the outline on the tape I did the same process as the rest of the hull.
 
Aztec Continued 4
 
Aztec Continued 5
 
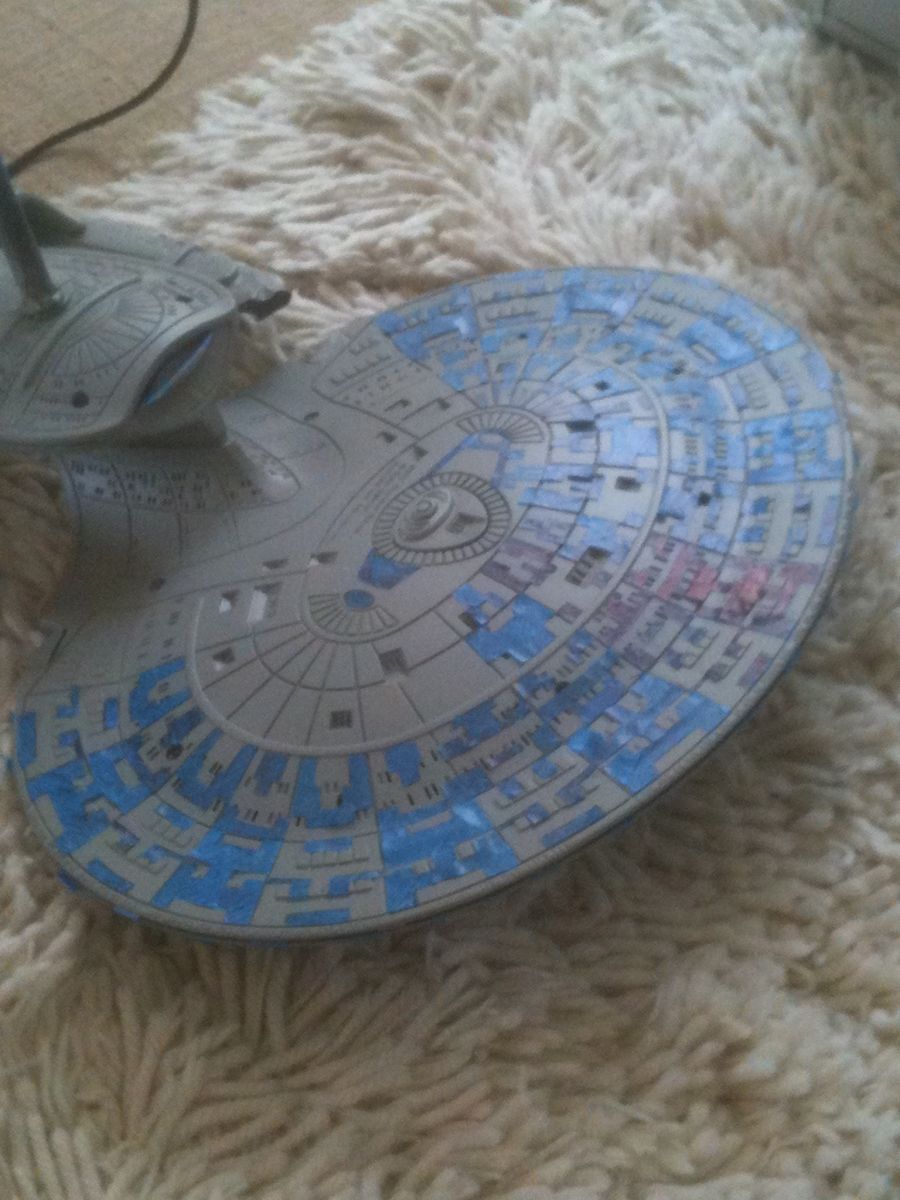
Finally when the whole ship was masked, it was time to paint. For the painting I chose Tamiya spray paints (as I do not have an air brush.......yet) and I find that these have a good consistency. I chose the closest colours I could find which would contrast well. It doesn't matter which way you do this (dark over light or light over dark) I did it this way mainly due to trial and error. I didn't like how dark i looked so I chose a lighter grey for the second colour.
 
By now it has been a few months worth of trial and error, but by this stage all the effort finally feels worth while.
 
De-masking Aztecs
 
De-masking Aztecs 2
 
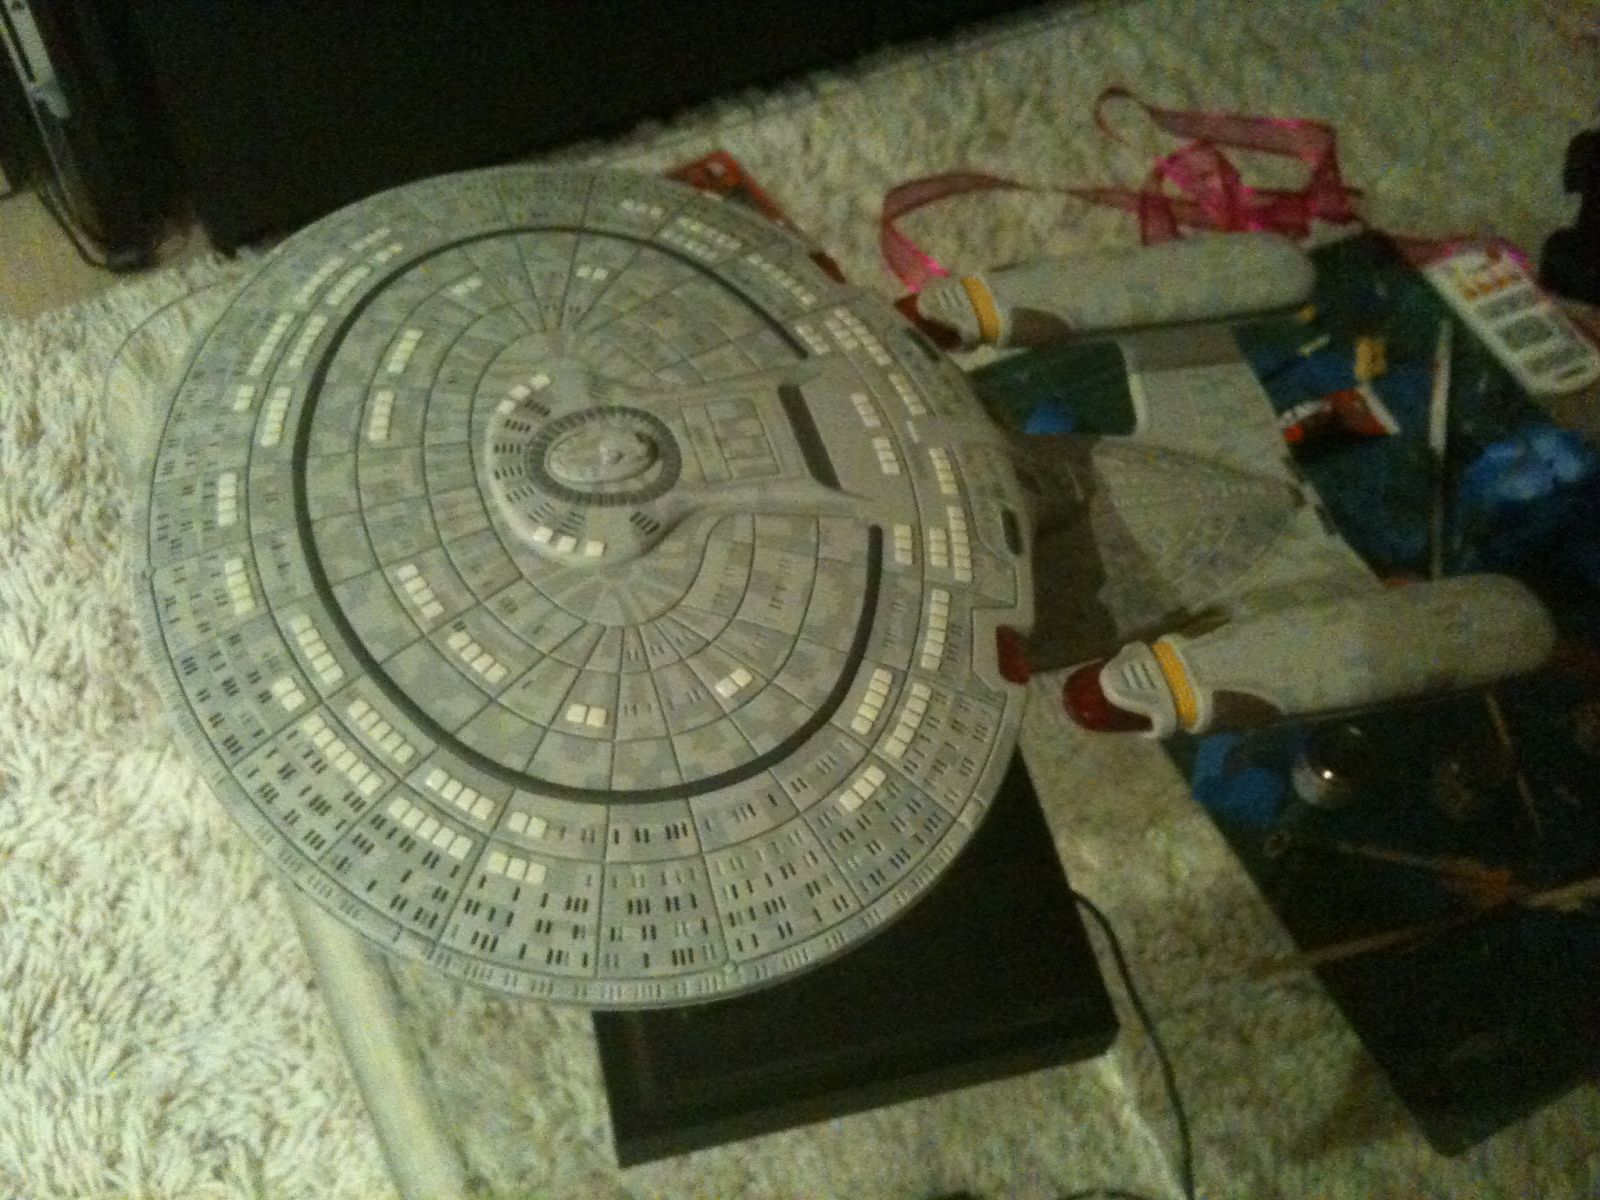
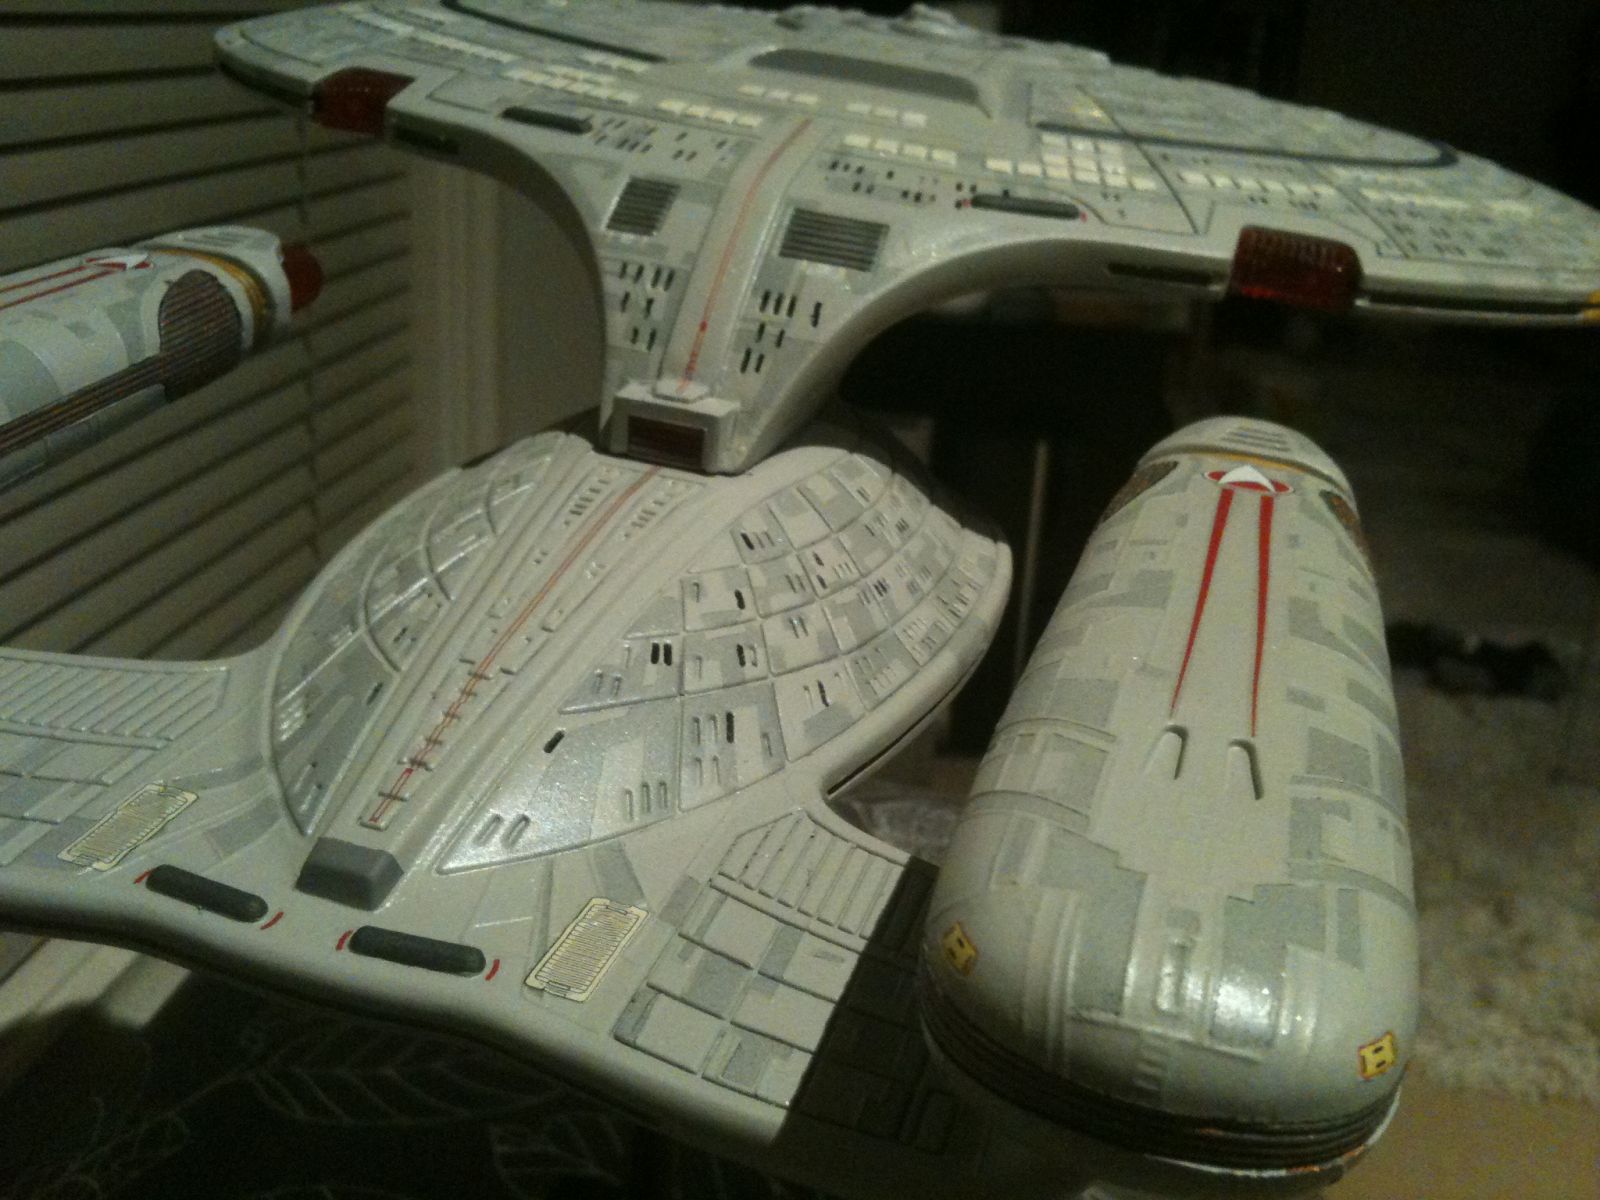
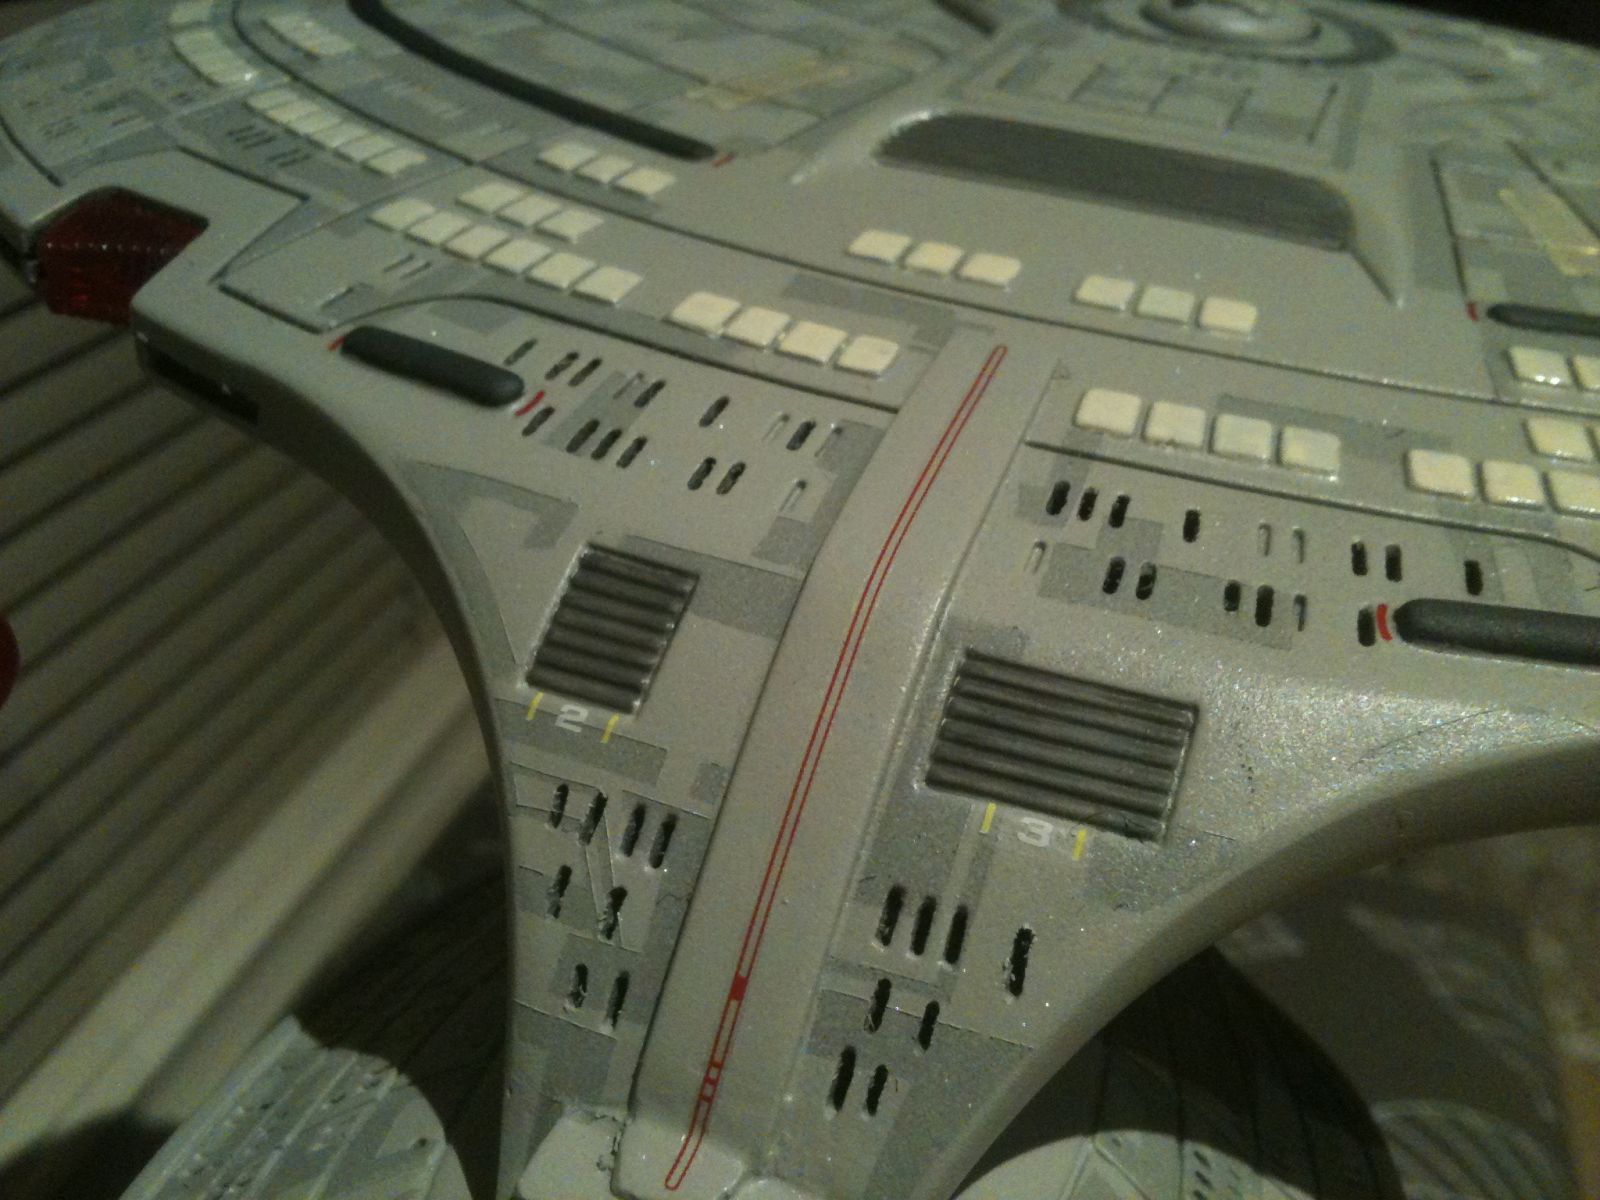
I decided the colours were to contrasting and the dark colour really stood out. To soften this out I simply sprayed some mist coats of light grey over the whole ship to help blend the pattern together a bit better. This seemed to work well. I then gave the whole ship a coat of clear pearl to give it that metallic feel when the light hits it. You can see this better in some of the close up shots of the finished ship.
 
Painting Details
 
The last steps were to add the details and markings. I ordered a set of replacement decals for the 1/1400 kit model as this is only slightly larger than this toy and I don't quite have the ability to re-create the markings in the correct size. I was very impressed with the quality of these decals and the amount of detail compared to the standard stickers that come with the toy.
 
these last few images are of the ship with all the markings added on and escape pods painted. The decals did come with all the escape pods but these were slightly bigger and would not have formed over the raised parts very well. 
 
Final Markings 2
 
Nacelles
 
Shuttle bays
 
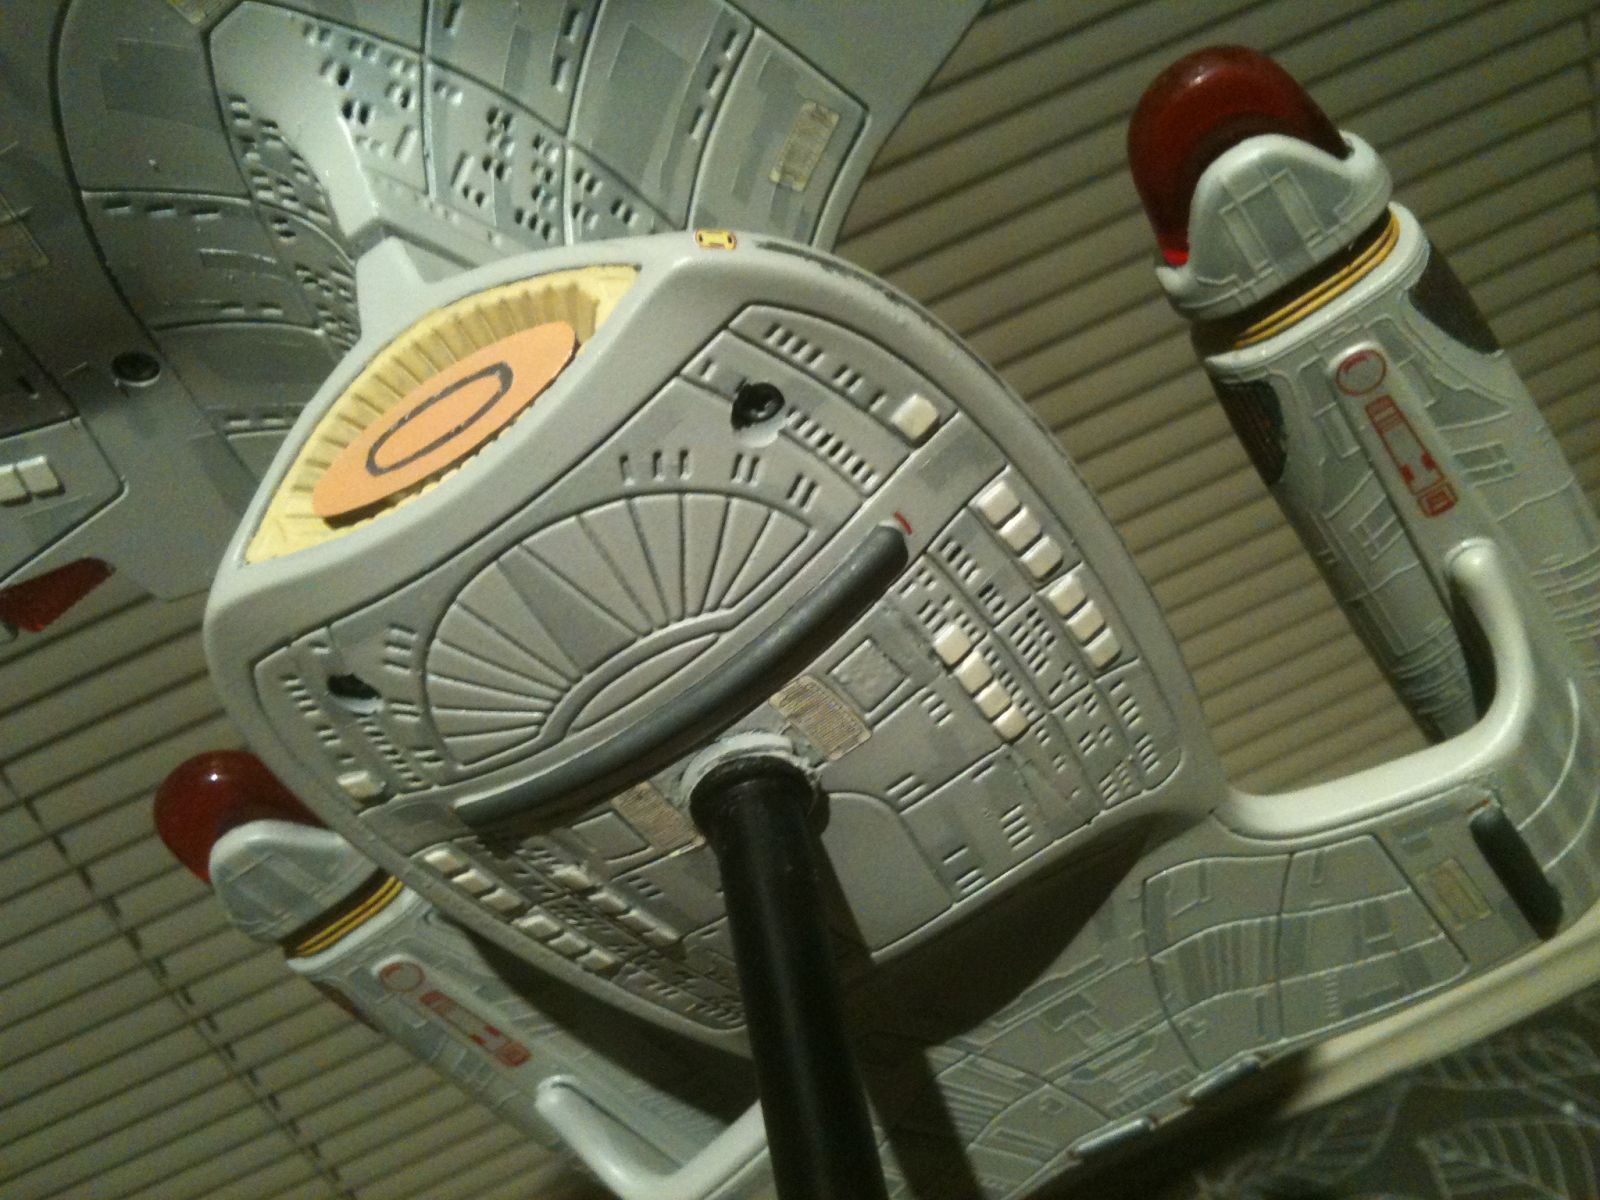
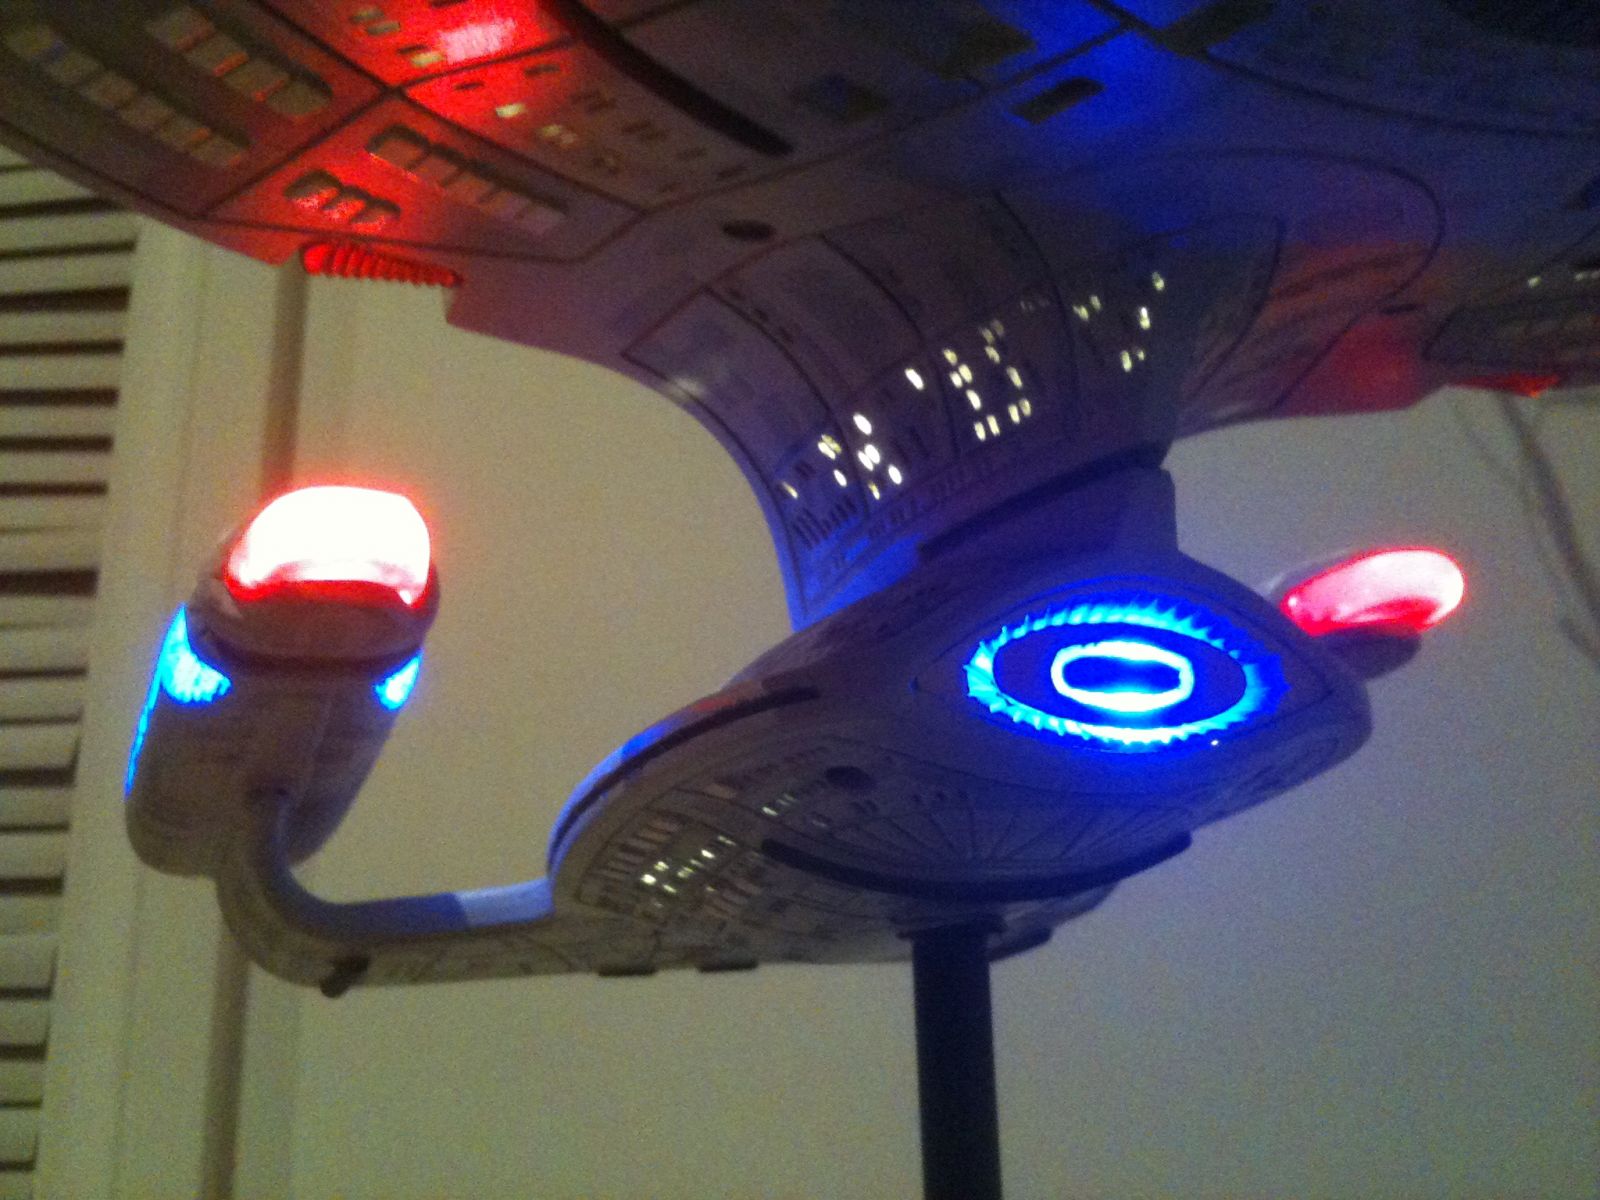
One thing I forgot to mention was the modification of the deflector array. This was originally cast in clear red plastic and never lit up on the original toy, so this was a big focus for me in the beginning to try and get this right. I gathered lots of reference photos and still shots from the DVD,s, and I even looked at how the 1/1400 scale was cast to work out a way to modify mine. I first drilled a hole in he centre for the single blue LED to poke through from the back. I then painted the whole deflector in light flat yellow. I found this is as close to the original model colour I could find (without being overly accurate)  and found this will distribute the light evenly. The next step was to cut out a small oval shape in clear plastic to sit over the top of the LED. The clear plastic was just an old packet of screws and I used a clear plastic tube from a new paint brush to sit over the LED to glue the plastic onto. Before the plastic was glued into position, I cut a smaller oval out of masking tape to create the inner light ring and painted the plastic in black first, then a shot of white and finally a flat tan colour. 
 
This is the end result.
 
Deflector
 
And I think it works well
 
Deflector Dish
 
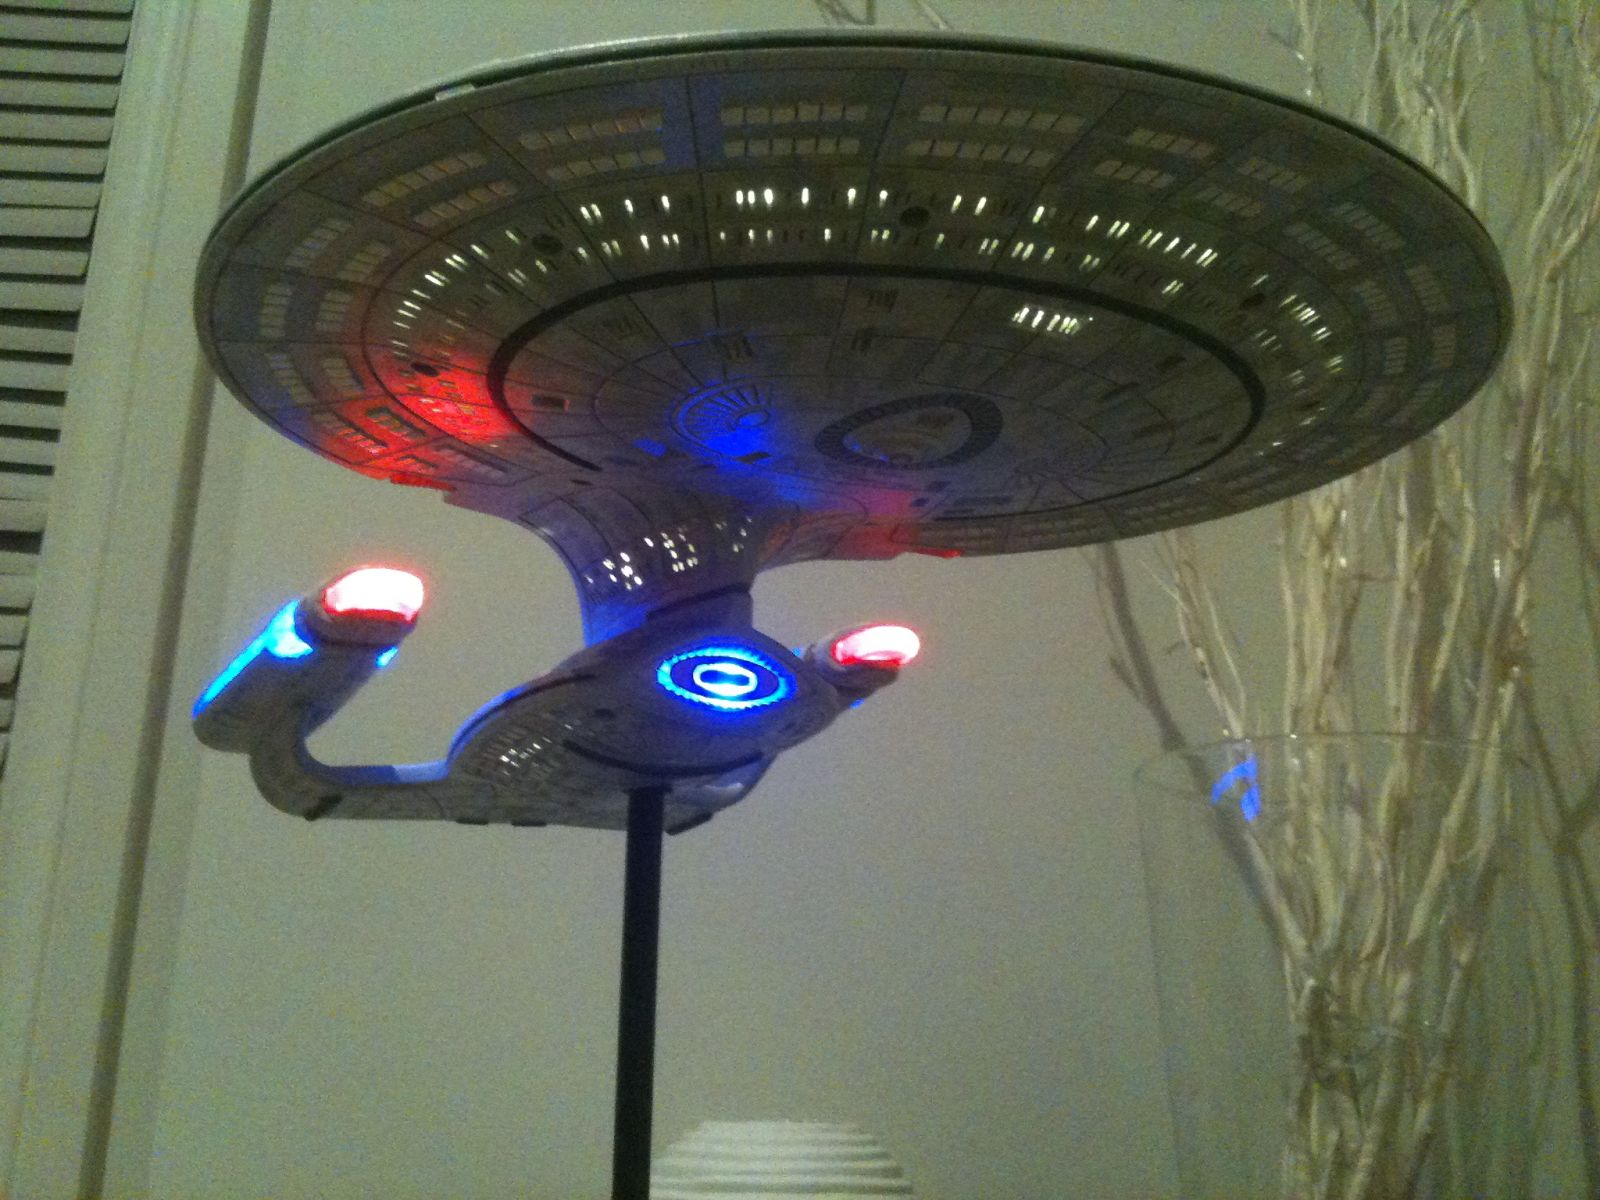
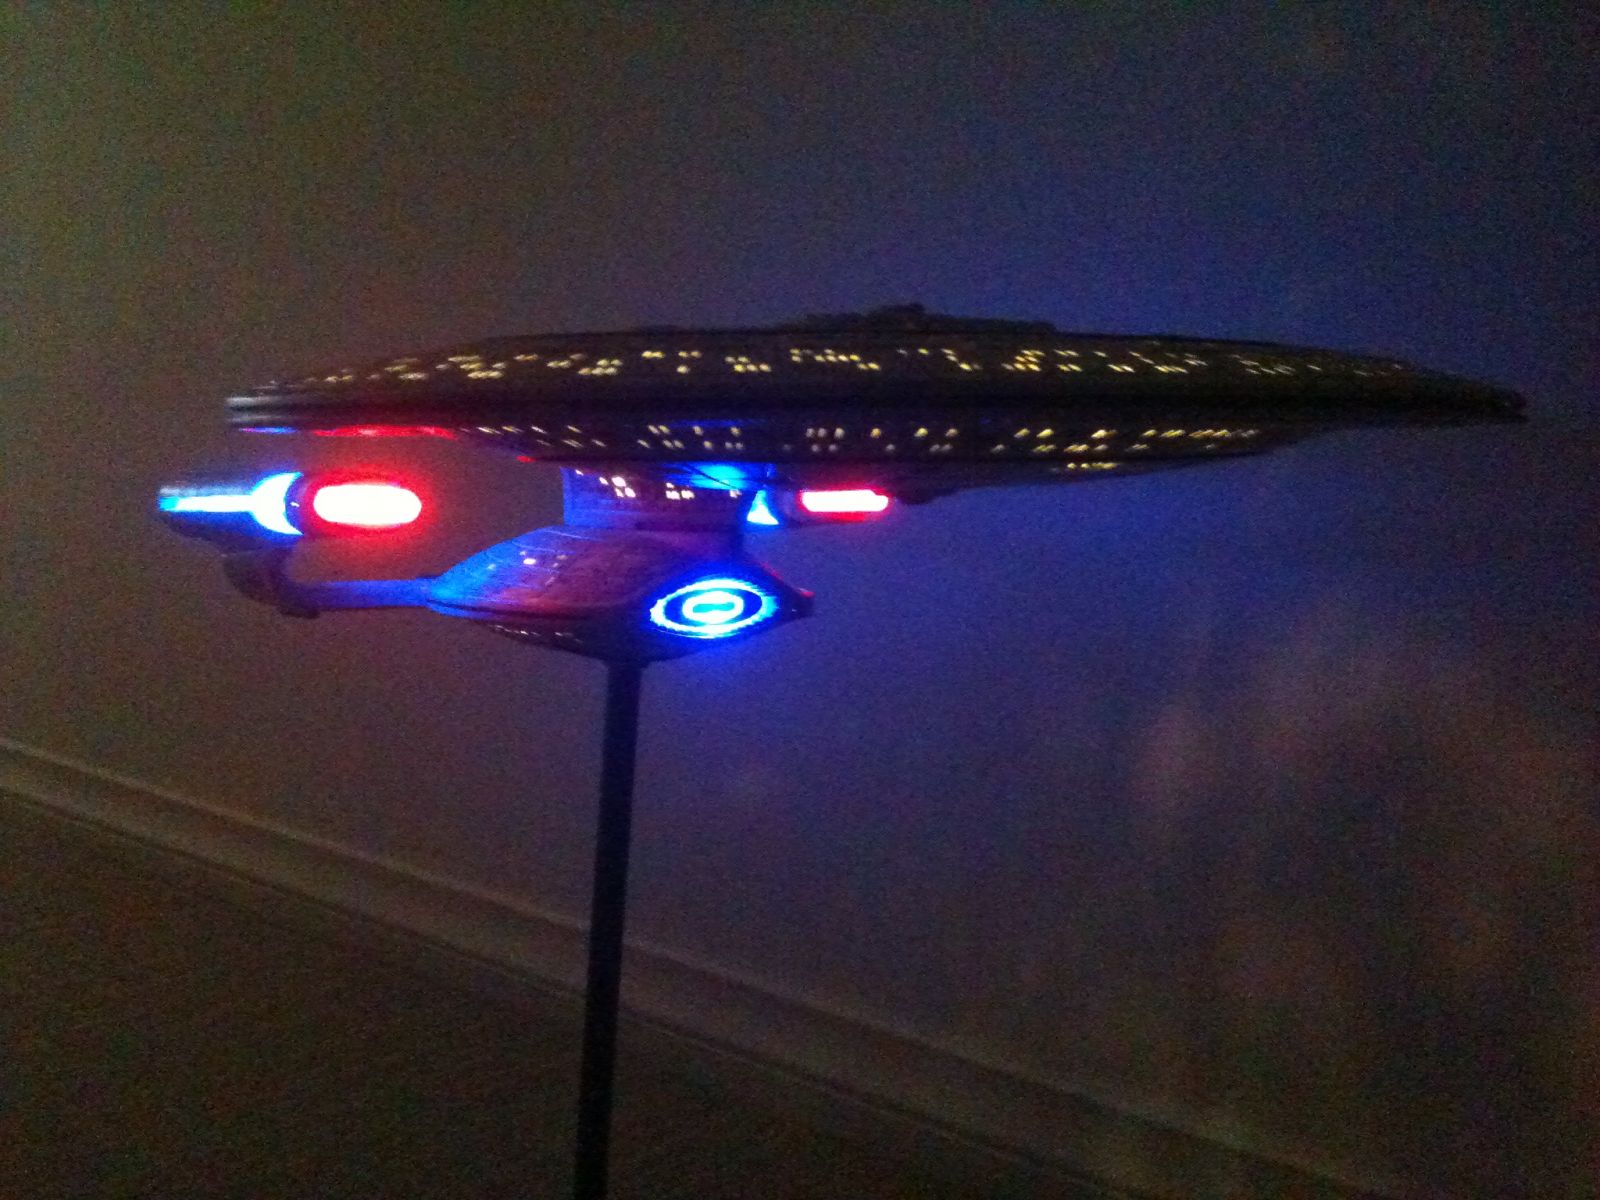
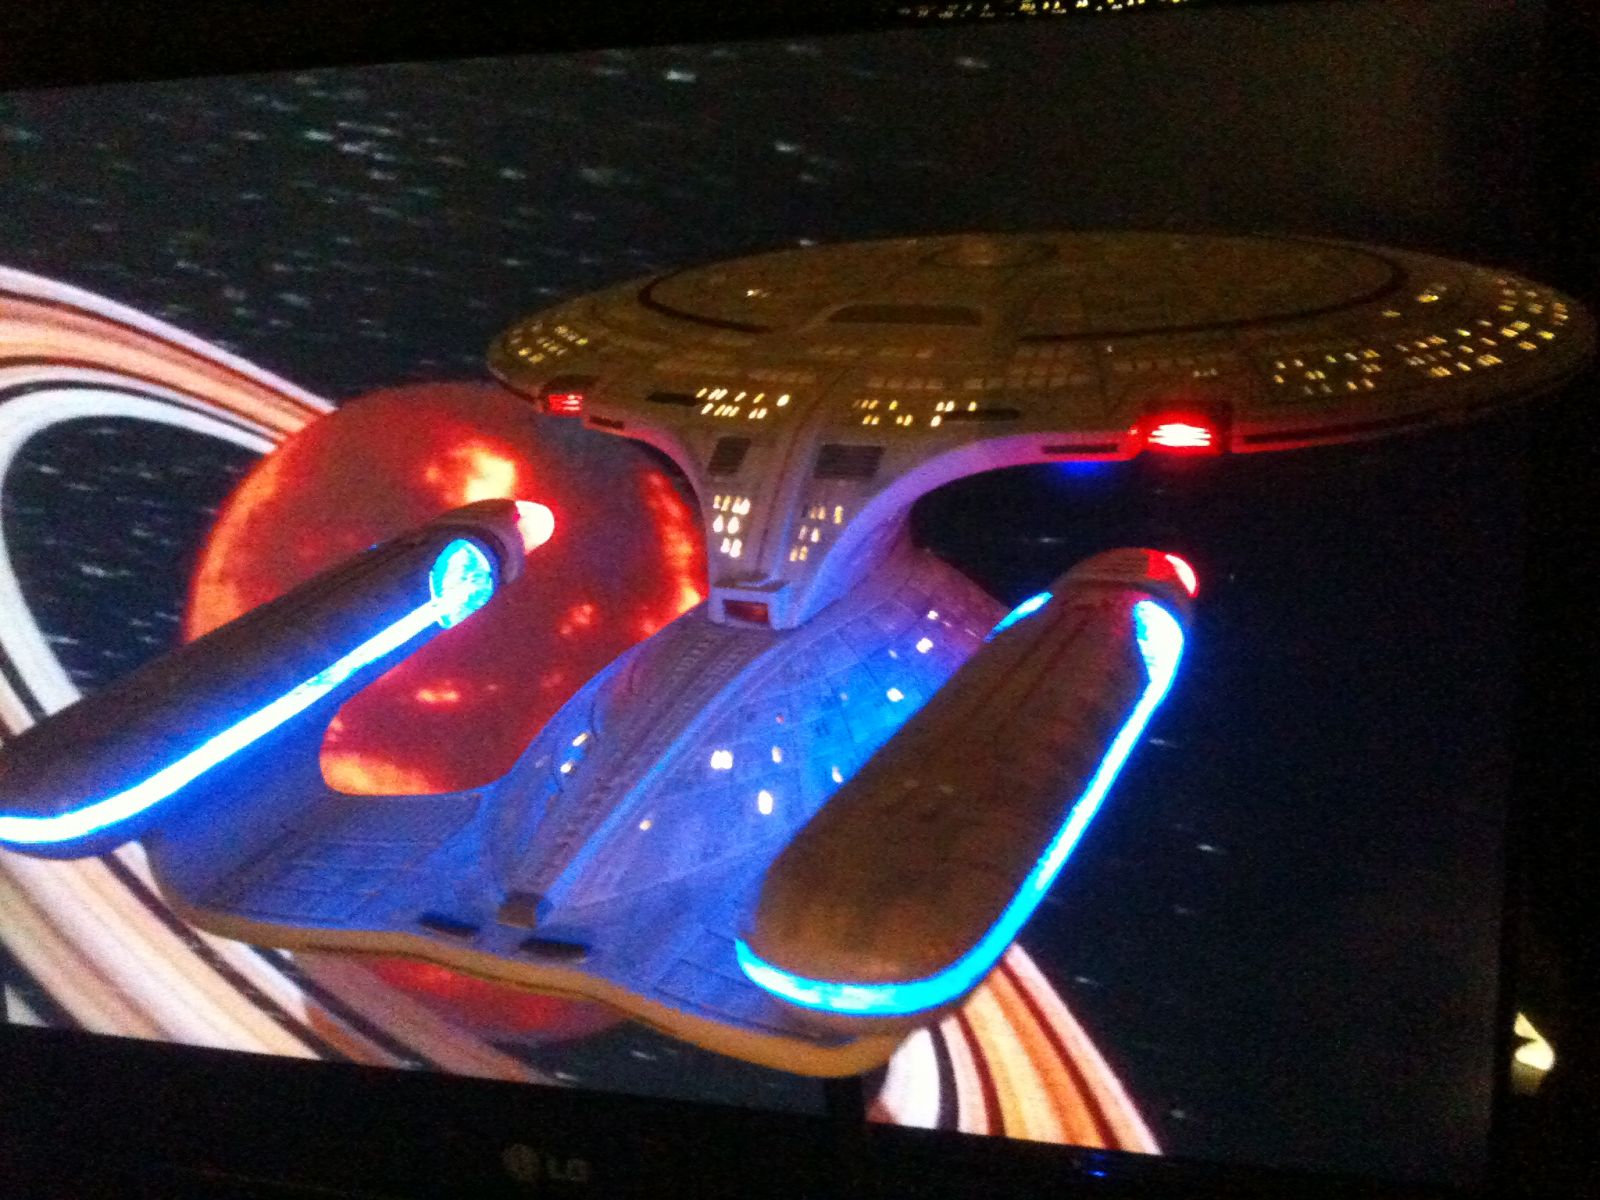
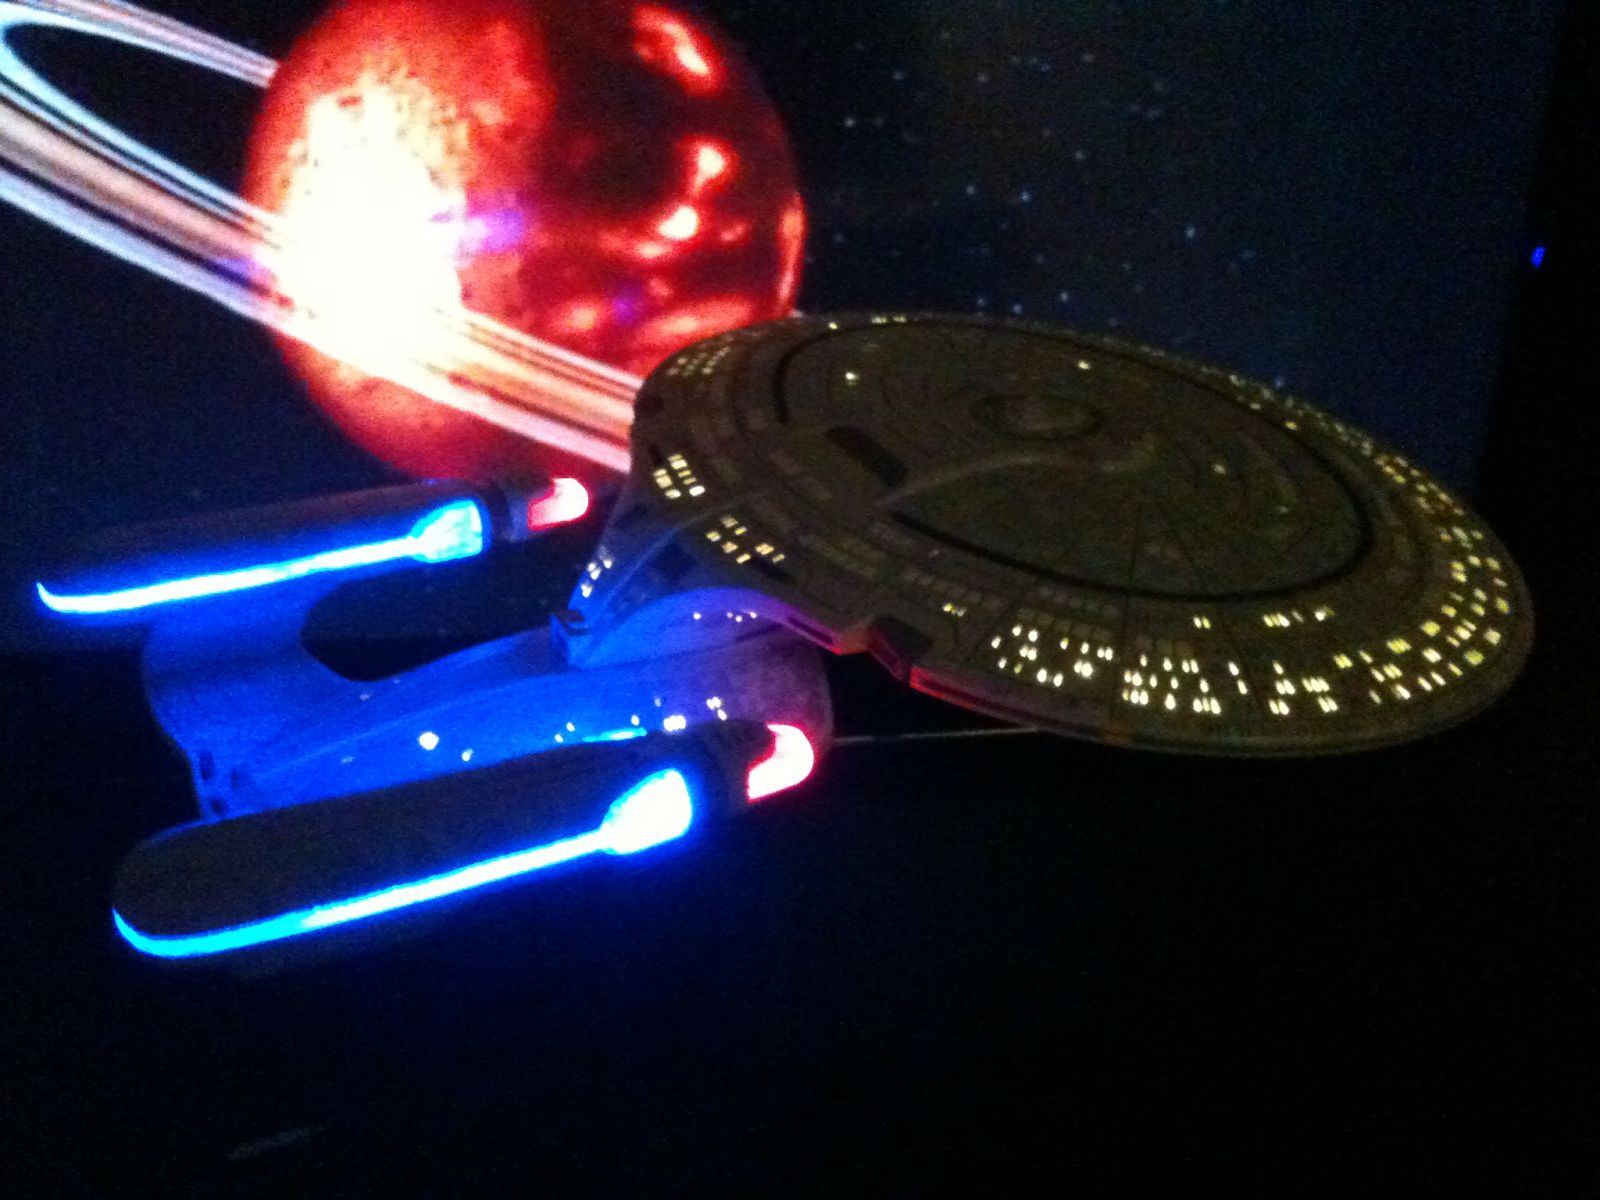
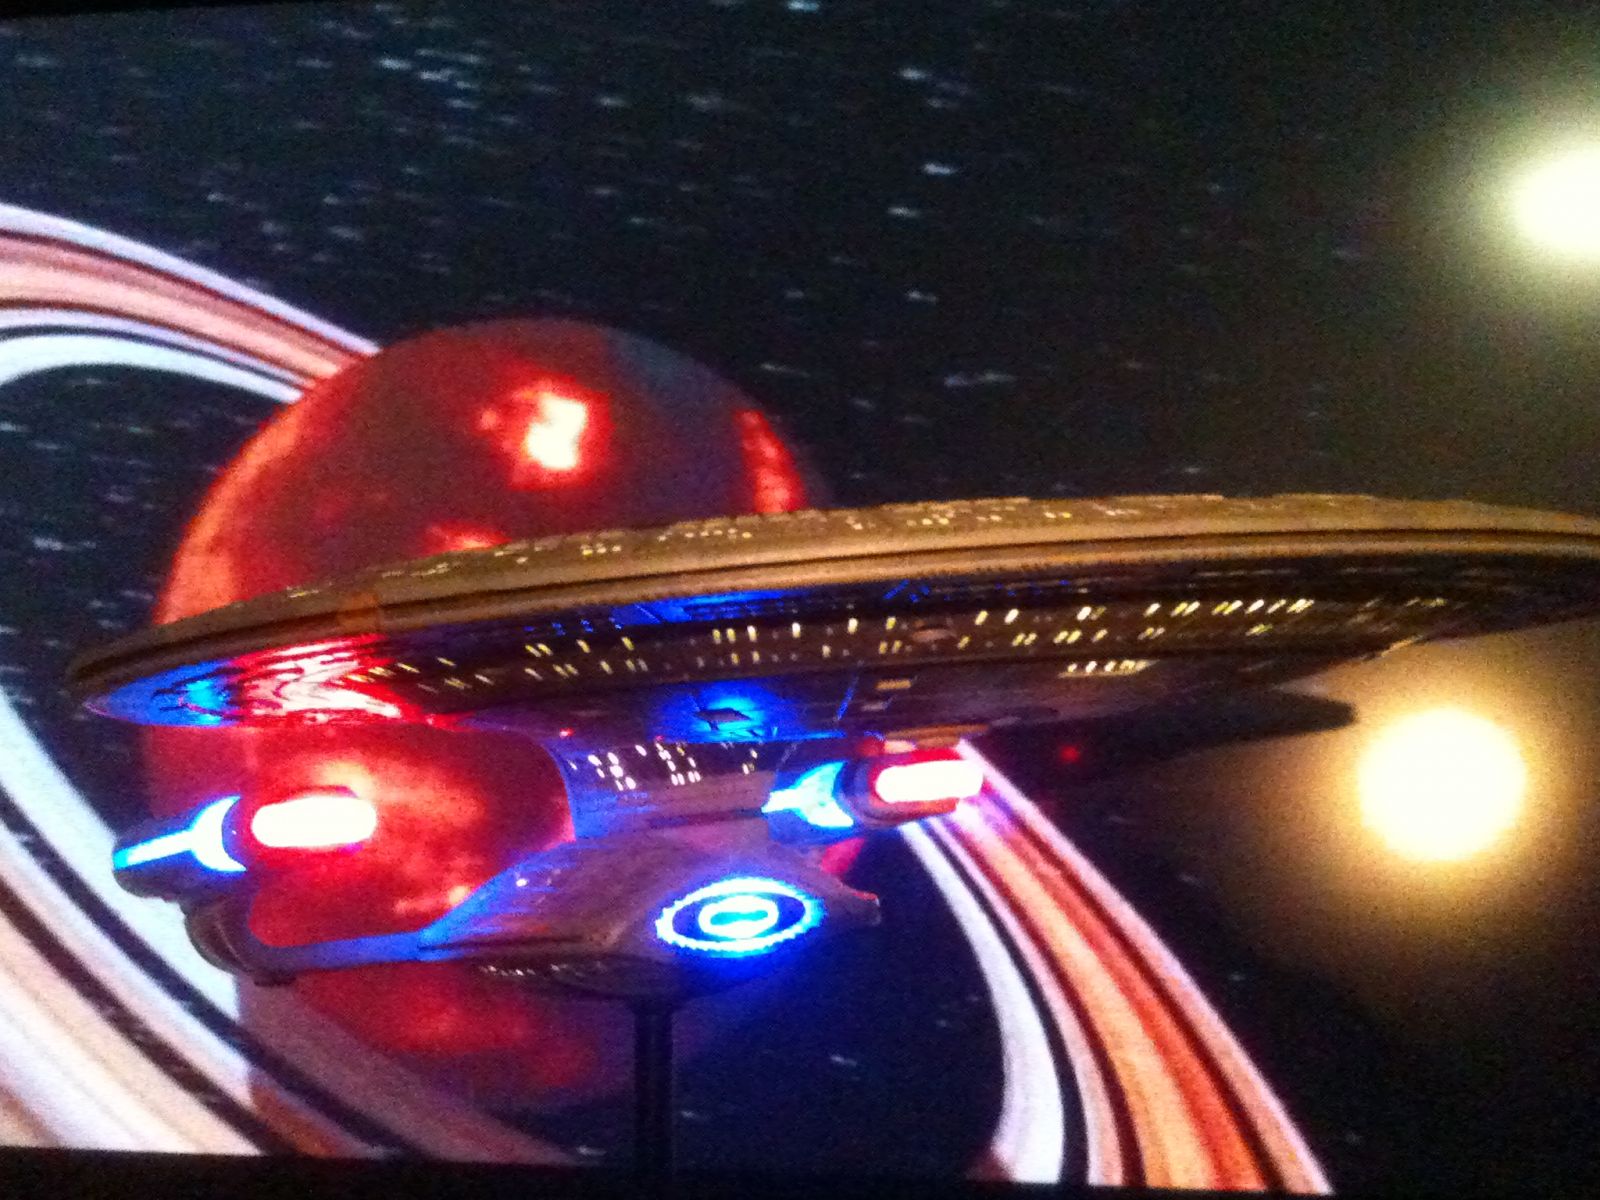
Here are some shots of the final model with the lights on. I am relatively happy with the way this turned out, and as usual, I will always find more to do on this. I did rush the base stand and feel it does nothing for the rest of the ship. So I have plans to change this in the not to distant future. But until then, I hope you enjoy this for now.


Final Lighting 3
 
Final Lighting 2
 
Enterprise D warp 6
 
Enterprise top view
 
Deflector Lighting


In Topic: Re-lighting (and eventually re-painting) the PM Enterprise-D

10 March 2014 - 04:40 AM

Hi guys


I know its taken a long time, but I have finally started a write up of my build here.


Thanks again Destructor!!! for your inspiration. Mine would probably still be sitting in a box collecting dust if it was not for this post.


In Topic: Re-lighting (and eventually re-painting) the PM Enterprise-D

13 January 2014 - 05:20 AM

Hi Boris. Wow has it been that long? Just noticed the last post date. I have started designing the LCARS layout. Unfortunately I have had to put the build on hold. Way too many jobs have taken priority. I aim to get working on it now the holidays are over though. Your project sounds amazing. I think everyone will be interested to see how it all works. I know I am.

In Topic: Re-lighting (and eventually re-painting) the PM Enterprise-D

15 September 2013 - 08:35 PM

Oh I wouldn't say your lacking skill by any means. As I said before, the patience for this will test you. Trust I am not that patient.

I appreciate your kind words as I really did not expect such a bug response from this.

I will get started on a thread during the week to show the Aztec paint work. Unfortunately I didn't take any photos of the lighting build up.

In Topic: Re-lighting (and eventually re-painting) the PM Enterprise-D

15 September 2013 - 04:12 PM

Haha thank you Promethius.

But I must say if it was not for Destructors help in showing how this ship comes apart it would still be in a box in my garage.