
EDIT:

You need to make a new topic about this, post-haste!

It's not a disease it's a hobby.
Posted 14 September 2013 - 09:29 AM
Toys before the light bill.

Posted 14 September 2013 - 05:29 PM
I think I have this nutted out now. Thanks for that.

Toys before the light bill.
Posted 14 September 2013 - 05:33 PM
Wait......
Thats better.
It's not a disease it's a hobby.
Posted 15 September 2013 - 12:49 PM
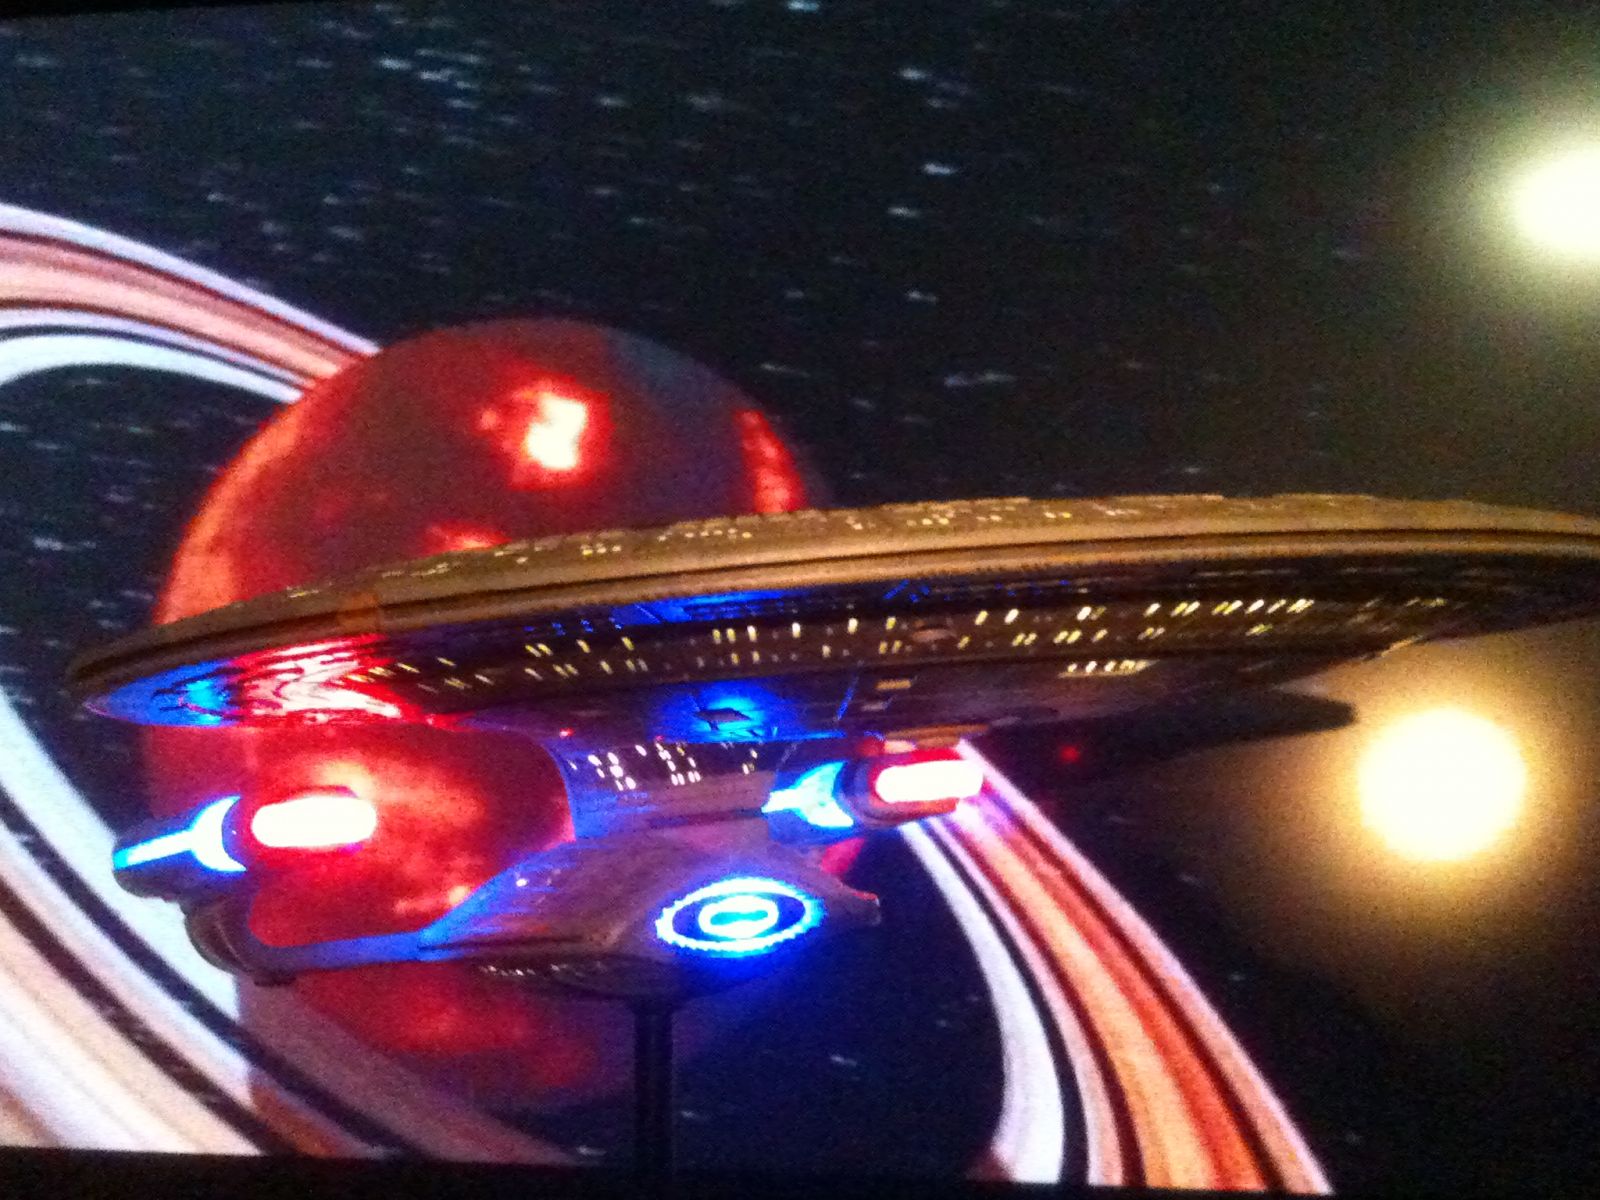
The lighting is impressive, but it's the paint-job that's blowing my mind!
How do you... a awesome person... be?
EDIT:
The windows... THE WINDOWS!
If I don't have it, It's on preorder.

Posted 15 September 2013 - 03:25 PM
Toys before the light bill.
Posted 15 September 2013 - 04:06 PM
Toys before the light bill.
Posted 15 September 2013 - 04:12 PM
It's not a disease it's a hobby.
Posted 15 September 2013 - 07:28 PM
Toys before the light bill.
Posted 15 September 2013 - 08:35 PM
It's not a disease it's a hobby.
Posted 16 September 2013 - 09:02 AM
I look forward to reading it!
Newbie

Posted 09 January 2014 - 04:37 PM
@Kamgz:
is there any progress in your project? I'm in the decision finding process for a major refit for my DST Enterprise AGT as it has a major computer core (microcontroller) failure. It will be fitted with an arduino microcontroller board with the option to interact with other ships (e.g. Klingon BOP) and therefor I'm interested wether you have any progress especially on the LCARS board?
I'll start my own thread when I sorted out how to design and build the components.
Boris
Toys before the light bill.
Posted 13 January 2014 - 05:20 AM
Newbie
Posted 13 January 2014 - 10:46 AM
Hi Kmagz,
thanks for your reply!
Well, as I said, I'm just at the beginning (ordered the first contoller board today) and it will take a while but when I know how to use the board and how to control light and sound effects I'll start my own thread. The idea is as old as the lighted Bandai snap togehter kits but they are way to small and I won't have the patience to do such a project with the old AMT - kits. I like the way DST did their ships but I think there is a lot more potential ( especially for static display) and the ships have enough space to accommodate some electronics.
I'd like to animate the phaser array as well ( or let's say a part of it) but first I have to drill the windows (!!!!). When they look fine I'm may be confident for doing the phaser array.
Boris
Toys before the light bill.
Posted 10 March 2014 - 04:40 AM
Hi guys
I know its taken a long time, but I have finally started a write up of my build here.
Thanks again Destructor!!! for your inspiration. Mine would probably still be sitting in a box collecting dust if it was not for this post.
Newbie

Posted 13 July 2014 - 08:08 AM
Back again. Now that I have both the DST Enterprise (AGT variant) and the Aoshima Enterprise-D, I'm not too afraid to bust up a $30 toy and worry about not having an Enterprise-D to put on display. 
I suspect the circuits on my Playmates Ent-D blew up when I was testing the center impulse engine LED I had hooked up. Although I could be wrong, it might be any number of issues - snapped wiring, dead batteries, burnt-out LEDs, whatever. If only I had any knowledge of how to wire this ship up so it can run two LEDs in each nacelle, an LED in the deflector and an LED in the center impulse engine. I was experimenting with wiring the center impulse engine up to one of the nacelle wirings, but maybe that wasn't such a good idea.
Anyway, I'll keep updating as I keep progressing. Oh, and side note, Kmagz your ship looks amazing. I may end up repainting my ship as well - when I bought mine from a Trek convention a decade back, it came with some odd brown smear marks. I hope I can paint over that, and use Destructor's Aztec technique from this site.
With any luck, if this goes well, I'll be doing similar LED upgrades to my DST Enterprise-E (first release) and Enterprise-A (also first release).
EDIT 1: A quick Google search found that Milliput is one choice for modeling putty. I can seal up the huge soldering dent with this stuff.
EDIT 2: Some photos I took with my phone.


")

Plastic is strained. I'm afraid to snap it.

It's not a disease it's a hobby.
Posted 24 July 2014 - 08:41 AM
You're off to a good start, I'm glad to see you've figured out your power issues!
Newbie
Posted 25 July 2014 - 08:15 PM
Good to see you again!
About cracking open the nacelles, how exactly did you do it? I tried slipping different objects under the white bussard caps, but that resulted in bending the plastic.
It's not a disease it's a hobby.
Posted 28 July 2014 - 05:10 PM
I slid a thin blade (x-acto knife type of thing) all the way along the warp field grilles, cracking the glue in there. You won't have the leverage from the bussard end, though you do have to crack that glue too.
This post has the details of that part of my strip-down. Let me know if any of the images are no longer working, they appear to function for me.
Newbie
Posted 01 August 2014 - 08:11 PM
That's horizontally, along the length of the nacelle? Or vertically at the wide end? (I did the latter, the nacelle is still sealed tighter than an airlock!)
And thanks, I'll have another look.
It's not a disease it's a hobby.
Posted 02 August 2014 - 08:00 PM
Actually, upon reading my guide I linked again, I remembered that the scoring of that glue along the warp field grille was fruitless, the nacelle came apart along the opposite seam anyway. What was important was getting the front end apart, and getting a pointed tool like an awl into the little gap at the narrow point of the warp field grille's fan-out bit behind the bussard assembly.
There's a colour coded diagram in that link I mentioned the other day... I can see the pictures, but they're potentially down for everyone else - so let me know if they're not showing for you.
Again, best of luck!


0 members, 0 guests, 0 anonymous users

Community Forum Software by IP.Board 3.4.4
Licensed to: Trektoy.com & Trekfigures.com
